Everything Else


How To: Make a tech deck quarter pipe
This video shows you how to make a tech deck quarter pipe. You will need the following materials: wood pieces, cardboard, a small metal bar, glue, and scissors. The first thing you will need to do is cut out the base, this requires cutting out three equal parts (as seen in the video). The base pieces are then glued onto a back board for support. Small slits are then cut in each base to allow space for the metal bar. Glue the bar onto the base, making sure that only the bottom of the bar gets ...
How To: Make a voodoo doll out of almost anything
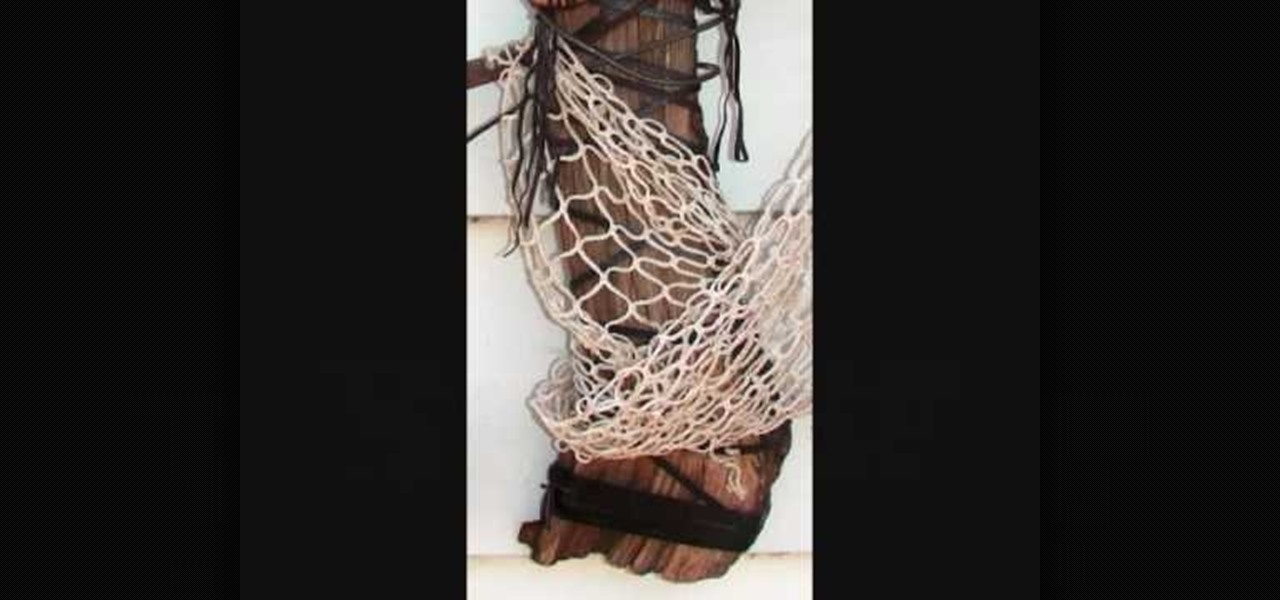
Do you have frustrations to take out that can only be helped with magic? If you are in need of the power of a voodoo doll but don't know how to obtain one, check out this helpful tutorial from Planet Voodoo.
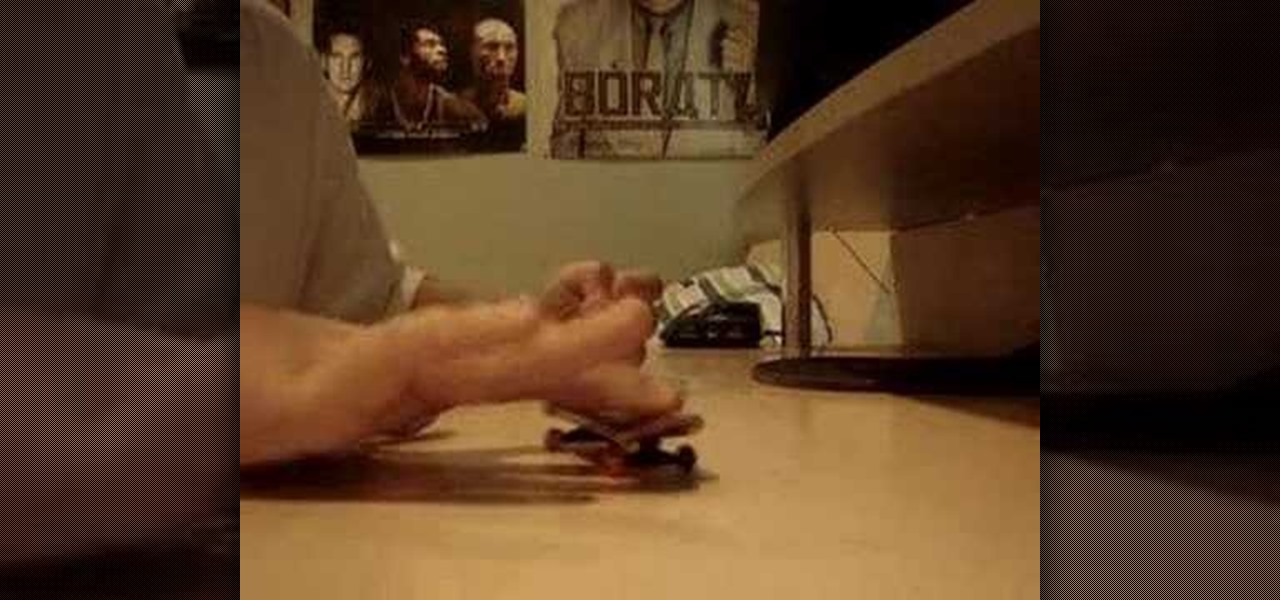
How To: Do ollies on a tech deck fingerboard
In this video tutorial, viewers learn how to do an Ollie on a fingerboard/Tech Deck. Users will only be using two fingers, the middle and index finger. Place the middle finger on the tail and the index finger near the bolts of the board. Now pull the board back, pop the tail down and throw it up forward. Users will need to do this in a fast motion. The fingerboard will almost seem like it is stuck to your 2 fingers. This video will benefit those viewers who enjoy playing with fingerboards and...
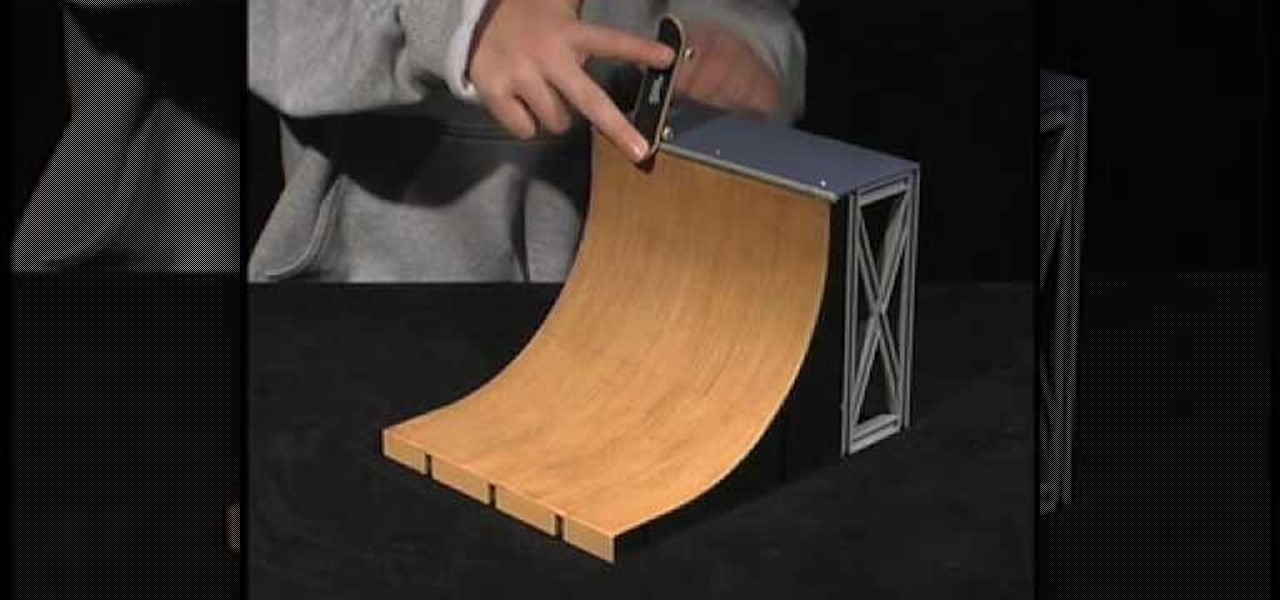
How To: Do ramp tricks on a TechDeck fingerboard
Tech Deck videos demonstrates how to do ramp tricks on a Tech Deck fingerboard. Any trick that you learn can also be performed on a ramp. A rock to fakey is the easiest ramp trick. Ride up, touch the lip of the board to the ramp, balance the center of the board on the edge, tap the front wheels on the ledge, and ride back down the ramp fakey style. You can then turn the rock to fakey into a board slide. Instead of rocking on the lip of the ramp, push the board along the edge and then dismount...

How To: Build a tech deck quarter pipe for your fingerboard
In this how-to video, you will learn how to build a mini skate park quarter pipe for your tech-deck. First, you will need a hot glue gun, a coat hangar, cardboard, a manila folder, and scissors. First, cut the frame for the pipe. Next, glue a support for the bottom of the three supports. Now, glue the card on top. Next, cut a length of coat hangar the width of the quarter pipe. This is used for the coping. Glue this coping on to the top edge of the card. Now, cut out a rectangle that will fit...
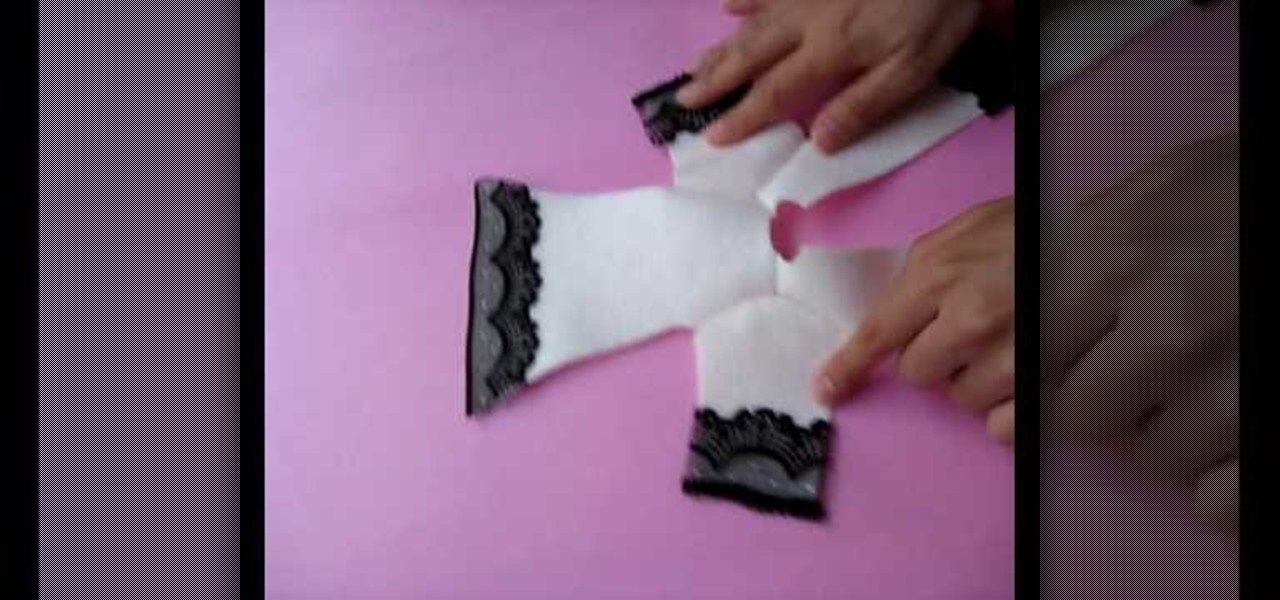
How To: Make a chic doll coat
Channel Pulip shows you how to make a holiday coat for a doll. You will need wool felt, with no crease, trimming, lace, ribbon or button. Cut out the pattern as shown. Sew together at shoulder with 4mm seam. Pin and sew sleeve on. Sew lace on coat bottom and sleeve bottoms. Sew the side seams. Turn the coat inside out. Sew trimming from top of coat to bottom. Sew trim on collar and sew collar to coat. If you are adding pockets, sew trim on them and hand stitch the pockets to the coat. To clos...
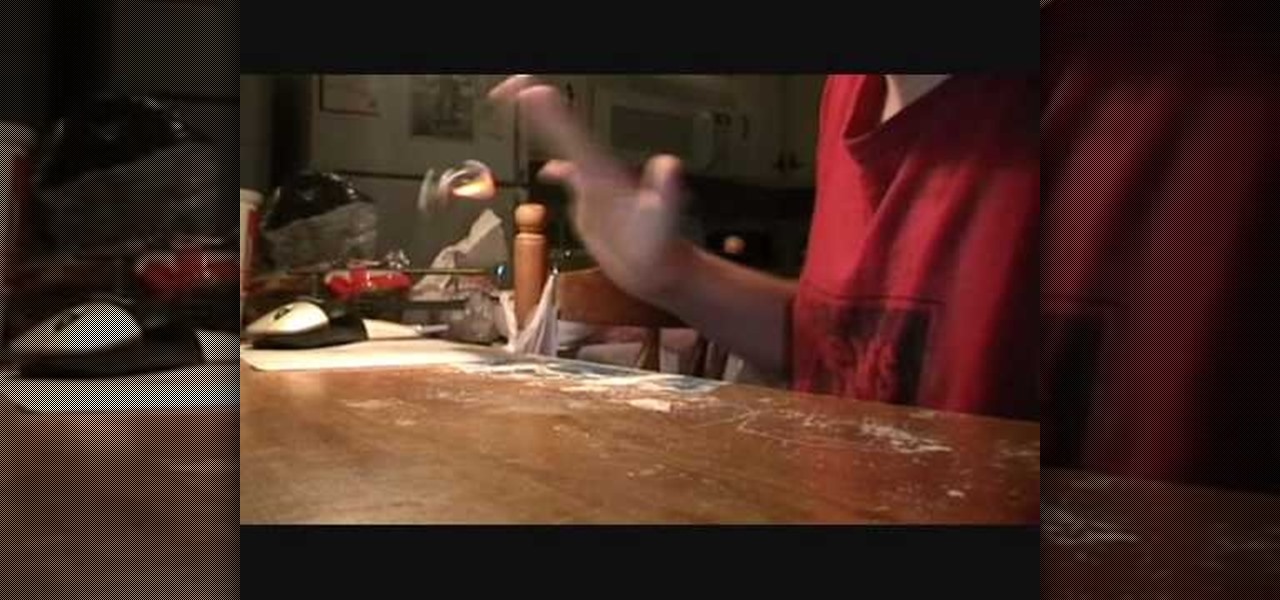
How To: Do a kickflip on a fingerboard or tech deck
In this video tutorial, viewers learn how to do a kick-flip on a fingerboard/Tech Deck. Begin by setting the fingers into a Ollie position with the middle finger on the tail and the index finger behind the bolts of the board. Pop the tail down and slide the middle finger on the edge of the board. Tilt the board forward and towards you. Users should catch the board with the two fingers in mid-air, and do not wait for it to land. This video will benefit those viewers who enjoy playing with fing...

How To: Make plaster molds
When making a plaster mold you must first decide on the shape and size of your mold. Then you need to order your plaster and supplies. Select something to make a mold from, a container to house the plaster lined with a layer of clay to make for an easy removal of the plaster, a weighing scale, plaster, spatula, a mixing tup and jug of water. Weigh out the amount specified by your suplier onto the scale, then add it to water a little at a time. Stir the plaster into the water, scraping the bot...
How To: Make a silicone ring mould
In order to make a Silicone Ring Mold you should first get a small plastic container. This will be your mold box. First, you should cut the bottom out of the container. Next, use double sided tape to stick the ring down to the base of this. Next, secure the mold walls to the base. Now, mix the silicone mix in a separate mixing cup. Make sure you mix this thoroughly until the color is uniform. Now pour the silicone into the mold in a fine stream on the side of the ring, this will help prevent ...

How To: Make an overall jumper for your doll
This video shows you how to make an overall or jump suit for your doll. It is suitable for both boy and girl dolls. Take some material, plain or patterned. You need two buttons or studs for decoration. Make a square of material about 13cm by 13cm. It does not have to be precise. Fold it in half. Mark 5cm at one edge and 4cm at the other. Join up the marks and cut out the shape. Make another one the same, and sew the two together. Fold and sew the waist. For the front patch cut two layers 5cm ...

How To: Do a 360 flip on a tech deck fingerboard
This video shows us the method to do a 360 flip on a tech deck fingerboard. In a 360 flip the board rotates and exactly flips once before landing. Put your middle finger slightly of the side at the tip of the tail of the tech deck. Put your index finger between the tech deck logo and the front bolts in the normal position. Practice 360 flip on the side of your leg on to the top of it. You should apply pressure on your middle finger. As the board reaches 90 degrees point of spin, extend the in...

How To: Easily make a bridal veil for your doll
This video shows you how to make a bridal veil for your doll. Take some 58 inch wide ivory tulle netting. Assorted floral decorations, scissors, thread and pins. You also need some floral tape, artificial leaves, wire and wire cutters, fancy ribbon, and some white feathers. First, make a floral arrangement with the flowers and leaves tied together with floral tape into a bunch. Wire some leaves and feathers to the outside of it. Cut 18 inches of tulle and leave it folded in half. Gather it at...
How To: Make Chelsea Dolls
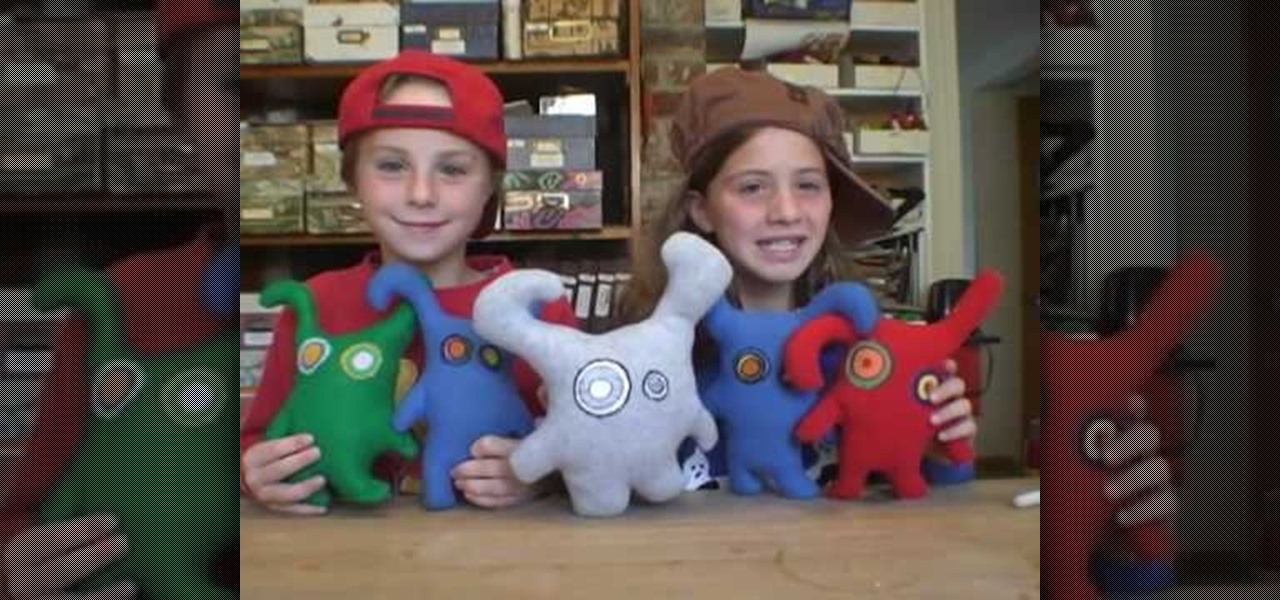
Rosie and Anna shows us how to construct a Chelsea Doll. It is so simple children csn work on it for their friends. Once you have purchased the pattern from the website, you trace it onto two pieces of materia and then you cut it out. After this has been achieved you sew the two pieces together keeping in mind to leave a whole to stuff the cotton stuffing in to, then you sew close the doll. You have the option to either glue or sew eyes on to your doll, therefore finishing the doll and it is ...
How To: Attach a hook to a polymer clay charm
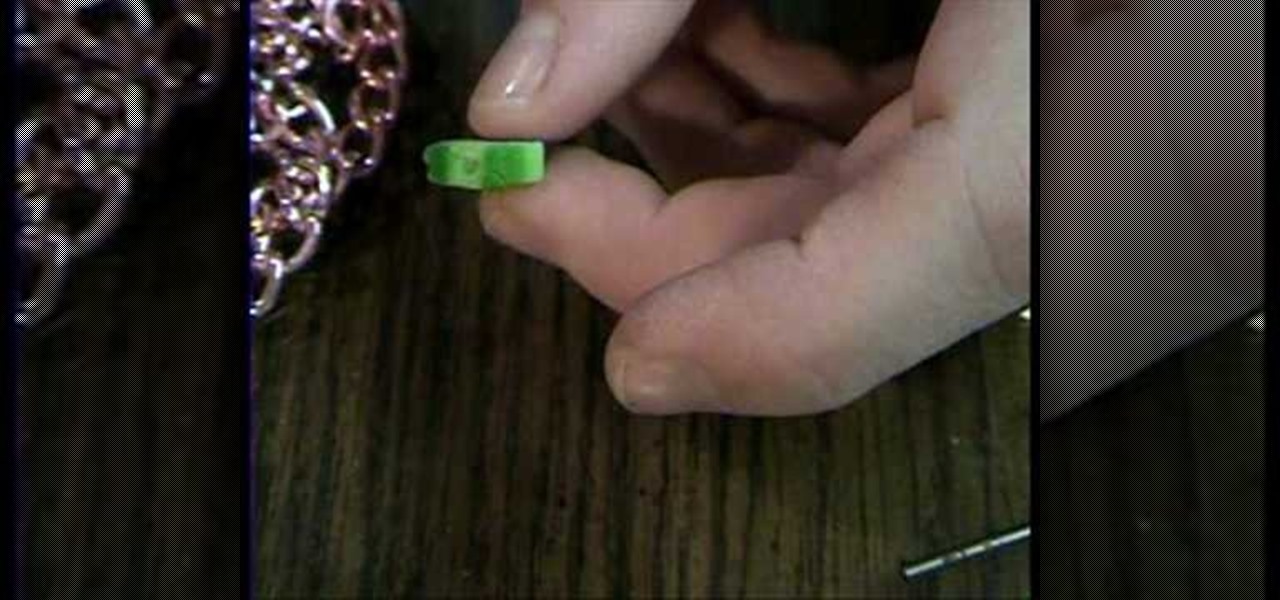
First of all you have to take your charm and attach it with the hook which has an eye. Now take an unbaked water melon made of clay. Hold it with your fingers tightly to make it a little warm. Now you have to insert the tip of the hook on to the middle of the green skin of the water melon. Now hold the hook with one hand and use the other to twist it into the water melon. Keep on twisting till it reaches the skin of the melon. Now you cannot bake it with the charm because the plastic part of ...
How To: Make wood out of polymer clay
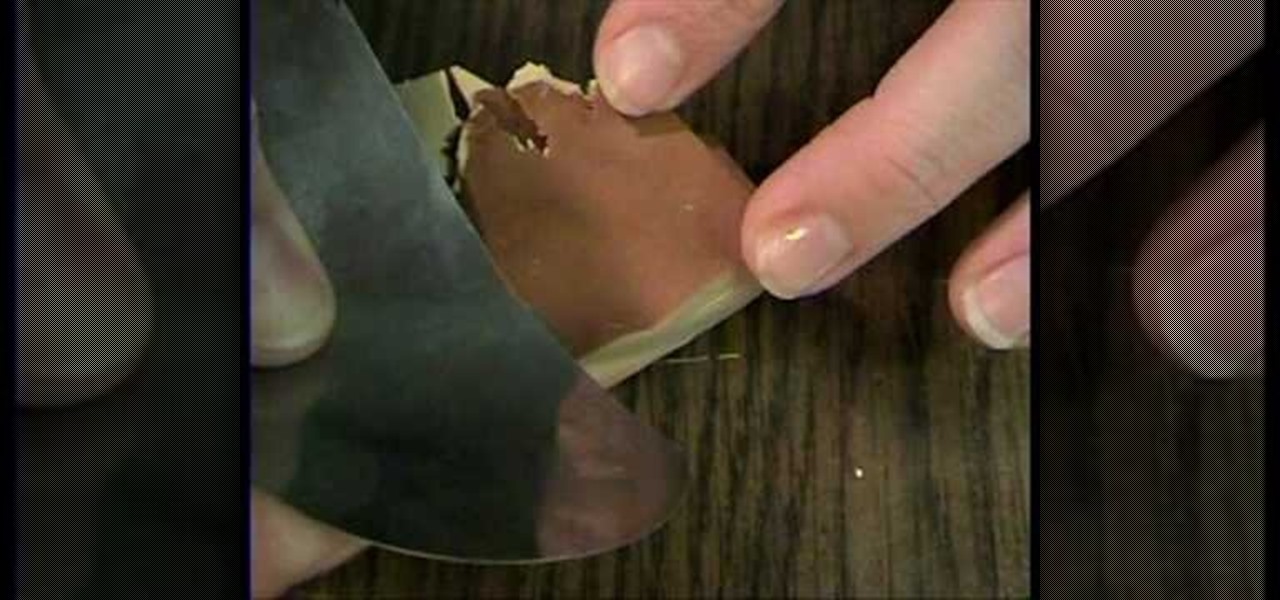
This tutorial shows the viewer how to make polymer clay look like wood. Begin by using a pasta machine and roll out ecru on a number four and rolling out brown on a number six. Stack the brown on top of the ecru and cut the stack in half. Then sandwich the two stacks so it goes light - dark - light - dark. Repeat the process by Cutting it in half and stacking them again. Roll this stack through the pasta machine on a number one so it squishes them together. Cut in half and stack. Repeat this ...
How To: Make miniature chocolate chip cookies for a dollhouse
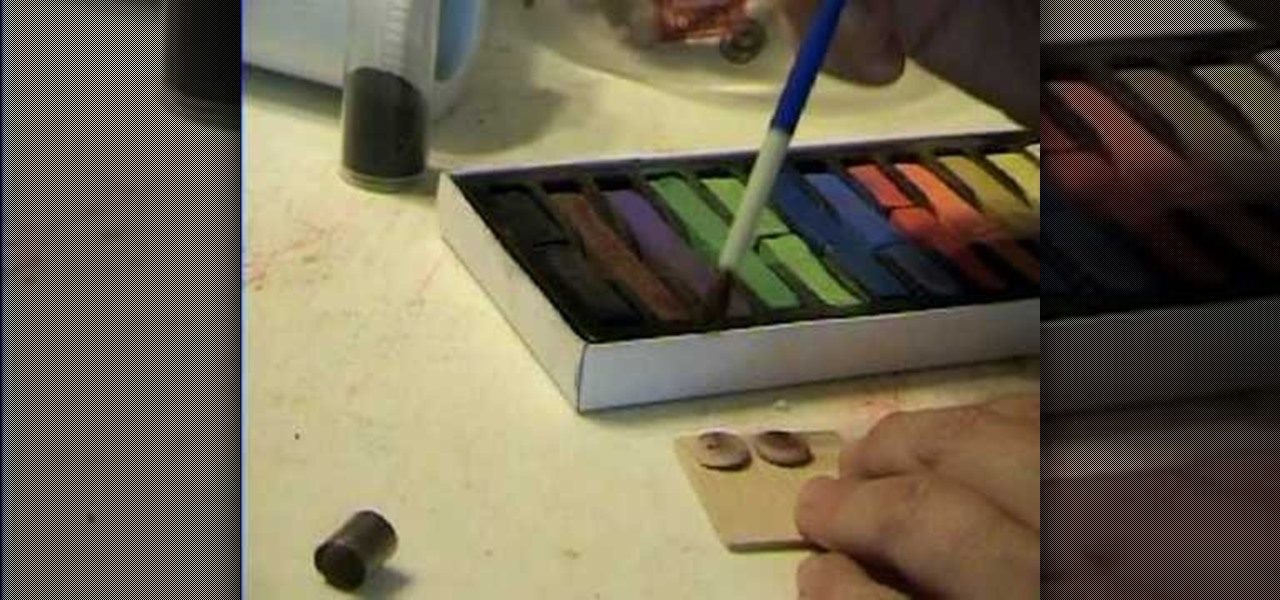
Small is cute. Cookies are cute. Dolls are cute. What this tutorial presents, then, is a perfect storm of cuteness. If you follow along, you'll learn how to make miniature chocolate chip cookies for your 1:12-scale dollhouse. For complete instructions, and to get started making your own mini chococolate chip cookies, watch this free video lesson.
How To: Make shingles for a Tudor style roof on a dollhouse
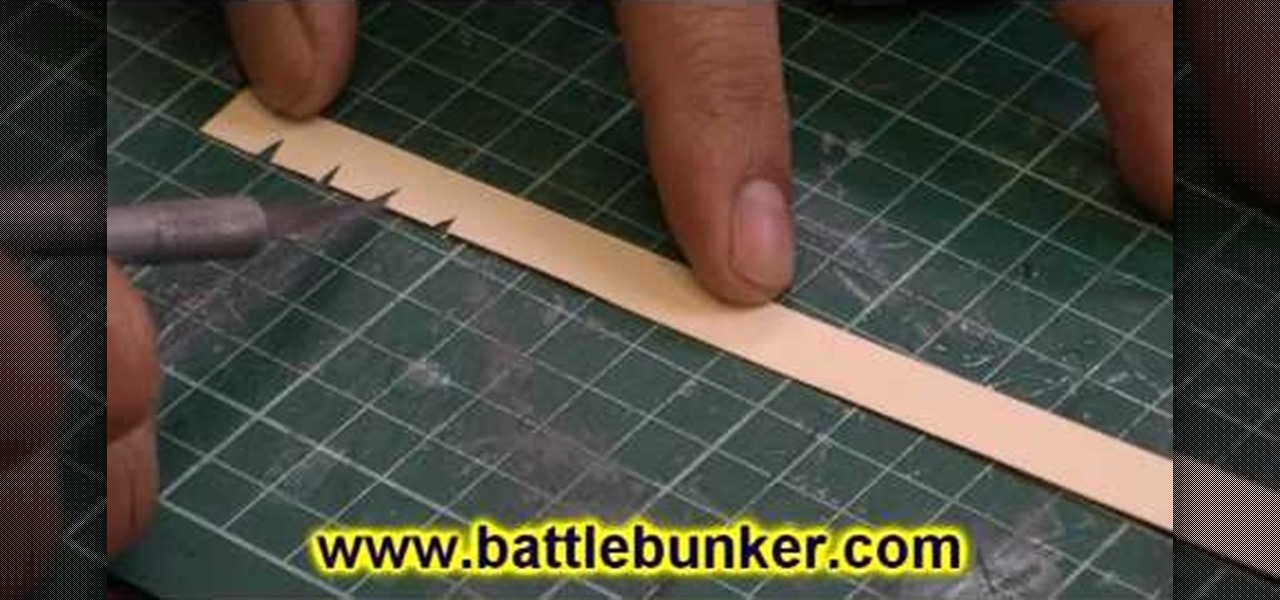
There are many different styles of dollhouses out there, and they are all beautiful. In this tutorial, learn how to make shingles and put the finishing touches on a Tudor style house. There is a great sense of accomplishment when you make one of these classic toys from scratch. This video will take you step by step through the shingles, and you will have a fantastic toy or collectible in no time.
How To: Make snow bases for your miniatures
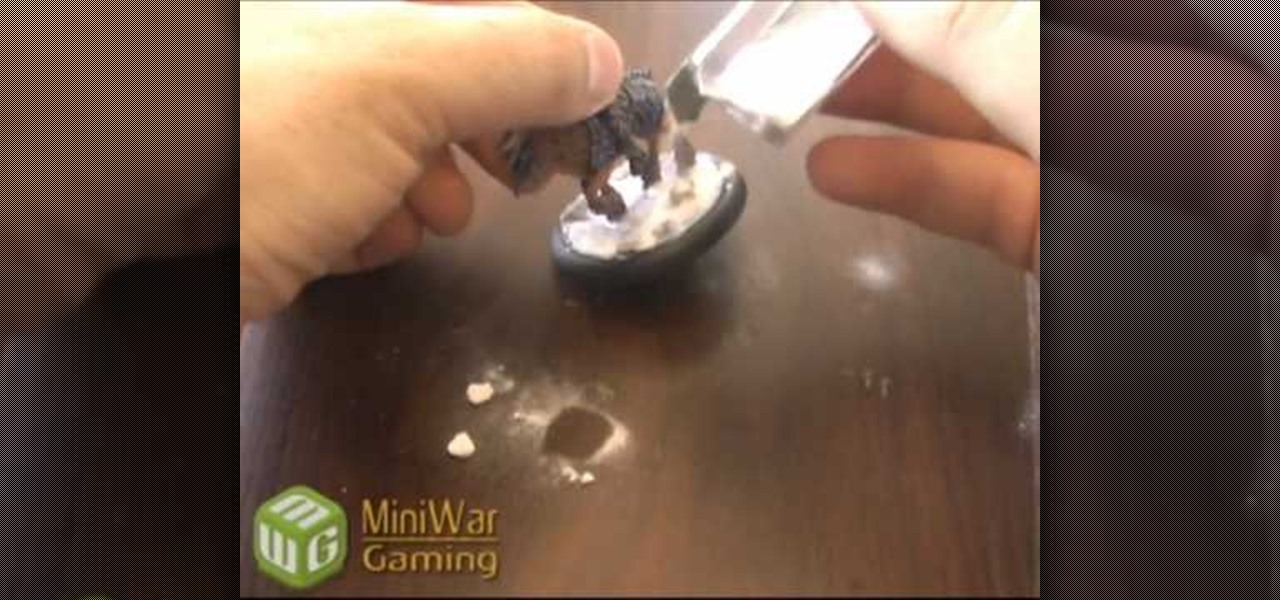
The materials you will need to add snow and other details to the base of your miniature game figure are white tacky or craft glue, super glue, a few small rocks or pebbles, coarse turf, a small paint brush, and baking soda. Begin by using the super glue to apply a few rocks to your base. You don't want to apply too many as the main focus will be on the snow. Add white glue to the base being careful not to get any on the figure itself. Use your paint brush to spread the white glue around until...

How To: Add accents to a bridal veil
How accents will affect the look of your wedding or bridal gown. Which accents look best for certain wedding or bridal gowns.
How To: Make a mini strawberry for a dollhouse
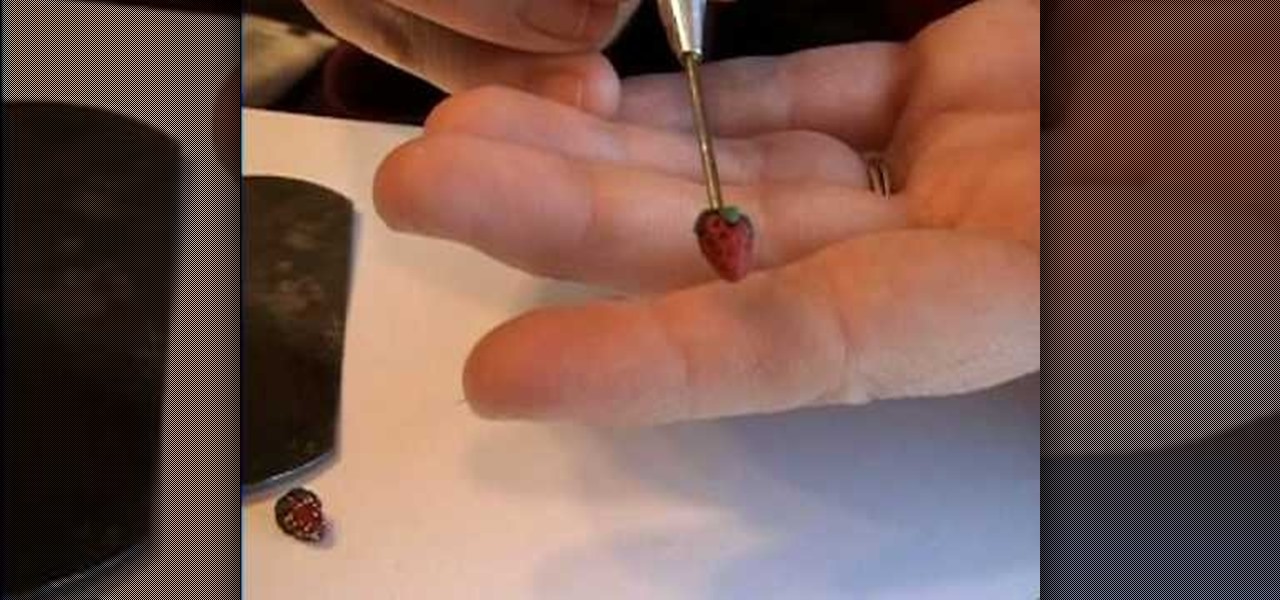
Garden of Imagination shows you how to Make a Strawberry for a miniature dollhouse from polymer clay. take a pinch of dark red clay, roll it into a ball, then a cone-shape around one centimeter or just under half and inch long. Poke a toothpick into the center of the fat end of the cone. Use another toothpick or a small ball-ended poker tool to put many small depressions around the tapering sides of the cone to represent pips. For the leafy strawberry top, use a small star-shaped cutter to cu...
How To: Make a Barbie-sized princess tiara
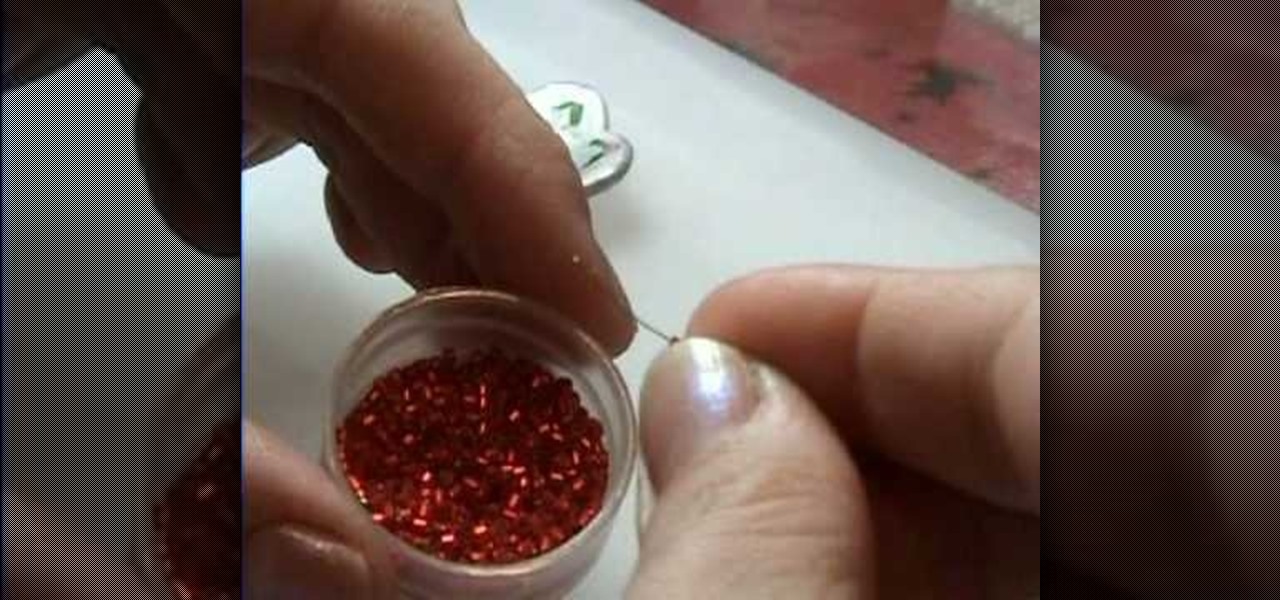
For the fairy sized princess tiara you will need 32 gauge silver wire, silver ball beads, seed beads (your choice of color) and 4 mm crystal beads. Start with about 6" of the wire. String a seed bead to the center of the wire- and twist one or two times to secure it in place. Then bring both ends of the wire together- and clip so that they are even. Next string a 4 mm crystal bead over both pieces of wire and press snugly next to the first seed bead already strung. Then add a silver ball bead...

How To: Make a mini cupcake for a dollhouse
Garden of Imagination demonstrates how to make a miniature polymer clay cup cake. First, roll a ball of brown clay into a circle. Squish it a little on its side. Use a toothpick to create edges on the cupcake. Make the top more pointed. Flip the cupcake over so that it sits flat. Bake the base for a few minutes to make it hard so you don't lose your texture. Roll your clay icing color into a long, thin rope. Wrap the icing in a conical circle on top of the cupcake base. Next, use tiny glass s...
How To: Make a Babka doll out of old socks
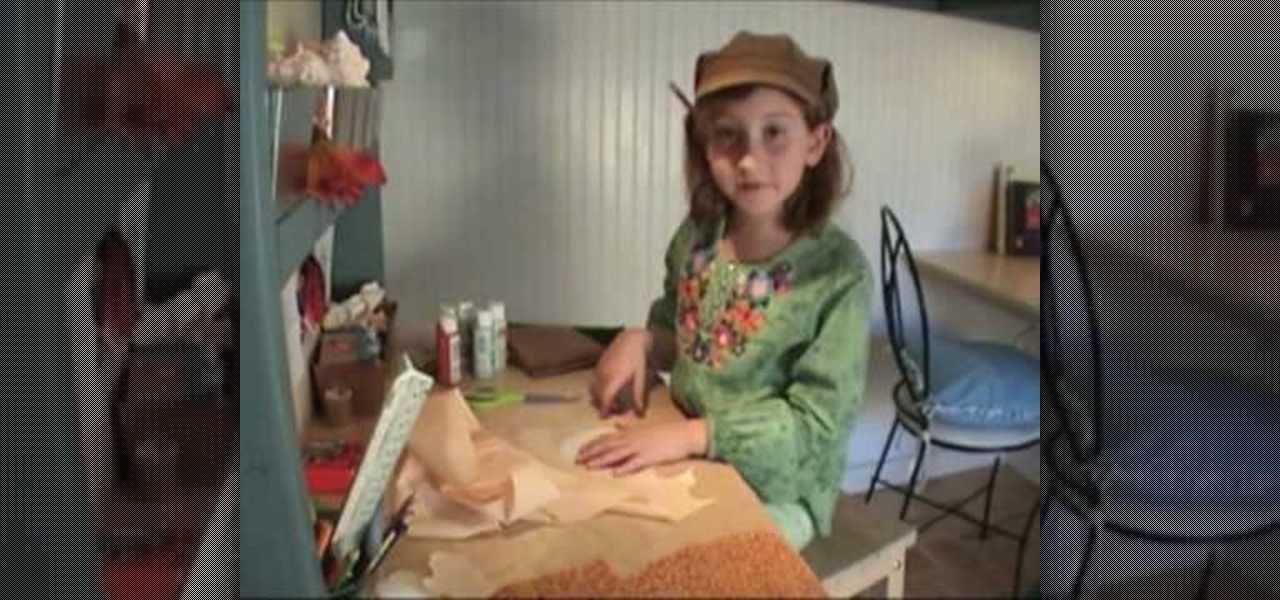
In this episode of Oliart, Olivia uses an old pair of socks and fabric to make a Babka (Grandma) doll. Although Olivia uses a sewing machine to make her doll, you can use a non-fray fabric and hand stitching if you don't have access to a sewing machine.
How To: Make a mini polymer clay kitchen pot for a dollhouse
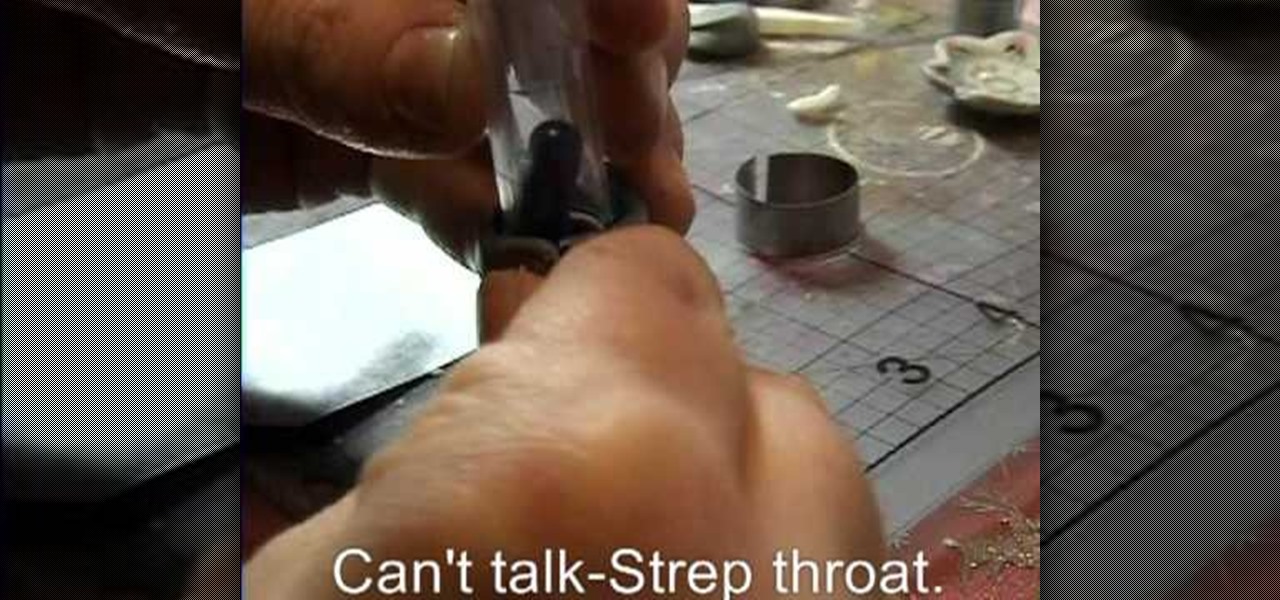
To begin you need to have a metal hollow tube made up of a strip which is around one inch wide and about two inch in length and has been bended round. Now take some clay and put it inside this hollow tube on a table. Press it with your finger. Take a glass tube with lid and use it to press the clay down to form a pot with this clay. Now remove the both the glass tube and the metal tube. Put the clay pot again back over the lid of the glass tube and press with your fingers. You have to press s...
How To: Make a mini polymer clay knife for a dollhouse
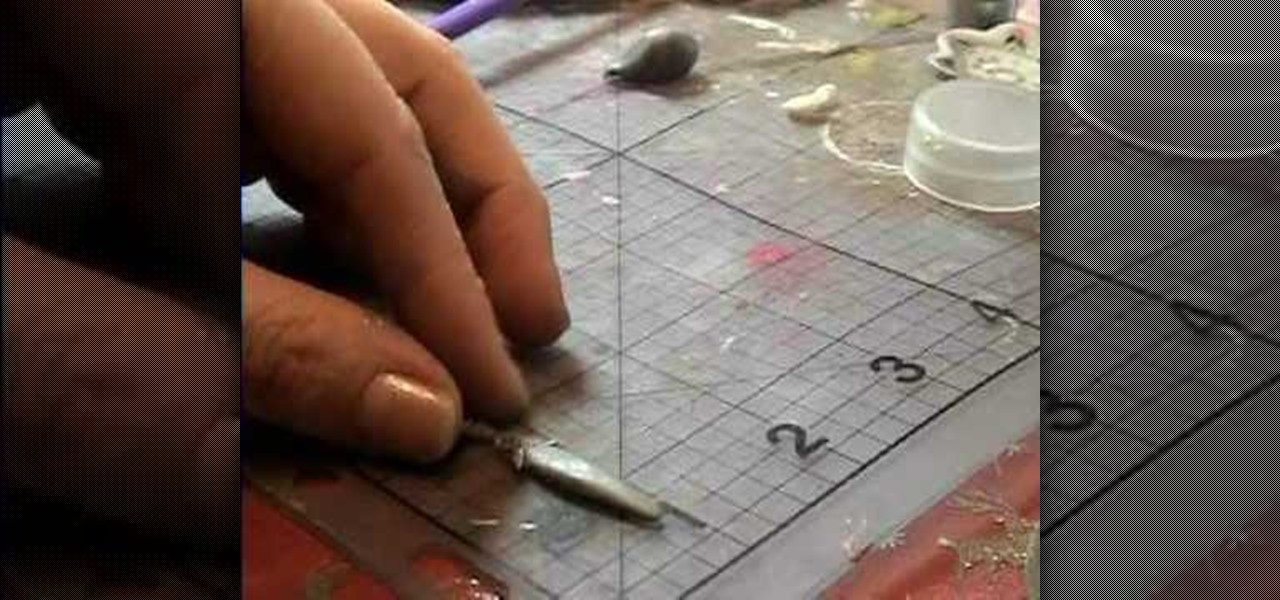
Garden of Imagination is demonstrating how to make a miniature knife for the doll house. This knife has a clay blade and a metal handle. The metal handle is made of a hanging earring finding. Now some black clay is taken. It is rolled and flatten and made into the shape of the blade. Now this is fixed to the handle and some glue is applied so that it stays permanently. Now the knife is ready. Now this is to be baked and after that some glaze is applied using brush so that it gets a shining ef...

How To: Make mini s'mores for a doll & a dollhouse
This video shows you how to make polymer s'mores for your dolls. With this method, it is quite easy to do. You need an off-white brownish clay to start, to use for the graham cracker. First, you warm up the brownish clay, and flatten it. You then need to give it some texture, using anything that has texture. After giving it texture, cut it into a rectangle. Next, you'll need a dark brown clay for the chocolate. Do the same thing you did for the graham cracker, except don't give it texture and...

How To: Make a mini ice cream cone for a dollhouse
Garden of Imagination shows you how to create a very small ice cream cone out of polymer clays. The lady shows to add some texture to the cone before adding the ice cream portion on to the top of the baked cone. There is even a cherry on top of the lovely small ice cream cone when you are finished. This tutorial is a slow and close up view of making this ice cream cone. The perky voice and calm explanation of the process makes this video simple and easy to follow along to and to create your v...

How To: Make a mini polymer clay salad for a dollhouse
This video shows how to make a mini salad out of clay. The first thing you do is get a very thin large green oval shaped piece of clay. Then add details to make it look like real lettuce. You can put some holes in it and tear it up a but. Then put it in a pan and with a blow dryer heat it up until it hardens up. After you heated it tear it up in very small pieces. Then get small pieces of orange clay and cut it up small to. This will be the carrots. Mix it all together and but some tls which ...

How To: Make mini polymer clay pomegranites for a dollhouse
In this video by, you are shown how to make miniature pomegranates out of clay for use with doll houses or however you may want to use them. You will be shown exactly what materials to use, how to make the items, painting and even exactly how to glue everything together. There are even suggestions for where you might want to shop to find the materials you will need. She shows you step by step how to make the items, and describes in detail the tools required to make incredibly realistic lookin...

How To: Make a WW2 diorama
Will from stormthecastle.com shows you how to make a very detailed World War II diorama. Made at a 1:72 scale, it's still incredibly lifelike and realistic.

How To: Make a mini polymer clay watermelon for a dollhouse
Follow the easy instructions of this video to create the perfect kitchen accessory for your dollhouse! The instructions for the mini polymer clay watermelon are quick and easy to follow. First you need red, black, green, and translucent clay. You want a very light green color for the watermelon. Use the pasta machine to mix the colors together. Slice the pieces of green clay and lay them on top of the light green clay. On the largest setting run them through together in the pasta machine. Rol...
How To: Make a juice box for your American Girl doll
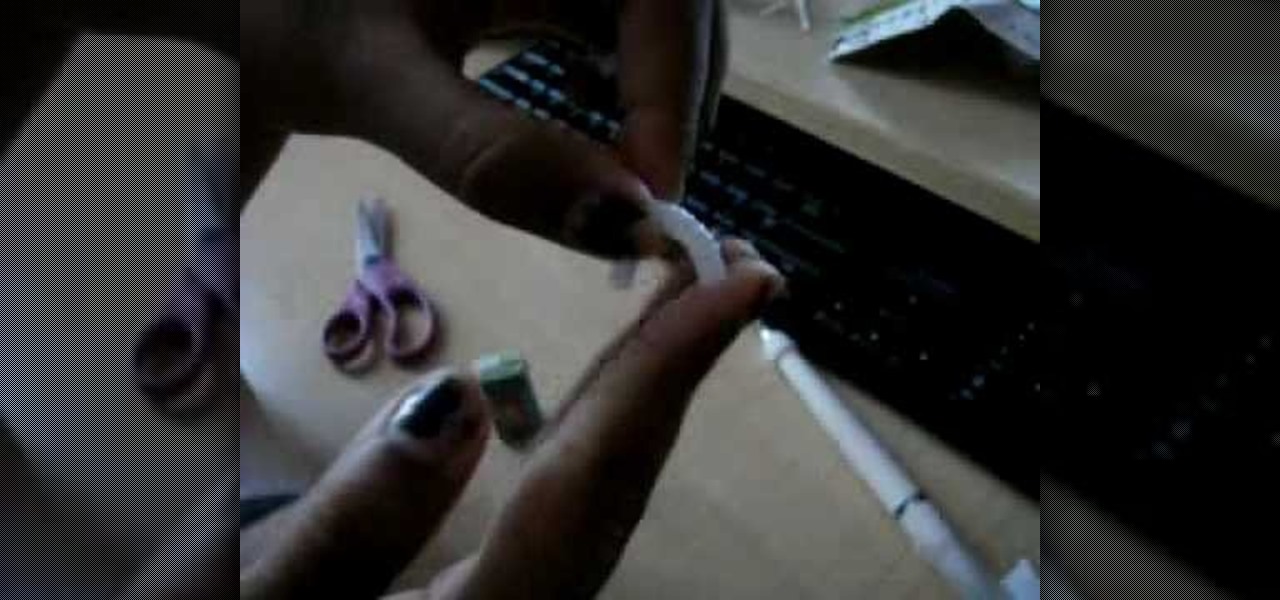
Avoid having to spend a lot of money on additional accessories for your American Girl doll. This video tutorial outlines the steps to make a juice box for your doll. You will need an empty juice box, unfold the tabs of the box, and then flatten the box out (so that it is no longer a box). Wash off both sides and scan this face down. On the computer, reduce the image size of your box and print it out. Wash the original straw and cut it to the size of your new box. Score this printout, which ma...

How To: Make mini realistic-looking ice for a dollhouse
Garden of Imagination demonstrates how to make realistic looking ice out of polymer clay. To make the polymer clay ice, first take one part pearl white polymer clay and one part translucent polymer clay. Add the clay to a food processor and chop up the two pieces of clay into clay chips. Bake the clay chips in an oven according to the manufacturer's recommendations. Take the clay out of the oven and let it dry. After the clay is dried, it takes the appearance of ice. Store the ice in a bowl u...

How To: Make a mini loaf of bread for a dollhouse
Garden of Imagination shows viewers how to make realistic looking bread loaves for a dollhouse. First, you need a beige ball of clay or a color that looks like that of bread. Take your ball of clay and warm it up in your hand. Lay it on your table. With the center of your palm, press the ball of clay down. This will give you a nice bread shape. Now, take a twisted wire and make a tic tac toe board on your bread to act as creased. Use rolled up tin foil to give the bread texture. Now, use chal...

How To: Make a mini peelable potato for a dollhouse
This video demonstrates how to make mini peelable potatoes for a doll house. Make a small potato shape out of polymer clay. Scrape some brown pastel chalk into a dish and roll the potato shape in the dust until it is covered. Bake your potato in the oven according to your polymer clay instructions. When it is baked, cut the potato with a razor blade. Be very careful because it is quite hard to cut and you don't want to cut yourself. Place the cut potatoes into a suitable small dish. Take some...
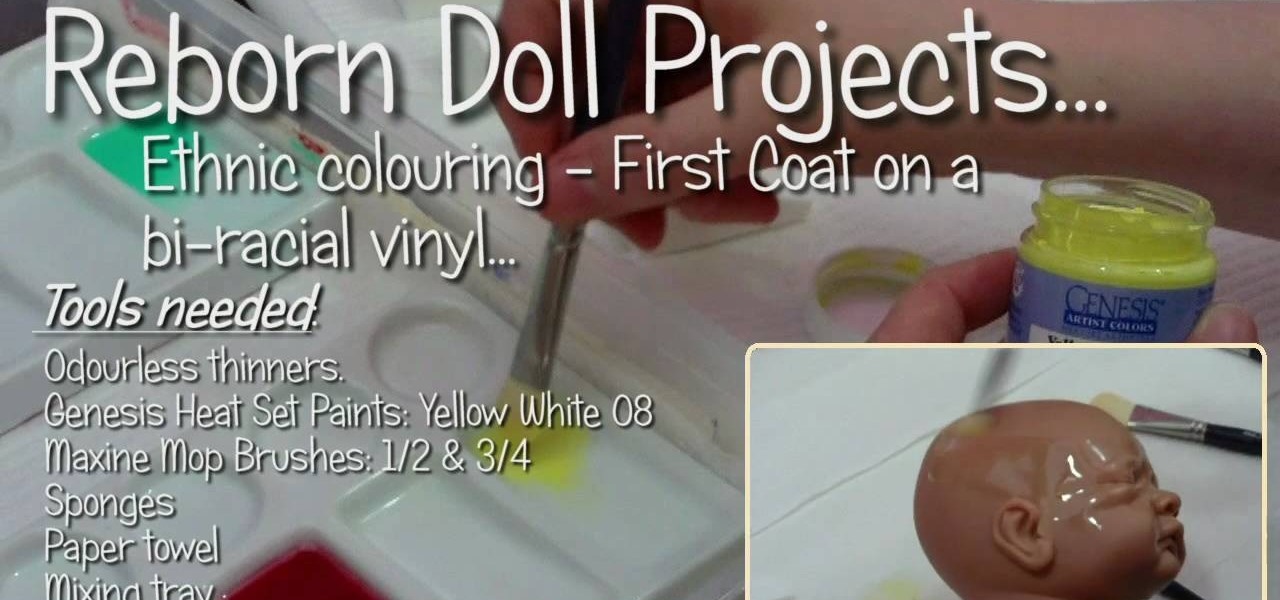
How To: Make an ethnic reborn baby doll
Here is all you need to begin making your very own ethnic reborn doll. In this six part series Nikki Holland demonstrates all you need to know to have a realistic bi-racial doll. She shows us how to correctly use our tools, paint our dolls for a successful realistic result.

How To: Make mini Pocky Sticks for your American Girl doll
Kitzykk shows how to craft mini Pocky stick boxes for dolls in this video. She starts with a real Pocky stick box and carefully opens the box on all ends before unfolding it to lie flat. Using a printer and scanner, she scans a picture of the unfolded Pocky box and drags the scanned image into a program such as MS Word. Once the image is sized perfectly in the program, she prints it onto a sheet of white paper and it is an exact miniature replication of the original. Kitzykk then carefully cu...

How To: Make mini polymer clay doughnuts for a dollhouse
Garden of Imagination demonstrates very simple method of how to make miniature doughnuts from polymer clay. There are three varieties of doughnuts made sprinkled, glace and chocolate covered. These are very simple round doughnut. For this we need a plastic clay measure which has balls of different size. We have to start off with a little piece of clay, put in size E of the clay measure. Always put some extra and slice it off. Take it out. Make it into the size of a ball with your hands. Now m...
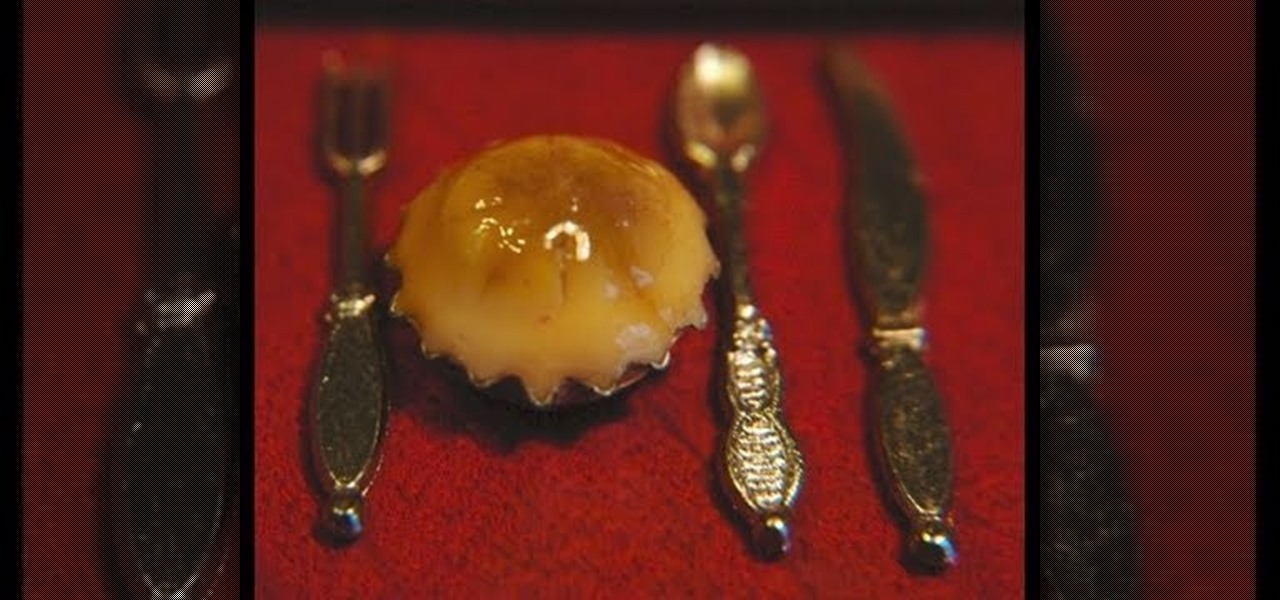
How To: Make mini polymer clay pot pies for a dollhouse
Garden of Imagination demonstrates how to make miniature polymer clay pot pies. Find miniature bottle caps in the scrap booking section of the craft store. You can use a regular sized bottle cap to make a big pie. Roll a piece of ecru clay into a ball and mold it into the bottle cap. Round the top to give it a pot pie shape. Use a small blade to create seared lines into the pie top. Brush mustard yellow pastel to tint the top of the pie. Brush a brown pastel accent on the top of the pie. Bake...

How To: Make a lettuc or cabbage for a miniature dollhouse
Garden of Imagination presents the making of polymer clay cabbage. She starts with a ball of polymer clay she has pre-baked in the oven. She, then starts to make the leaves. She flattens a piece of the green clay and then adds texture with a scalloped cake decorating tool. She folds the leaves around the ball. Halfway through, she instructs to bake it again. Then, she finishes adding "leaves" around the cabbage. The goal is to achieve a ragged realistic cabbage head. Finally, she gives bonus ...


