

Hot Dolls, Plush & Miniatures How-Tos

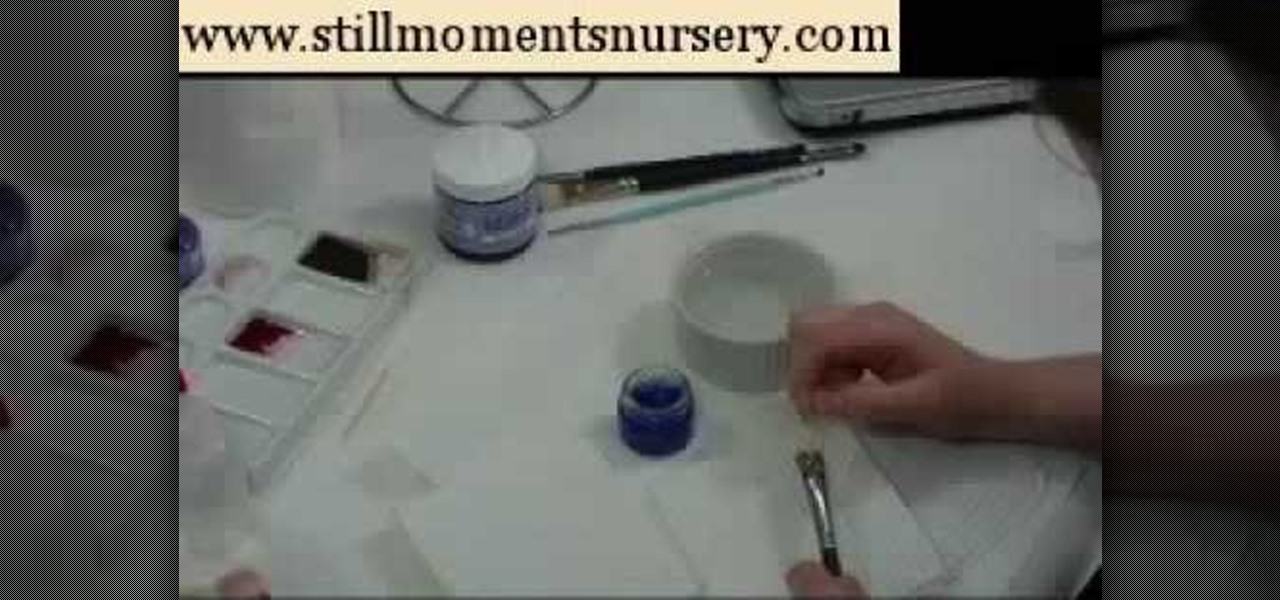
How To: Apply blue wash to neutralize orange on a reborn doll
In this tutorial, we learn how to apply blue wash to neutralize orange on a reborn doll. First, gather all of your materials and mix up your paint. Once it's mixed, dab the paint onto a sponge with the paint brush. Then, use the paint brush to paint on the color to the limbs of the baby. Make sure to take extra time around the feet so you get in between the small areas. Then, use the sponge to dab the paint all over the limbs. after this, continue on to the rest of the limbs of the baby using...
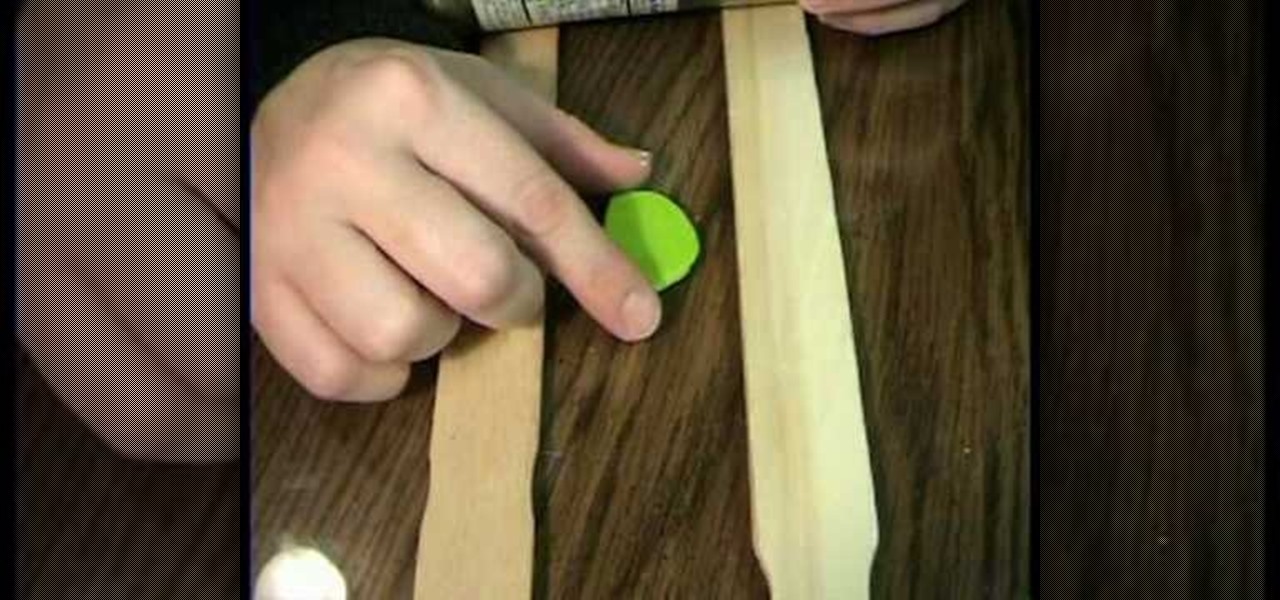
How To: Roll clay without a pasta machine
In this tutorial, we learn how to roll clay without a pasta machine. First, warm up the clay in your hands and put them between two flat sticks. Next, use a glass bottle or cup to roll out the clay. Make sure the bottle is on the paint sticks as you are rolling. This will leave your piece of clay thick but flattened out. You can make this as thick or as thin as you would like to be. You can do this several times and use different types of sticks or side holders to change how the clay looks, e...

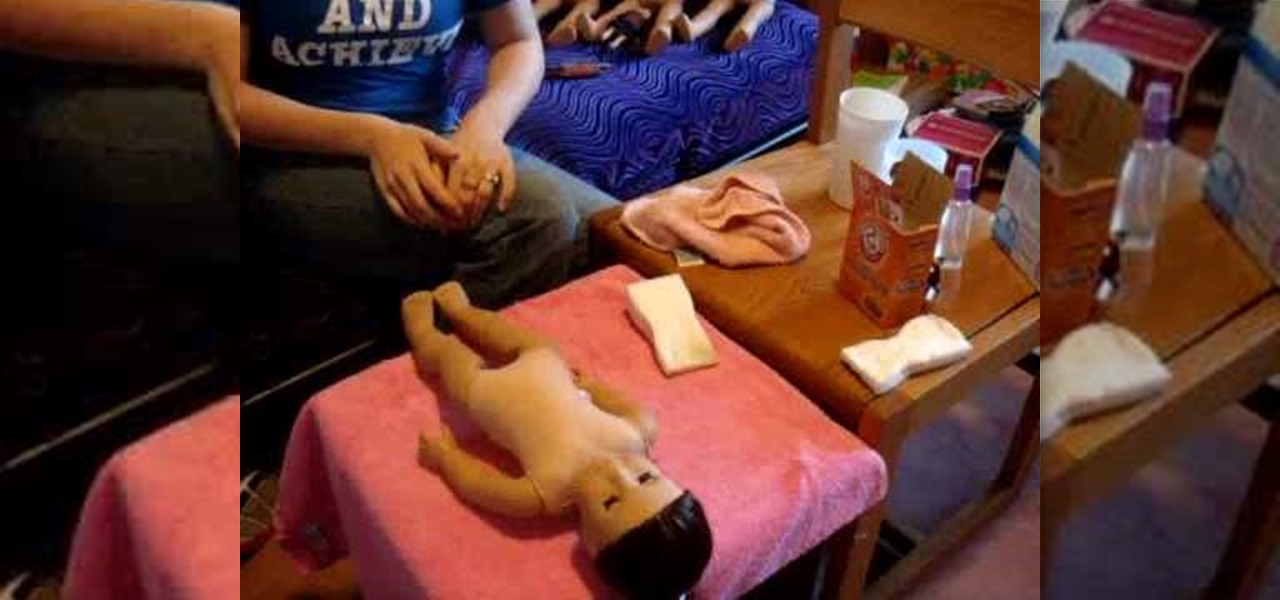
How To: Weigh the shoulder and attach the arm on a reborn doll
In this tutorial, we learn how to weigh the shoulder and attach the arm on a reborn doll. First, gather all of your tools and then start to fill the shoulder of the doll. Do this by filling 1/3 of the top of the shoulder joint with poly fill. Next, fill the middle with poly pellets and leave room for more poly fill fiber. Once you have done this, place small amount of poly fiber fill over the pellets. Don't over-fill the arm. Then, attach the arms to the boxy and tighten it up with the fluff ...
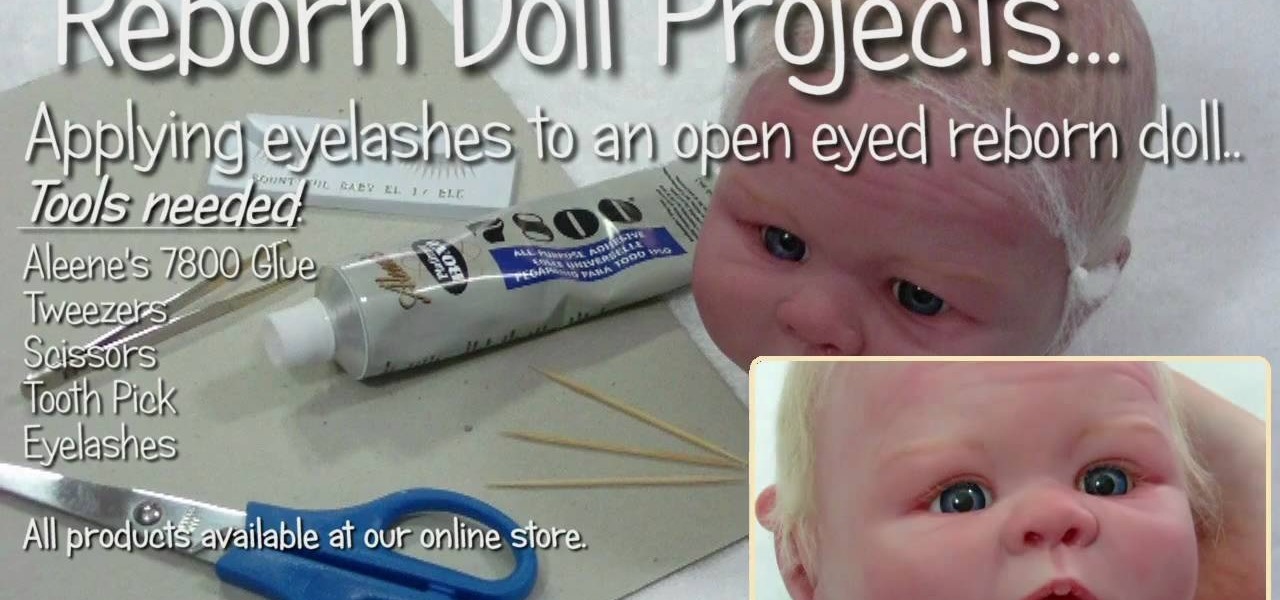
How To: Apply eyelashes to open eyed reborn baby dolls
In this video, we learn how to apply eyelashes to open eyed reborn baby dolls. First, you will need to prepare the glue by placing it on a flat surface and letting sit for a couple minutes. Then, take the new eyelashes and remove the existing glue with tweezers. After you do this, dip the base of the lashes into the glue. Do this slowly and make sure to wipe off any excess glue when you're finished. Place the glue evenly around the entire lash. Now, bring the lash to the eye and insert it int...
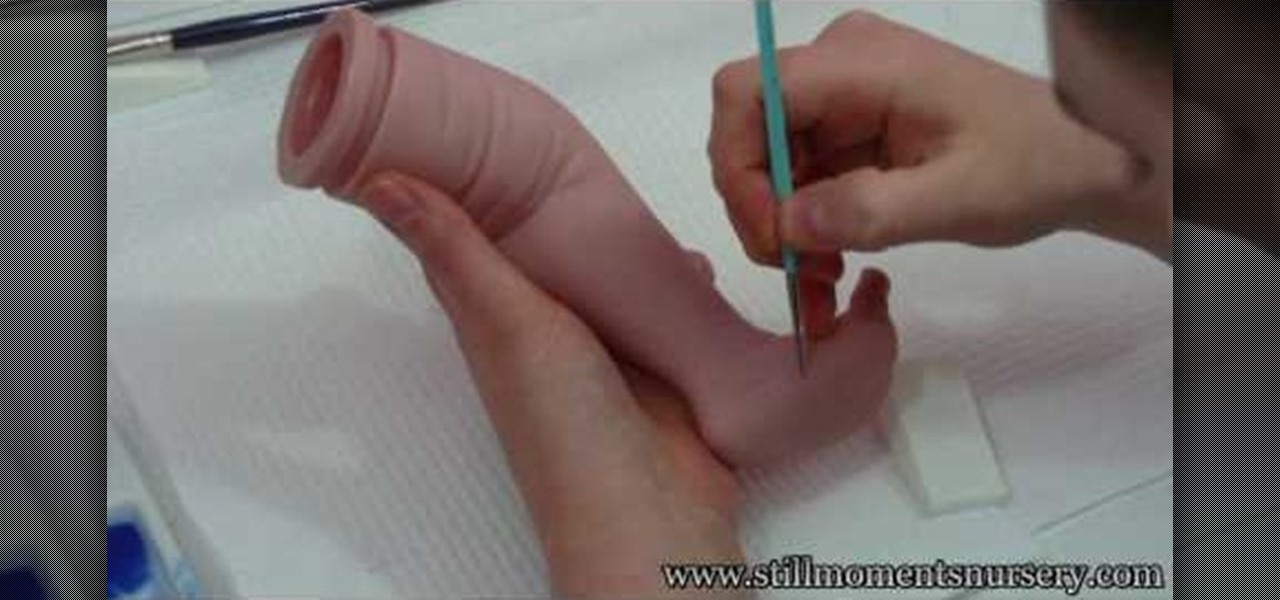
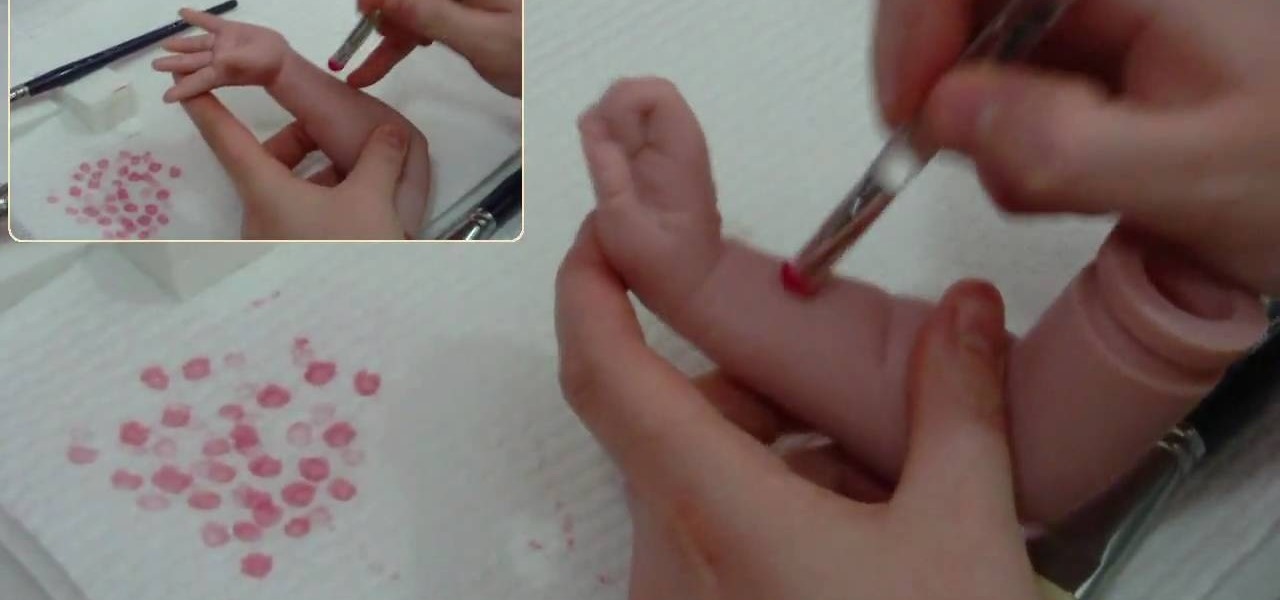
How To: Apply veins to a reborn baby doll
In this tutorial, we learn how to apply veins to a reborn baby doll. Gather up all your materials, then mix the proper paint for the veins. After you're finished mixing, use a very fine tip brush to add the veins onto the baby's chest and stomach. Use a sponge to dab onto the paint after you have painted the veins onto them. When finished with the chest area, start to apply the veins to the limbs of the baby. Continue to do this until you have painted realistic veins on all the appropriate pa...
How To: Mottle with a berry maker brush on a reborn baby doll
In this video, we learn how to mottle with a berry maker brush on a reborn baby doll. First you will need to gather all of the materials you need, then mix up your correct paint colors. Next, you will use a small dabbing brush to dab the color onto the stomach of the baby. Once you have finished this, work your way up to the chest. Be sure to dip your brush inside the paint every time you run out of some. Once you're done, do this same process for all of the limbs, avoiding the soles of the f...
How To: Clean brushes using Genesis cleaner for reborn dolls
In this video, we learn how to clean brushes using Genesis cleaner for reborn dolls. First, dip the brush into the cleaning solution and allow the dye to drain off of the brush. After most of the paint is gone from the brush, dip it into water and continue to clean until the water running over it runs clear. Continue to repeat this process for all of the different brushes you have used. When finished, lay the brushes down on a flat and dry surface, then let dry overnight or until they are com...

How To: Mottle with a sea sponge on a reborn baby doll
In this video, we learn how to mottle with a sea sponge on a reborn baby doll. Start out with gathering all the tools that you need, then mix up your paint to the correct red tint. After this, apply some of the paint to the sea sponge using a paint brush. After this, grab the limbs of the baby doll and start to push the paint onto them, avoiding the soles of the feet. Continue to do this throughout all of the different limbs, then the chest and stomach of the doll. When finished, you will hav...

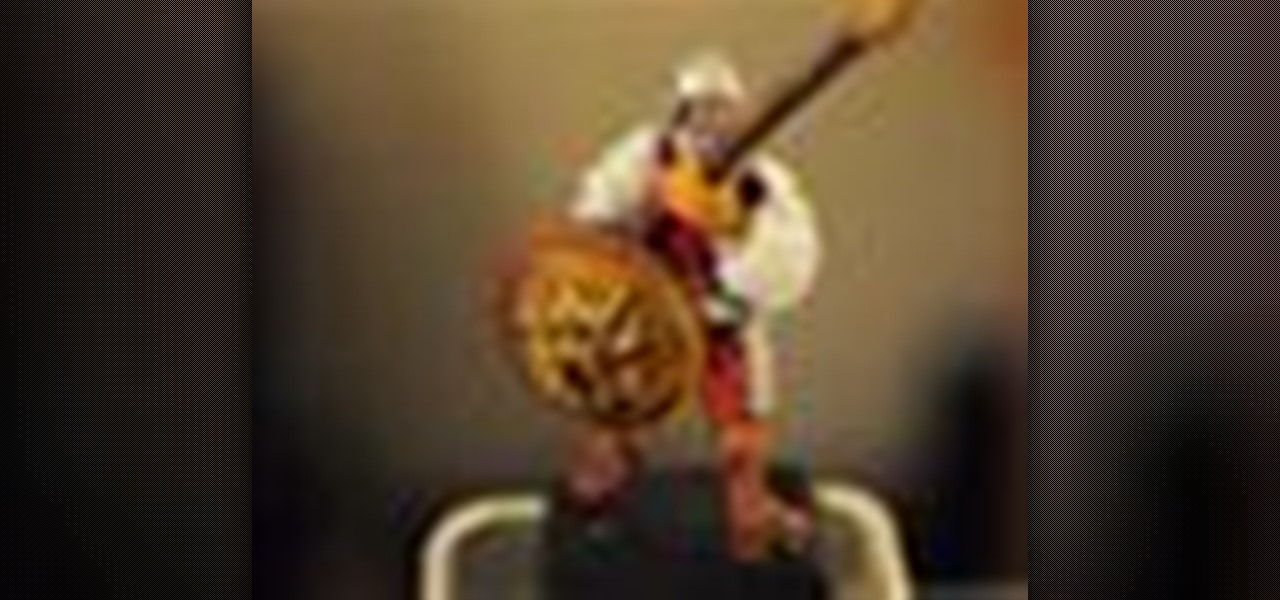
How To: Paint a flesh color for chaos marauder miniatures
Warhammer is a fantastic fantasy miniature war game that pits your army against your opponents army in bloody combat. When you buy the figurines for the first time, they will be unpainted, which leaves it up to you, the player, to give your own unique custom paint job to your figures! If you're just getting started, the first type of color that's the hardest is the flesh color. In this video series you will learn how to paint a basic white skin type onto Chaos Marauders.
How To: Insert LED lights into plastic action figure to make light-up action figures
Action figures may be on the way out as mainstream toys, but all your old ones are awesome, we swear. If you don't mind modifying your precious toys a little bit, check out this video to learn how to insert LED lights into plastic action figures and make them light up awesomely.
How To: Prime, paint, and seal fantasy miniatures
Fantasy miniatures are cool-looking on their own and can be used to play fun tabletop games like Warhammer 40K. Painting them is half the fun of owning them, and this video will give you some tips for painting great-looking miniatures that will last a lifetime.

HowTo: Make Tiny Dollhouse Furniture With High Brow Magazines
Made by Joel features a collection of beautifully designed paper dollhouse furniture, featured in this month's La Petite Magazine. Joel's designs are quite elegant, and best of all, he offers a free template to make your own. Why not put your discarded fancy magazines to good, kid-friendly use?
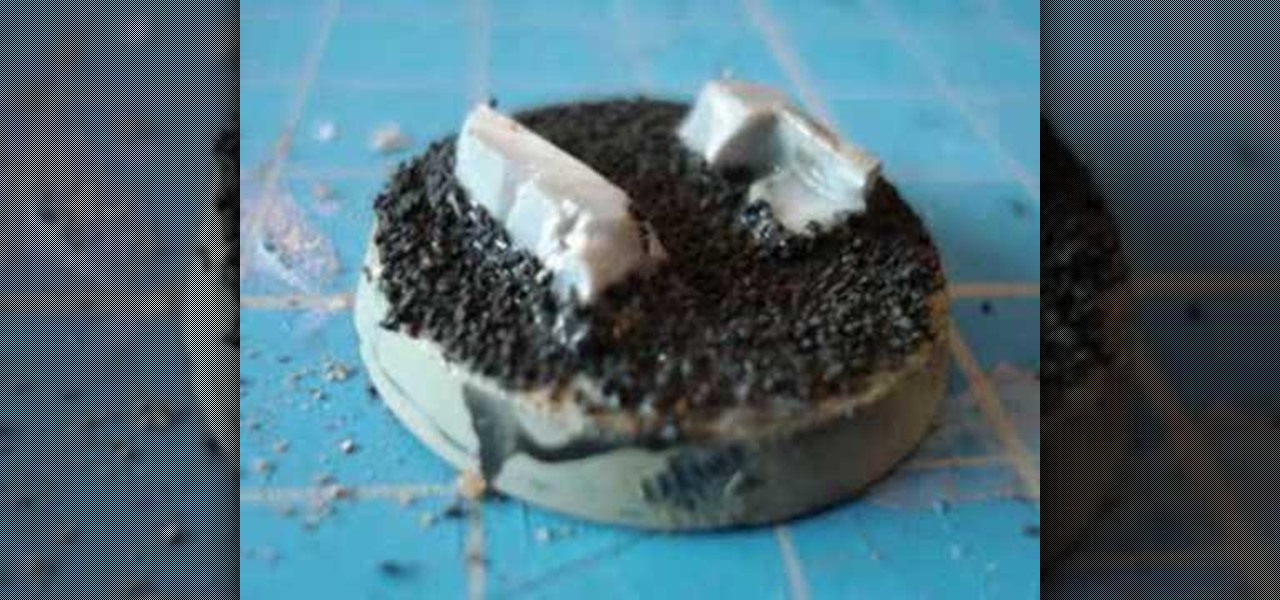
How To: Make urban-style bases for Warhammer 40k miniatures
If you usually wind up playing Warhammer 40k on the same type of board pretty consistently, you should consider spicing up your pieces by giving them bases that look like the sort of terrain your favor. This video will show you how to make an urban environment base for Warhammer 40k miniatures that will make your pieces look that much better. And look account for so much in Warhammer games don't they?

How To: Make a fantasy base for Warhammer or another miniature game with cork board
A really beautifully painted Warhammer miniature mounted on a stock base is like Christina Hendrix at the Emmy's, but with trash bags wrapped around her feet instead of shoes. It cheapens your work. This video will show you how to make really cool miniature bases out of cork board and a hot glue gun.

How To: Play Warhammer 40,000 with the basic 5th Edition rules
Warhammer 40,000 is one of the most popular and most derided games on the planet. Very few games are so fun, so harmless, and so beloved, and yet people who play are often labeled nerds and it has never caught in in mainstream America (different story in Europe and Australia, where it's HUGE). If you've been considering playing, you've come to the perfect place. Warhammer 40k is a complex game, but this video series will teach you everything you need to know to start playing. It uses the basi...
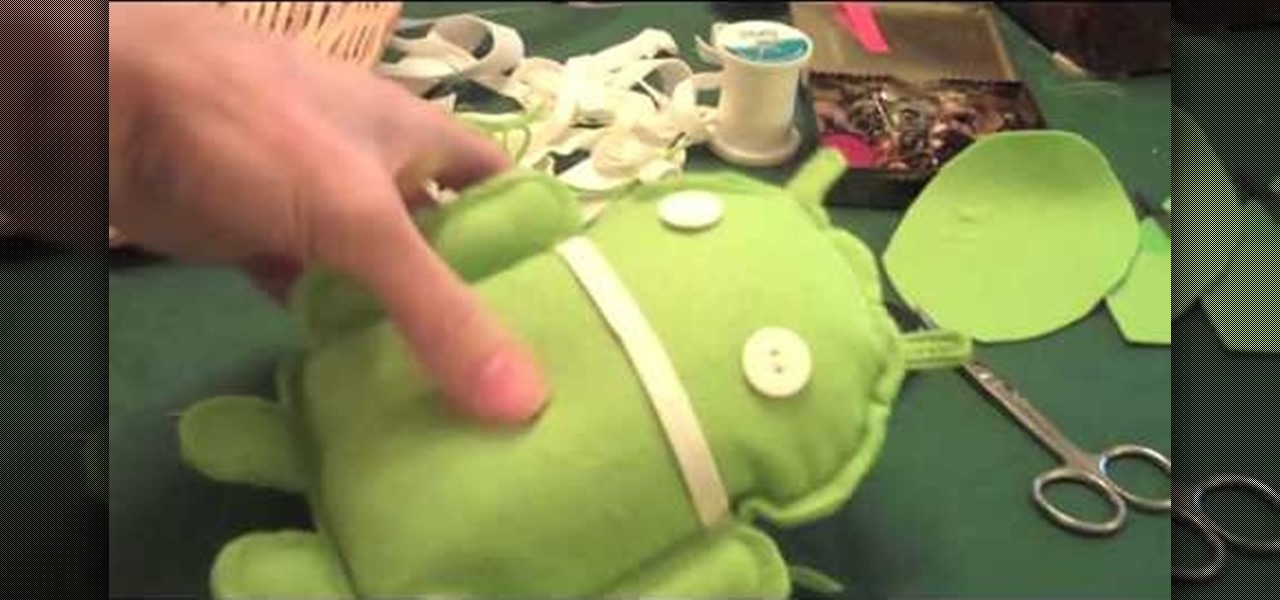
How To: Make an Android doll at home
In this tutorial, we learn how to make an Android doll at home. First, print out the Android logo from the internet, making it large enough to make a doll. Now, cut out the print out with scissors cutting out the different sections individually. Next, place the cut outs onto a piece of green felt, then pin it down so it doesn't shift around. Now, cut around the paper so you get the same pattern. After this, cut out all the other parts, making two of the shapes so you have a top and a bottom. ...

How To: Make mud and rubble in a WW2 diorama
In this tutorial, we learn how to make mud and rubble in a WW2 diorama. You can use corks as the rubble after you paint it and rip it into different pieces to make it look like destroyed buildings. You can purchase realistic water and gloss gel medium to look like water that is on the battlefield. If you mix them together with some chunky material, and then add in brown food coloring, it will look like mud. Using these tips and tricks, your diorama can look more realistic and look fantastic! ...

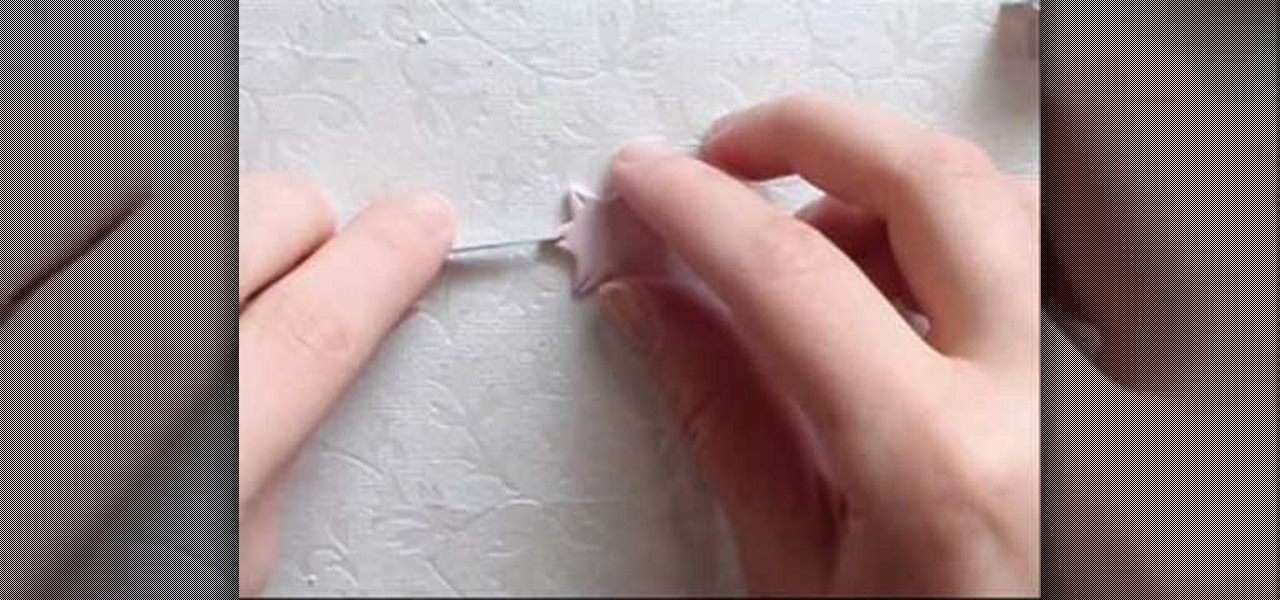
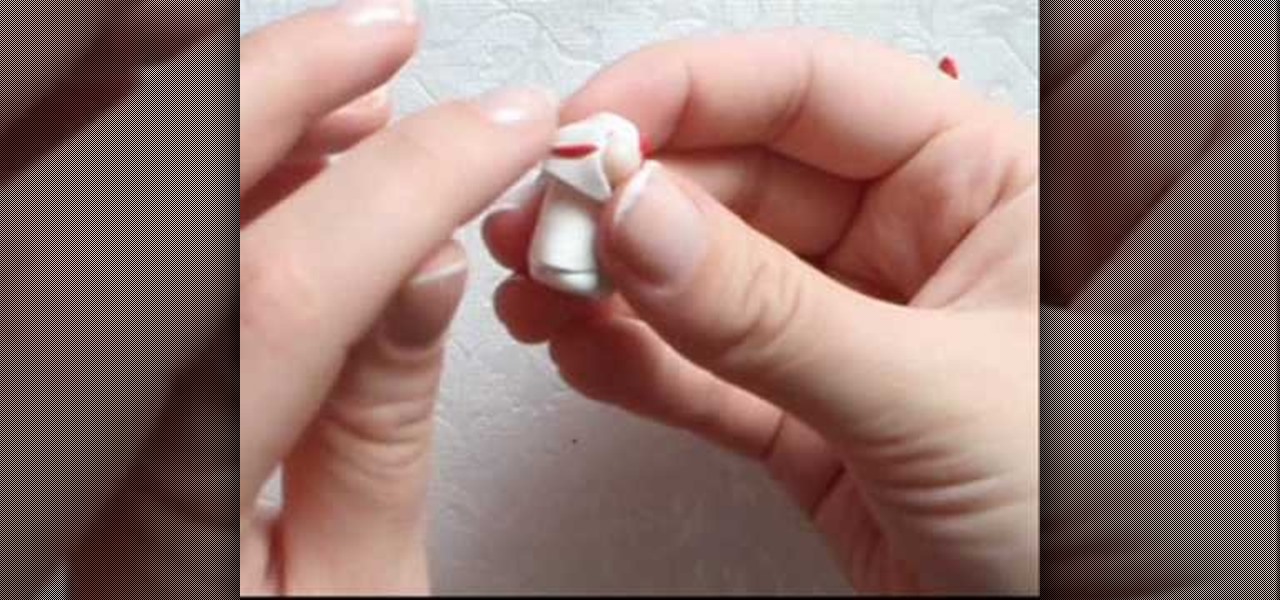
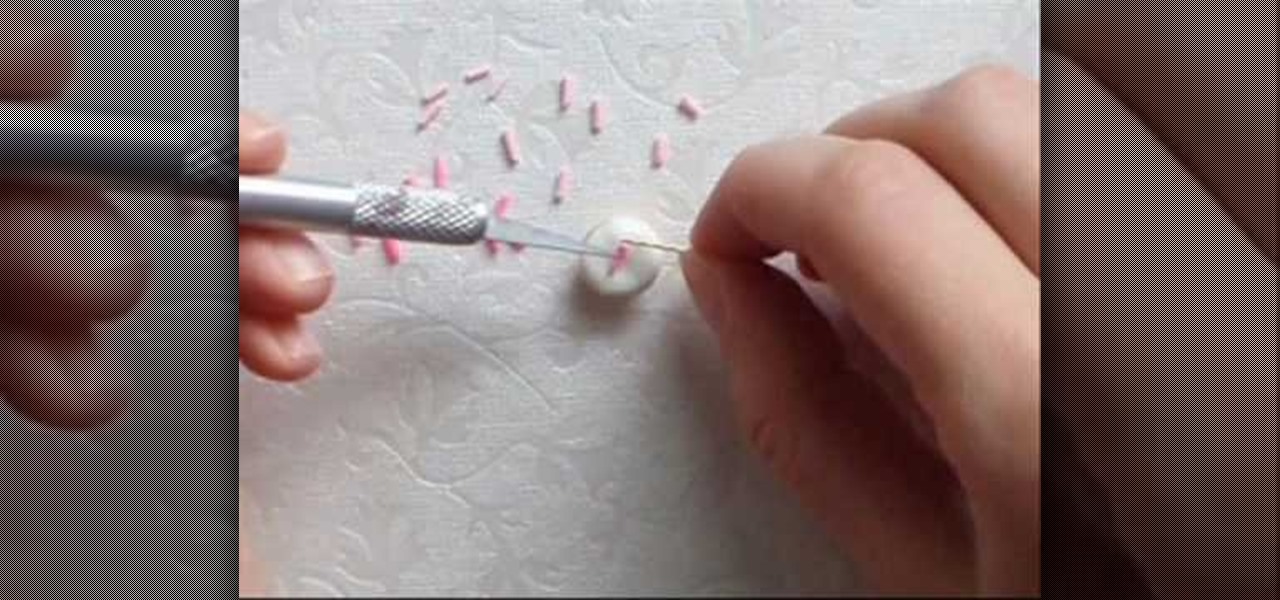
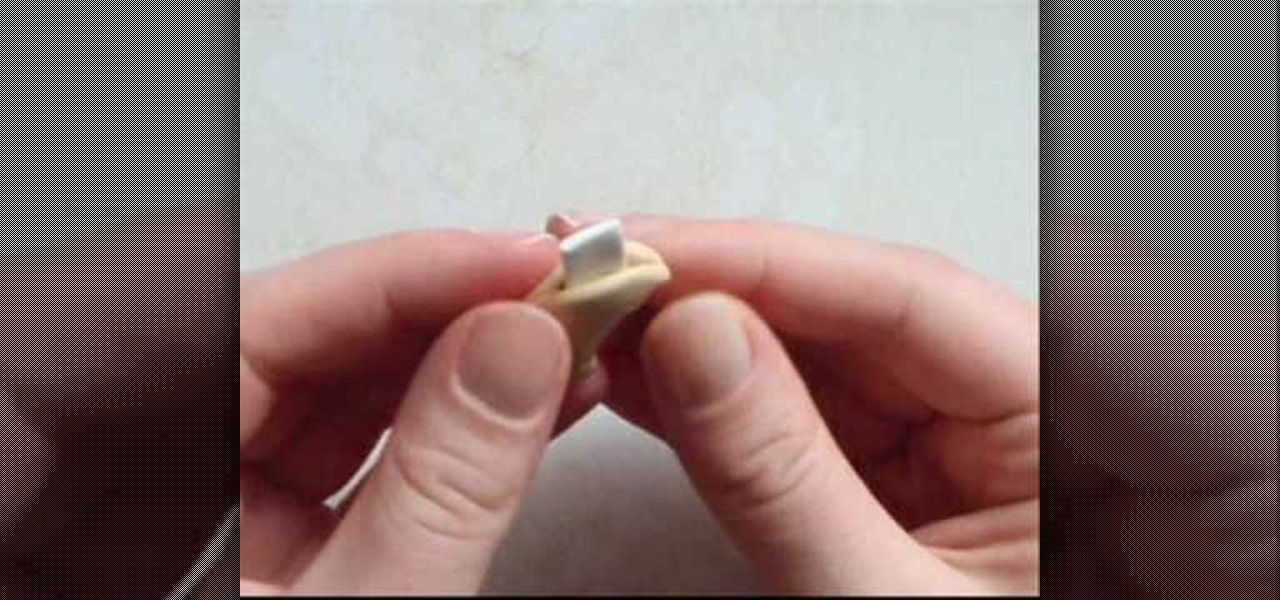
How To: Craft a miniature rose and leaf from polymer clay
We don't know about you, but we're much more fond of fake flowers than real ones. Yes we know, real flowers are quite a bit prettier and smell like heaven on earth, but the great aspect about faux flowers is that they will never wilt.
How To: Make a ham and lettuce sandwich from polymer clay
We enjoy crafting of all sorts (nothing better to take your mind off, well, everything, after a long day at work), but polymer clay holds a special place in our hearts. Unlike painting or building contraptions out of wood, using polymer clay gives us the God-like power to make anything we want, and make that thing look mindblowingly real.

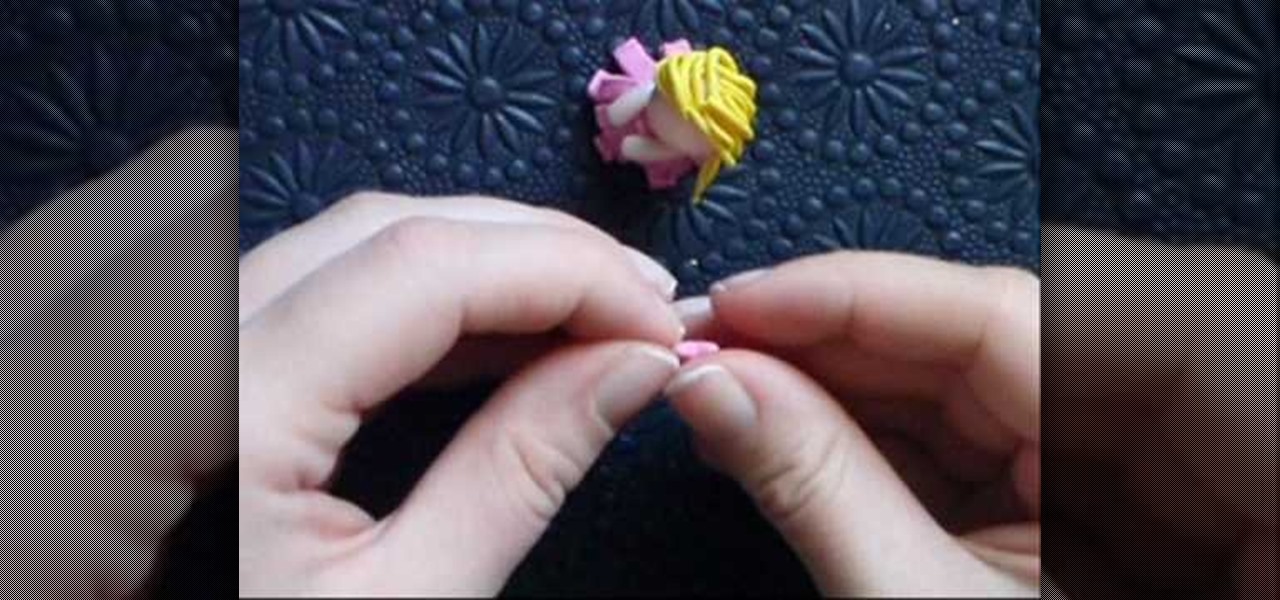
How To: Make a miniature Alice in Wonderland from polymer clay
At its heart, Lewis Carroll's "Alice in Wonderland" is a book about growing up, about the sometimes crazy and nonsensical journey into the world of pretty crazy and nonsensical grown-ups. But at the same time it is a story that celebrates childhood and the wondorous imagination that one can only have at that point in time.
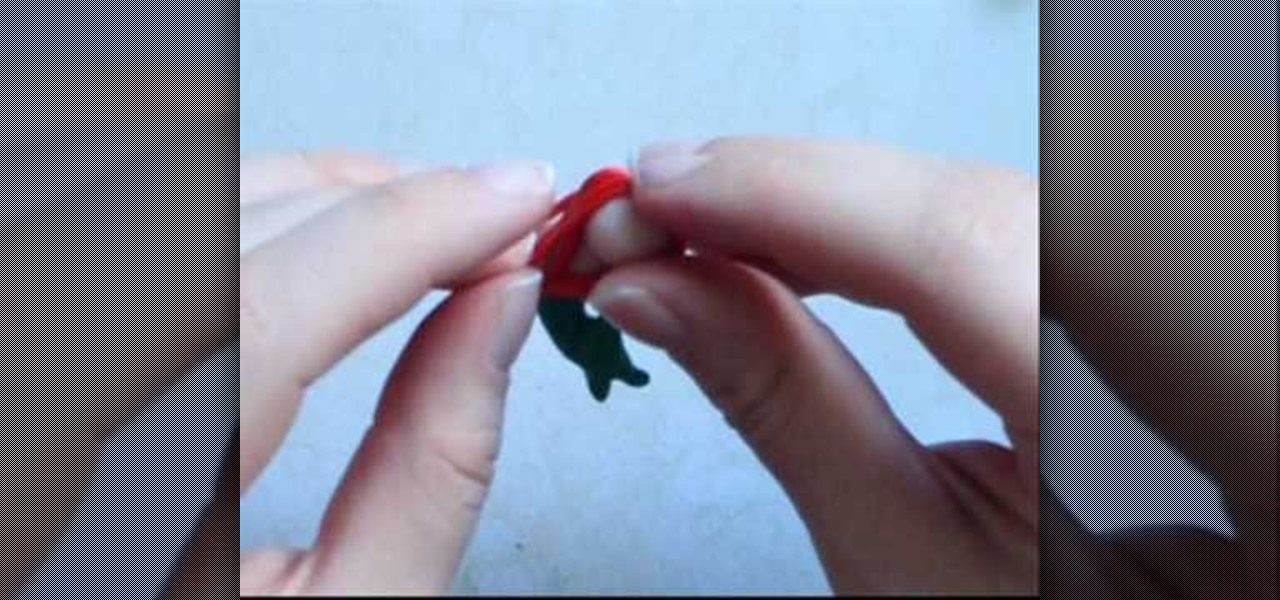
How To: Make a sakura (cherry blossom) from polymer clay
Cherry blossoms aren't just special because they're Bath and Body Works' best-selling scent of all time. No, in addition to their delicate floral smell, cherry blossoms are special because they are the first flower buds to open in spring. Spring officially stars when you see the cherry blossom trees bursting into color, and what a wonderful way to celebrate the new season!
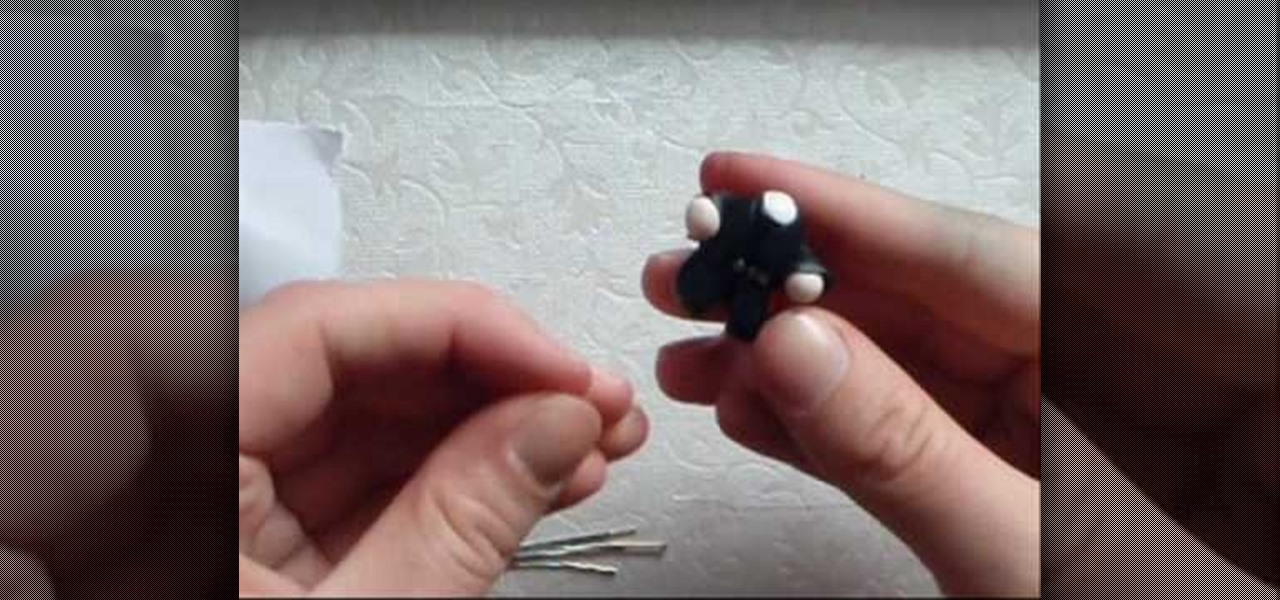
How To: Make miniature polymer clay gym weights
We promise that even the wimpiest of lightweights can lift these weights. So small they can fit into the palm of your hand, these "weights" are actually made out of polymer clay. While they won't give you quite as intense a workout as your typical gym weights, they're awfully cute and a sweet gift for a friend who's a gym buff.

How To: Make an orange or lime candy cane from polymer clay
You know those sugary sweet jelly fruit slices you can get in little packets at every grocery and convenience store? Well, we've found a way for you to enjoy them without busting out of your belt.

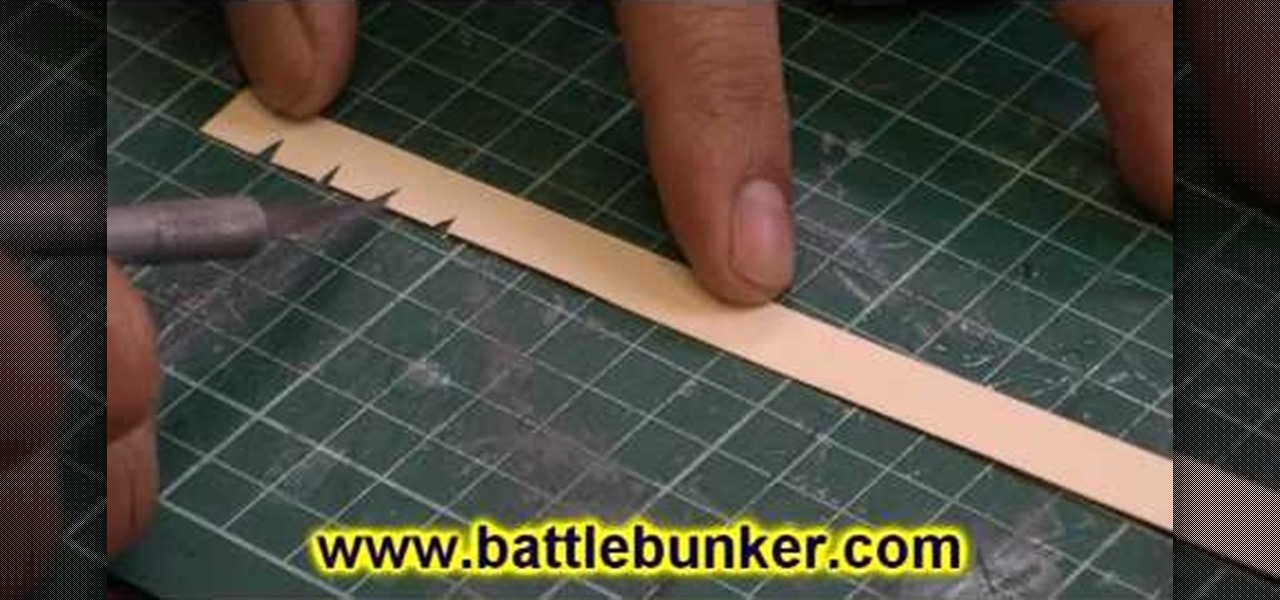
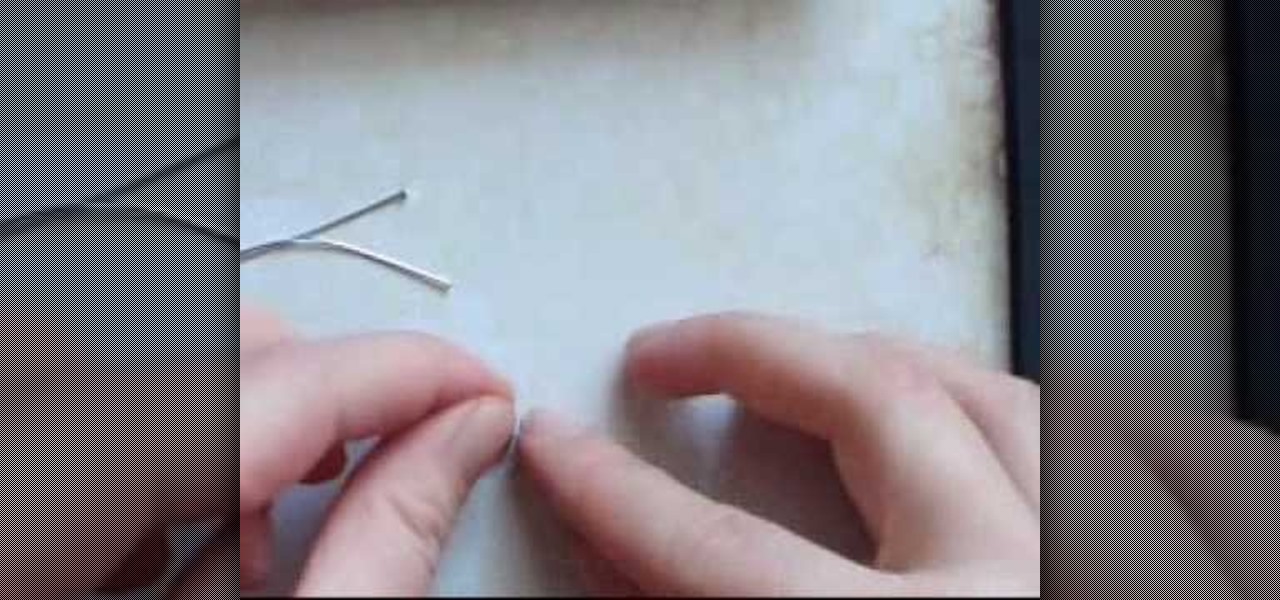
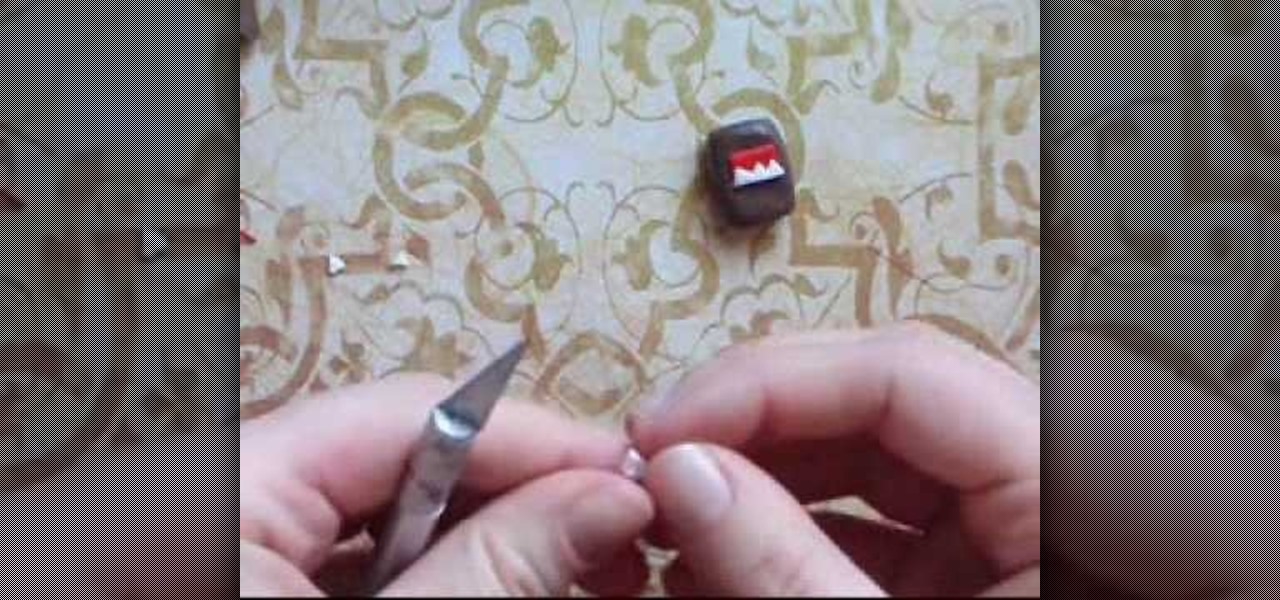
How To: Make a miniature medieval flail
In this video, we learn how to make a miniature medieval flail. You will need: glue, string, scissors, drill, paper, cardboard, paints, masking tape, electrical tape, plastic chain (optional), a brush, and a wooden handle. First, crumple up a couple sheets of paper to make it into a ball. Wrap masking tape around it so it keeps its shape. Next, wrap your string or twine around the ball several times at various angles, tying it each time at the bottom. After this, tape it again with masking ta...

How To: Make a Tyler Oakly inspired rag doll
In this video, we learn how to make a Tyler Oakley inspired rag doll. You will need: an old t-shirt, a needle, felt, googly eyes, pen/pencil, paper, yarn, thread, and scissors. Start out by drawing the body of the doll out on the piece of paper, then cut it out. Now, trace the body shape onto the t-shirt and cut out two of these shapes. Now, take a needle and thread, and sew the two pieces of fabric together, leaving a small opening. Next, fill up the doll and then sew it back together. Now, ...
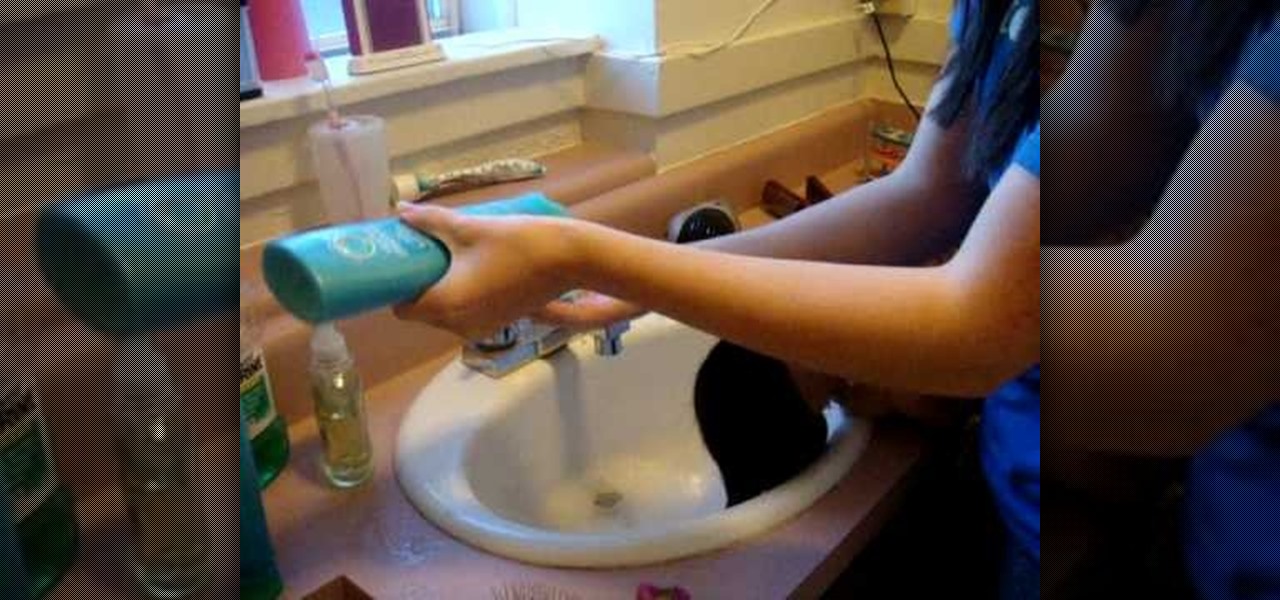
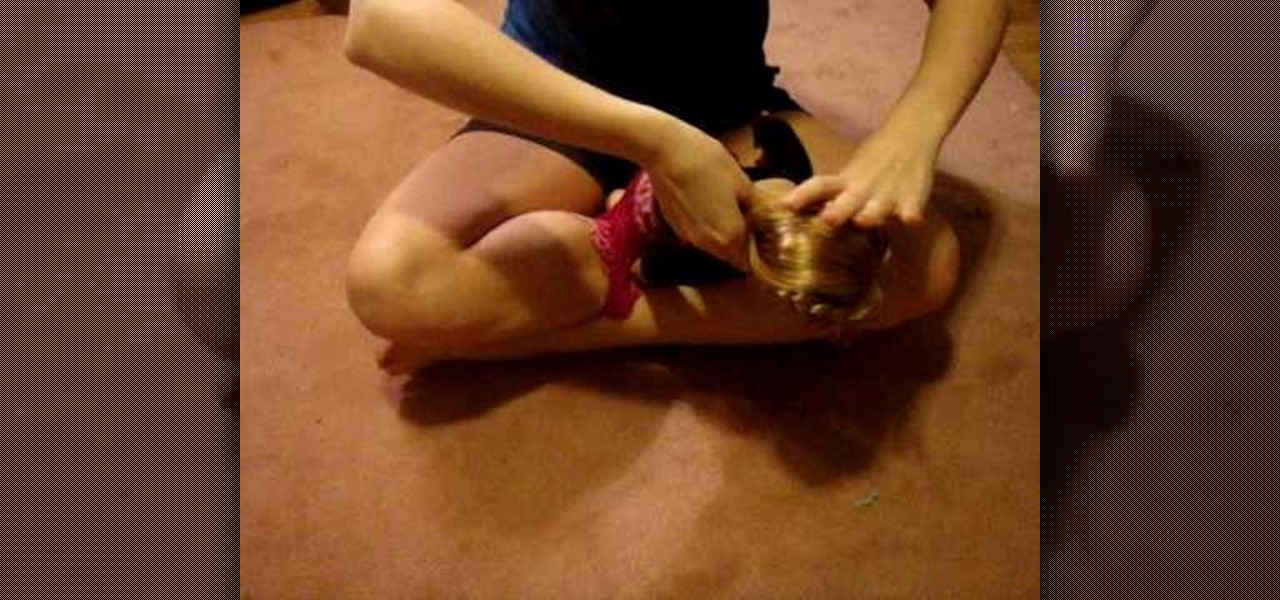
How To: Properly wash your American Girl doll's hair
In this tutorial, we learn how to properly wash an American Girl doll hair. First, rinse warm water through the doll's hair, then wash the hair with Herbal Essence's hydration shampoo. After this, rinse out the shampoo until there are no more bubbles. Next, place conditioner in the hair, the rinse off the conditioner until it's completely rinsed out. Comb your fingers through the hair so there are no more knots in the hair. When finished, comb out the hair and then blow dry it until there is ...

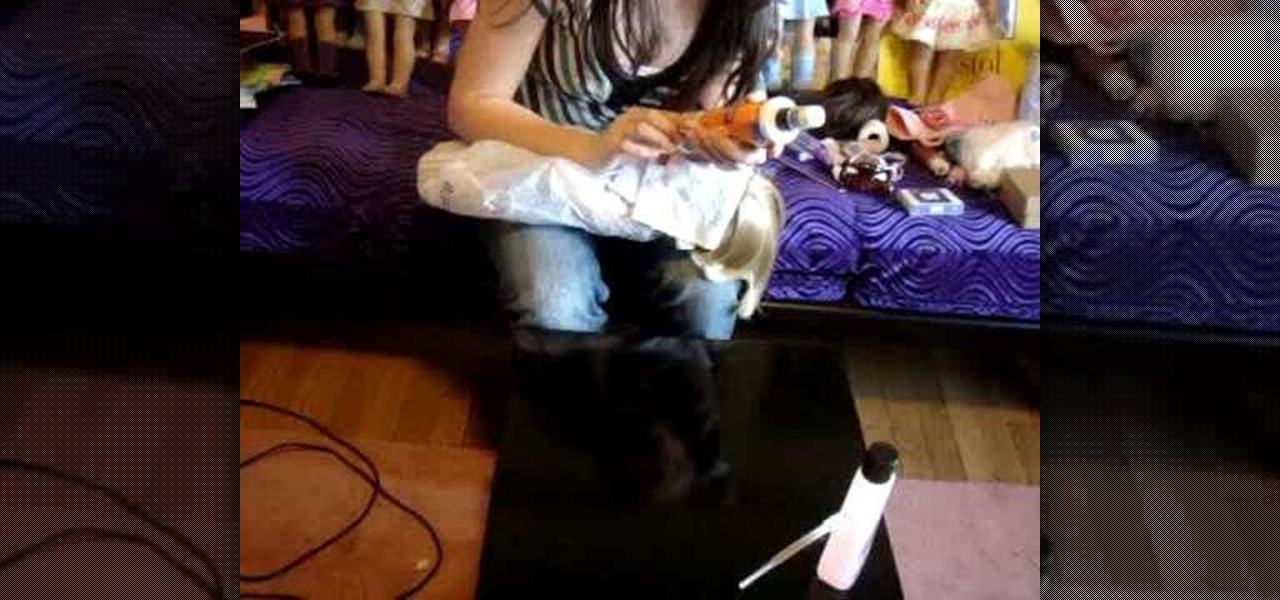
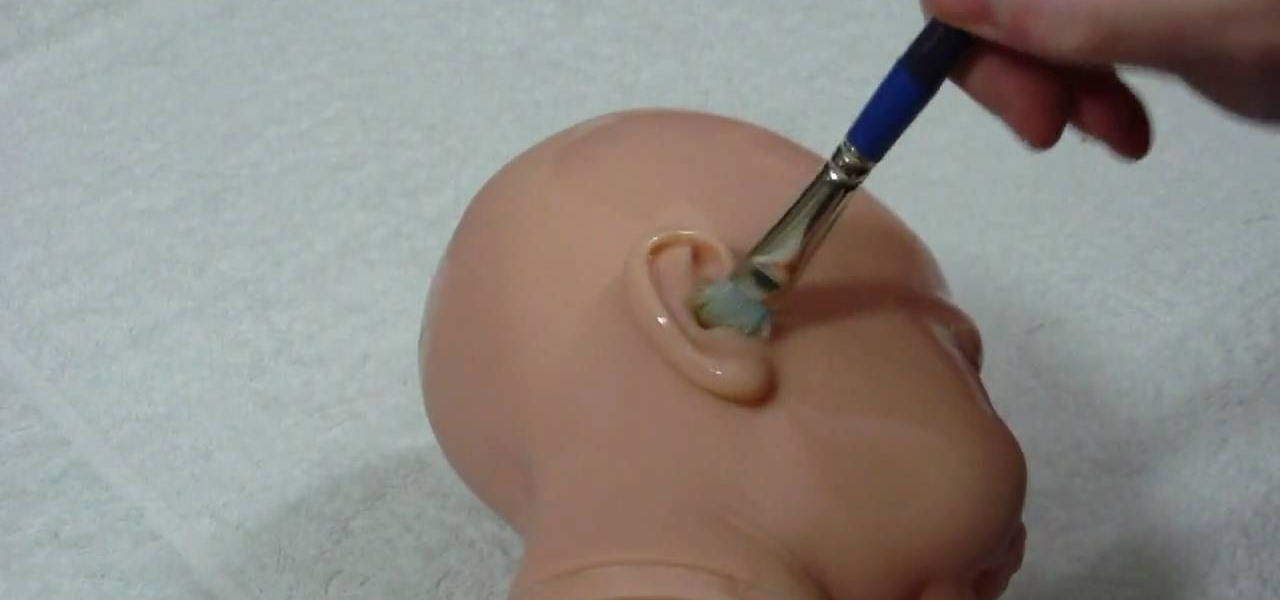
How To: Insert eyes from the back of a reborn baby doll
In this tutorial, we learn how to insert eyes from the back of a Reborn baby doll. To do this, you will need: a cutting knife, glues, and the correct type of eyes for your baby doll. Start off by cutting the vinyl on the back of the head, using your thumb to push the socket back into the head. After this, cut the bottom half just enough to push the eye through the socket. Insert the eyes into the cuts that you made, letting it sit flush to the vinyl. Look at the front of the doll to make sure...
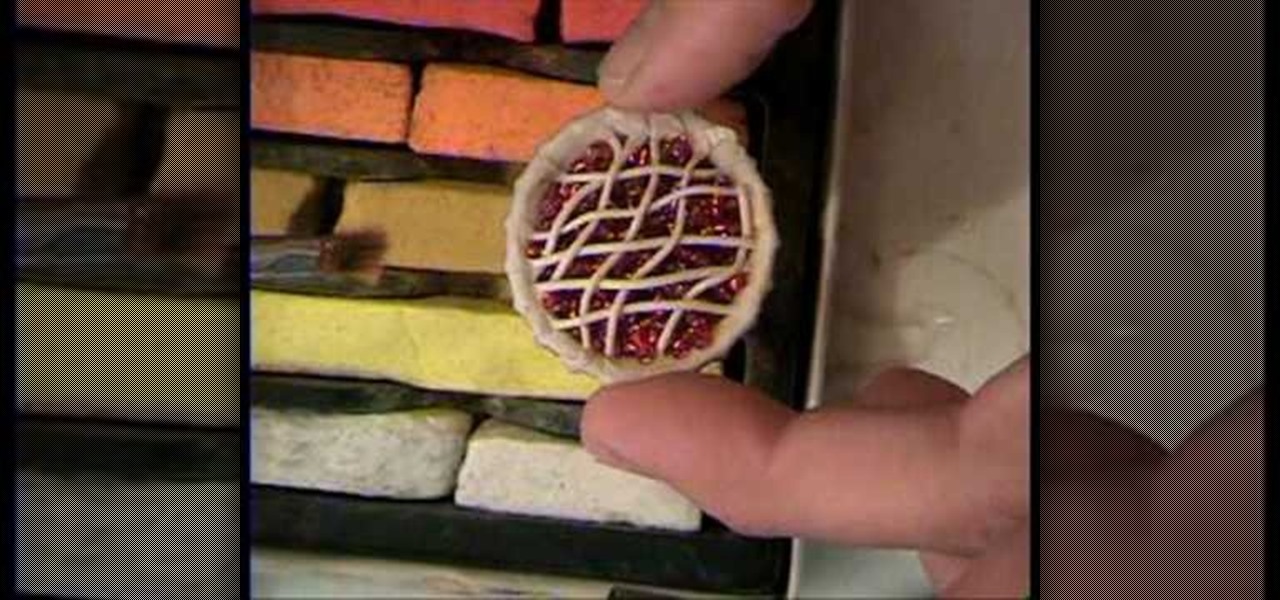
How To: Make a miniature cherry pie from polymer clay
Learn how to make an polymer clay cherry pie with this free video craft lesson. While this tutorial is best suited for those with some familiarity of polymer clay sculpture, novice sculpters should be able to follow along given a little effort. For specifics, including step-by-step instructions, and to get started crafting your own mini, dollhouse-size cherry pies, take a look.

How To: Craft a Hannah Montana figure from polymer clay
As the Disney Channel hit "Hannah Montana" rolls into its last season, millions of fans across the country will mourn the loss of their favorite pop star/ordinary kid (sort of). If nothing else, if you're a teen then you grew up on Cyrus' catchy tunes from the show, like "One in A Million" and "Life's What You Make It."
How To: Make a Lady Gaga "Alejandro" figure from polymer clay
As outrageous, shocking, and sometimes grotesque as Lady Gaga is, you have to admit that she's awfully cute when transformed into polymer clay form.
How To: Make Ariel from "A Little Mermaid" from polymer clay
If you're of the older generation (and by older we mean you're completely not feeling the Justin Bieber thing, so let's say mid twenties), then you probably grew up watching a slew of happily ever after Disney movies.
How To: Make a Michael Jackson "Bad" figure from polymer clay
The world will never forget Michael Jackson's death. True, dude did get freaky as he got older (we're not one to judge what "normal" is, but the turning white thing and the head-scratching dillemma of the disappearing nose were, well, freaky), but he also made a lot of contributions to pop music and to style.
How To: Make a yummy hostess cupcake from polymer clay
Want to be the "hostess" with the mostest? (Sorry, couldn't resist the pun here). While serving these delightful polymer clay hostess cupcakes at your next party may not be the most appetizing adventure for your guests (though they will agree that they're cute), these clay cakes make great necklace pendants or earrings.
How To: Create a pink princess cupcake from polymer clay
We don't know how it happened and can't particularly pinpoint when it happened, but over the last few years cupcakes have way overtaken cakes as to go-to dessert. Perhaps it's because they're pre-portion sized, or perhaps it's because they're so darn cute and easily transformed into any shape we can imagine.
How To: Make a polymer clay Elphaba and Glinda from "Wicked"
Over the last few years, the musical "Wicked" has become a highly popular phenomenon whose awesomeness has spread mostly through word of mouth. Well, that and the musical's extremely talented and gorgeous costars, Idina Menzel and Kristin Chenoweth, have unparalled charisma and vocal ranges that do nothing less than astound.
How To: Make a Starbucks Coffee cup from polymer clay
These days, with such an intense demand for everyone to be on the go, up, productive, and "happy," it's no wonder we supplement our tired souls with a cup of coffee every morning. In fact, we know of some friends who simply don't function without that first cup...or two.
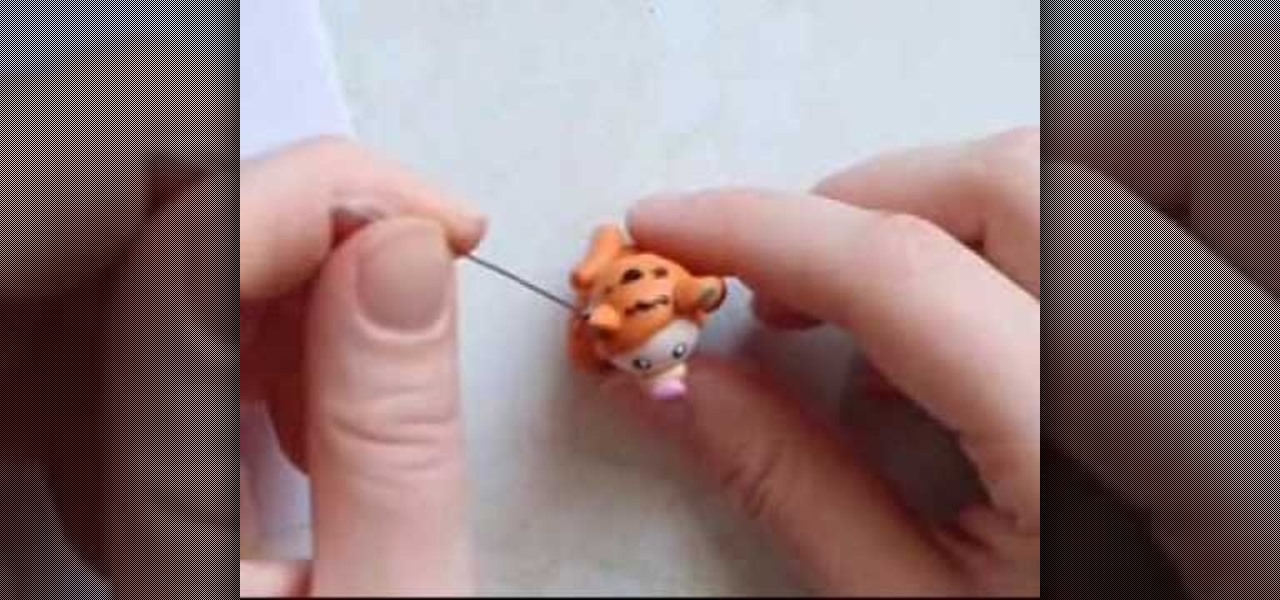
How To: Make a kid wearing a Tigger costume from polymer clay
Polymer clay boys and girls want to get dressed up too for Halloween! Deck out a little polymer clay boy or girl with festive Halloween attire by creating a "Winnie the Pooh" Halloween costume.
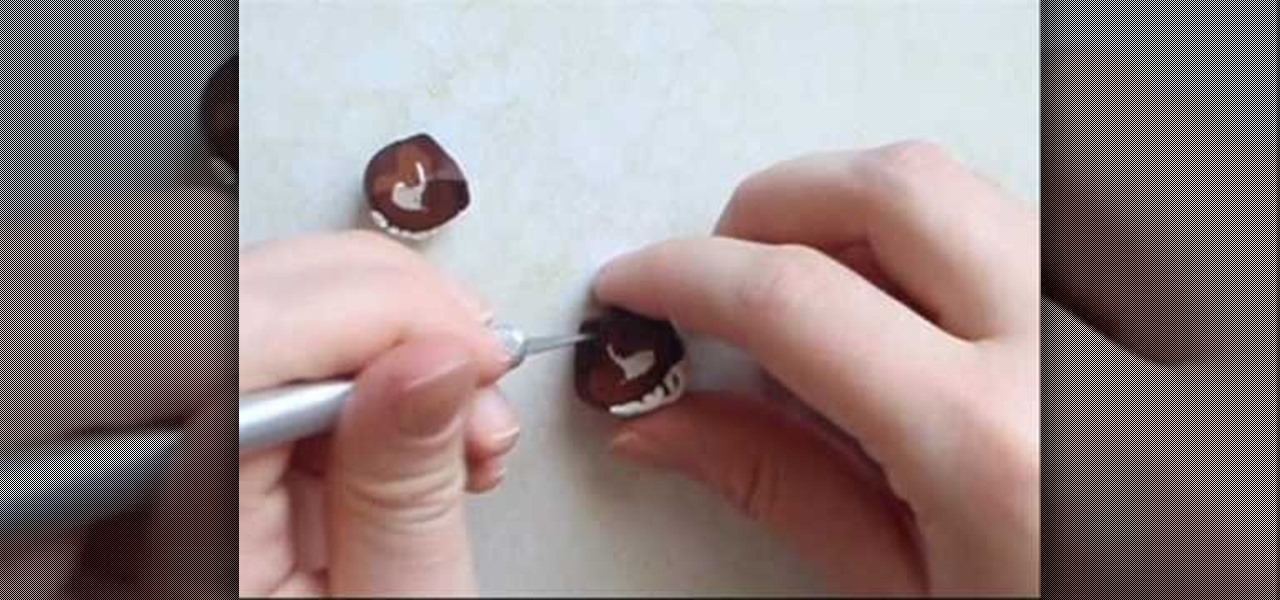
How To: Make a Chinese fortune cookie from polymer clay
Fortune cookies are quite ephemeral things. You break 'em open after a nice meal of Americanized orange chicken and broccoli and beef, start overanalyzing your fortune that "your relationship will take an unexpected turn," and then chomp down on the delicious wafer as you contemplate if he really is The One.

How To: Craft a plate of sushi out of polymer clay
Are you a sushi addict whose idea of heaven is a world filled with tuna roll bricked houses and streets of shrimp tempura? Then craft a piece that shoes off your love for the fine Japanese delicacy by watching this tutorial for making a plate of sushi out of polymer clay.
How To: Make the Domo Kun character from polymer clay
Domo Kun, also affectionately and poignantly known as Domo, is one well off Japanese cartoon character. While he's actually nothing more than Japanese TV show NHK's mascot, this rectangular shaped monster with a need for gobbling up yummy food has his own line of fan merchandise, including plushies, toys, t-shirts, notebooks, and really the list goes on and on. He's also the star of some stop-motion animation episodes by Tsuneo Goda.