

Everything Else

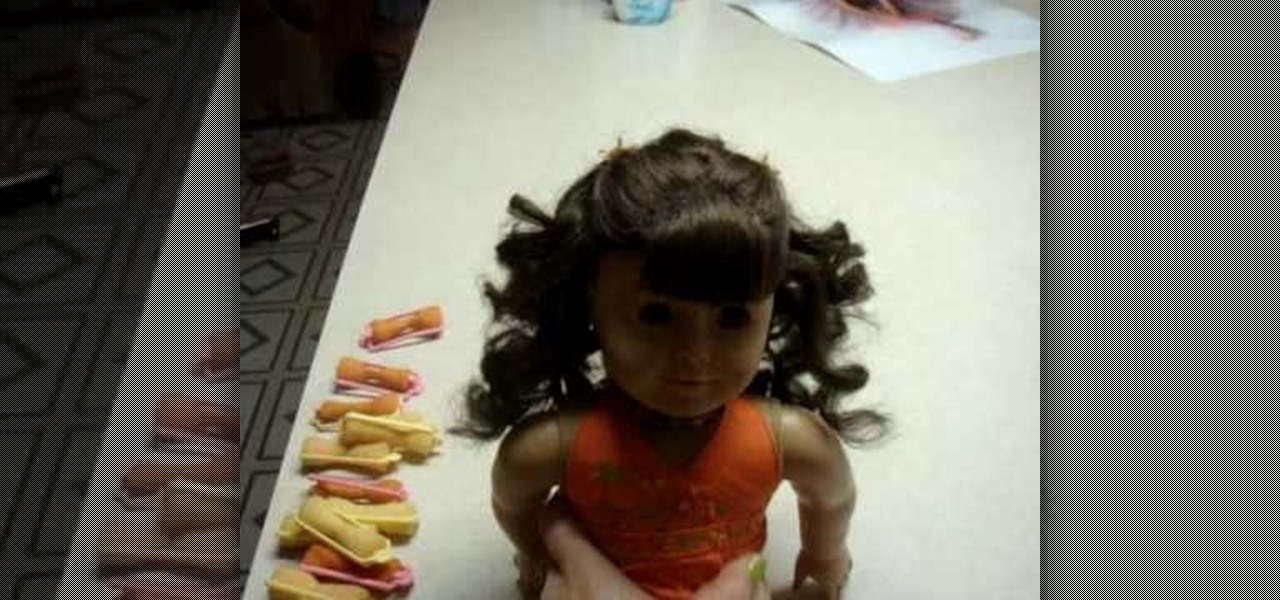
How To: Do a cute easy hairstyle on your American Girl Doll
In this video, we learn how to do a cute easy hairstyle on your American Girl Doll. To start, brush your doll's hair and then part the hair in the middle. After this, break the side of the hair into three pieces and then start to braid it from top to bottom. After this, repeat the same process on the other side. Tie the bottom with rubber bands and then you will be finished with this hair style! It looks really cut on a doll that has long hair with bangs, but can also work on short or layered...
How To: Double french braid your American Girl Doll's hair
In this tutorial, we learn how to double French braid your American Girl Doll's hair. First, part the hair right down the middle so you have the left and right side. After this, pull one of the sides into a pigtail. Next, go to the other side and grab a small section from the top. Brush this out and then divide into three pieces. Start it like a regular braid, then start to grab hair from the bottom on each side, crossing it over the middle. Continue to do this until you reach the bottom of t...
How To: Do a cute hairstyle on American Girl with medium hair
In this tutorial, we learn how to do a cute hairstyle on American Girl with medium hair. This is great for a doll that has hair that flips out at the bottom or hair that is curly. First, you will take most of the hair, except for a thin layer of hair on the underneath area. Put a rubber band around this part of the hair, then put a hole with your finger above the band. Flip the hair through this, so the hair is sticking up. Then, curl the hair under and clip it into place on the back to finis...
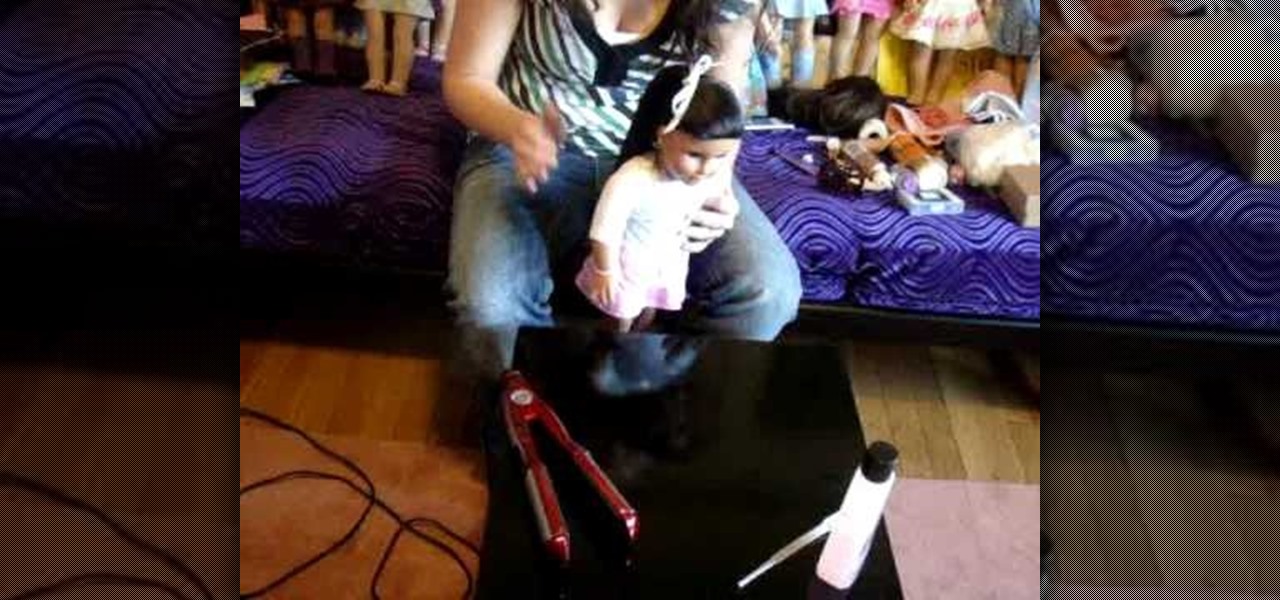
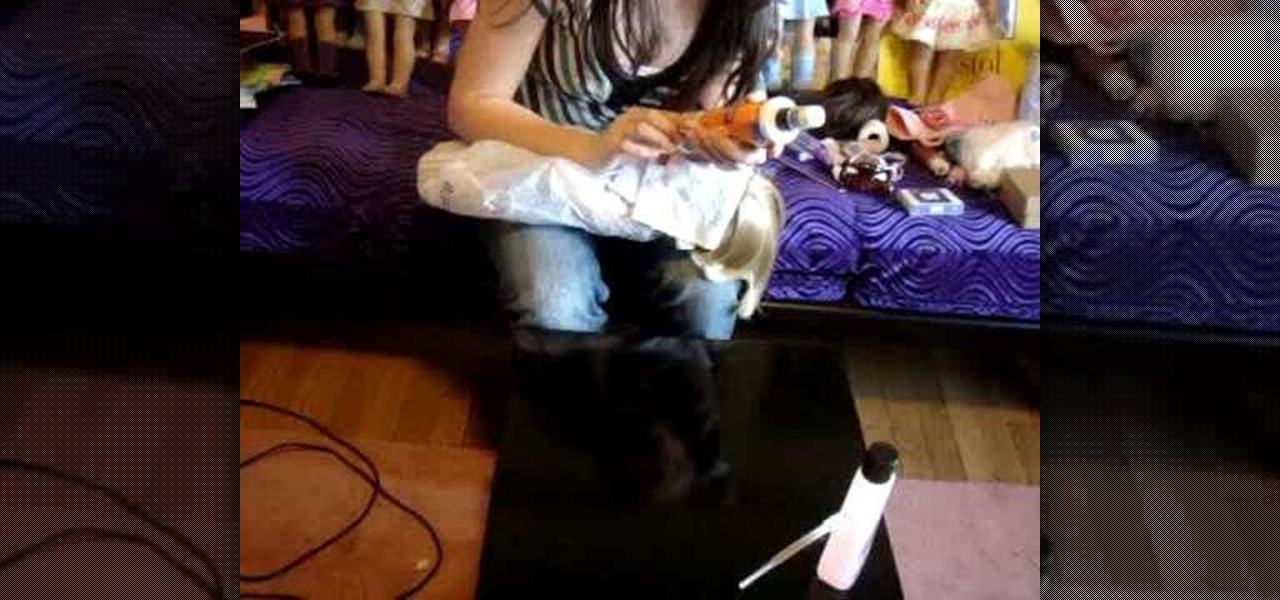
How To: Flat iron your American Girl doll's hair
In this video, we learn how to flat iron your American Girl doll's hair. First, heat up your flat iron on the lowest heat setting it has. Now, brush your doll's hair so it doesn't have any lumps or bumps in it. Clip the to of the hair up and then take a small section from the bottom of the head. Then, squirt some water on the hair until it's wet. Comb through the hair and then run the flat iron through the hair very quickly. Run it through again if needed, then continue on to other sections i...

How To: Remove ink stains from your American Girl doll
In this video, we learn how to remove ink stains from your American Girl doll. If you get ink marks on your doll it's pretty easy to get off with just some Oxy spot treatment clear. The main ingredient in it is Benzyl Peroxide, which is an acne medicine. After you have this, you will put a little bit of it onto the stain on the doll. Apply this using a Q-Tip and not your finger, to avoid oils. Press this all over the spots on your doll, then cover the spots with plastic wrap. Put the doll in ...
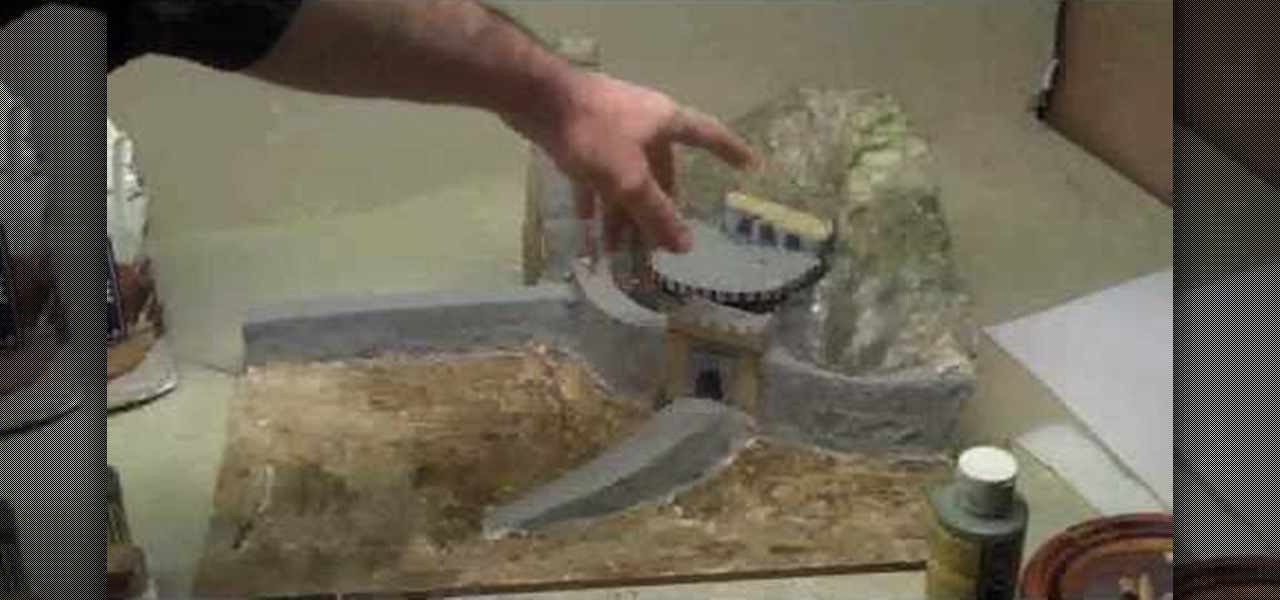
How To: Make a paper mache Helm's Deep
In this tutorial, we learn how to make a paper mache Helm's Deep. You can make a pretty good one just using paper mache if you don't have the professional materials. Build it on a cardboard surface and then use cut outs from cereal boxes to make the structures and building features. The paper mache will go over the buildings, so you can make different types of structures. You can also use crumpled up news paper to make the terrain so it will maintain its shape. After you put the mache on, it ...

How To: Do twist braid pigtails on your American Girl doll
In this tutorial, we learn how to do twist braid pigtails on your American Girl doll. Start by brushing the hair out and combing it in the middle. Then, take a small section in the font and split that in half. Start twisting it towards her face and then twist them together away from her face twice. Then, pick up a piece from the bottom and twist it into the braid. Continue to add in hair from the bottom until you have all the hair inside the twist braid. When finished, tie off at the end and ...

How To: Do a cute hairstyle on an American Girl with layered hair
In this video, we learn how to do a cute hairstyle on an American Girl with layered hair. First, brush the hair back until it's smooth. Then, pull the front section of the hair back, going off from where the eyes end. Then, you will pull it up into a ponytail. After this, you will take a section from the side of the head on both sides. Then, you will bring these together in the back of the head and tie together with a ponytail holder. Now, take another section lower down on the had and repeat...

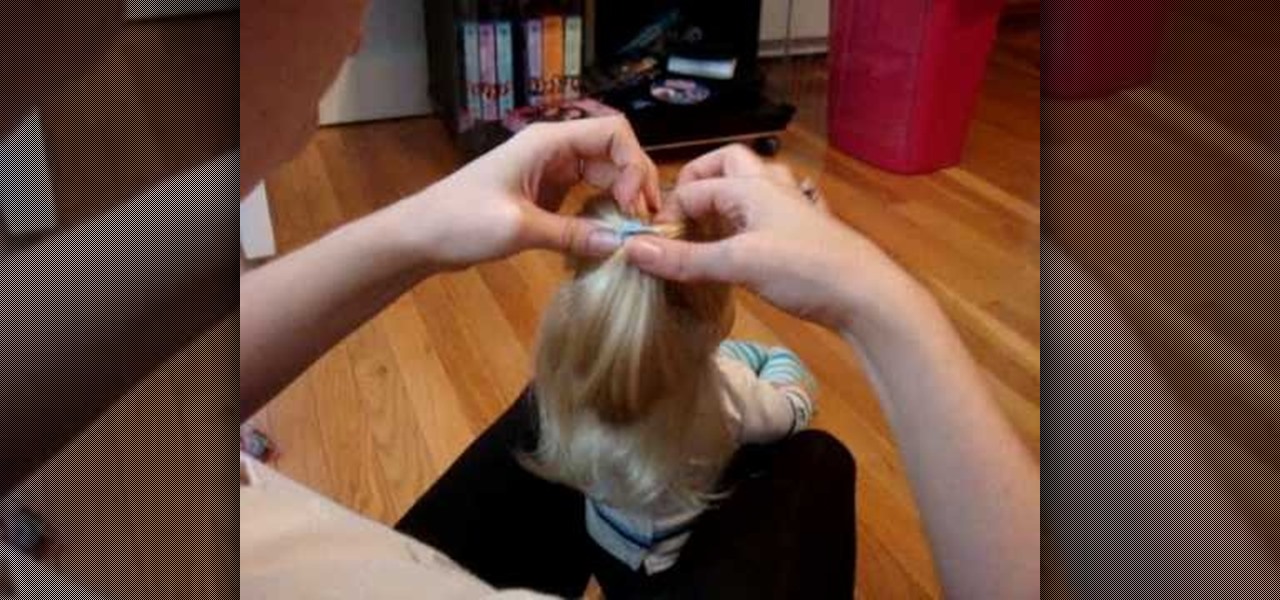
How To: Do wrapped pigtails on your American Girl doll
In this video, we learn how to do wrapped pigtails on your American Girl doll. First, separate the hair from side to side. Then, take a small section from the front of the hair and put it aside. After this, you will need to comb the hair back into a ponytail and secure with a rubber band. Secure the other side into a ponytail as well, but put all the hair back into it. After this, you will take the front from the other side and wrap it around the ponytail. Clip it into place and then you will...

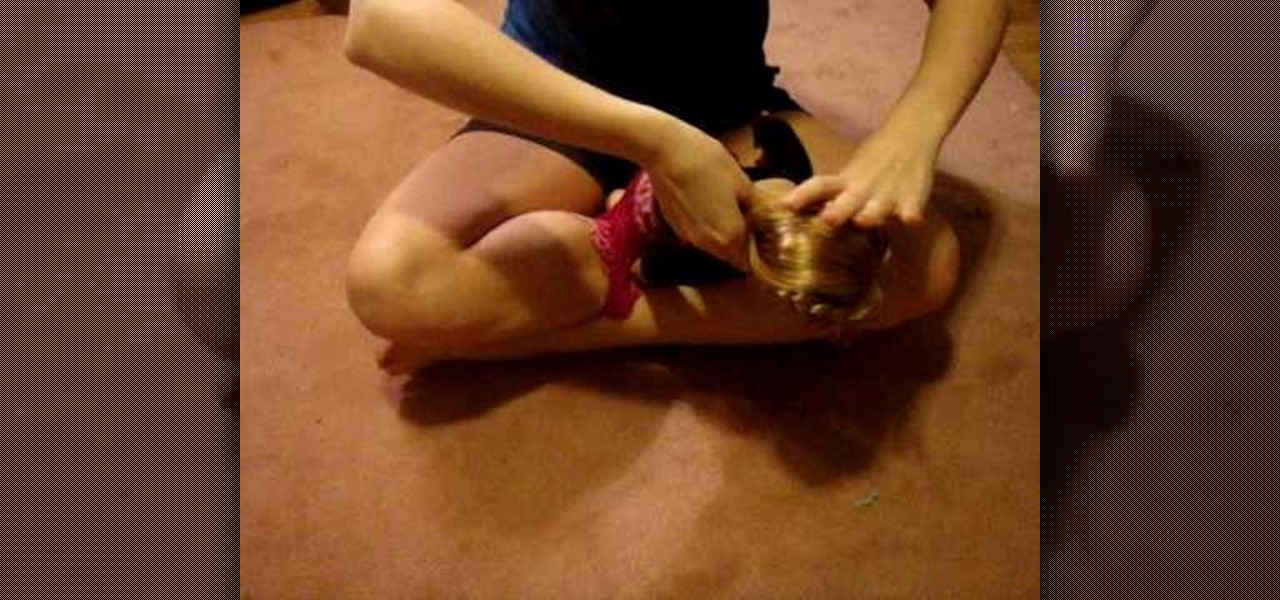
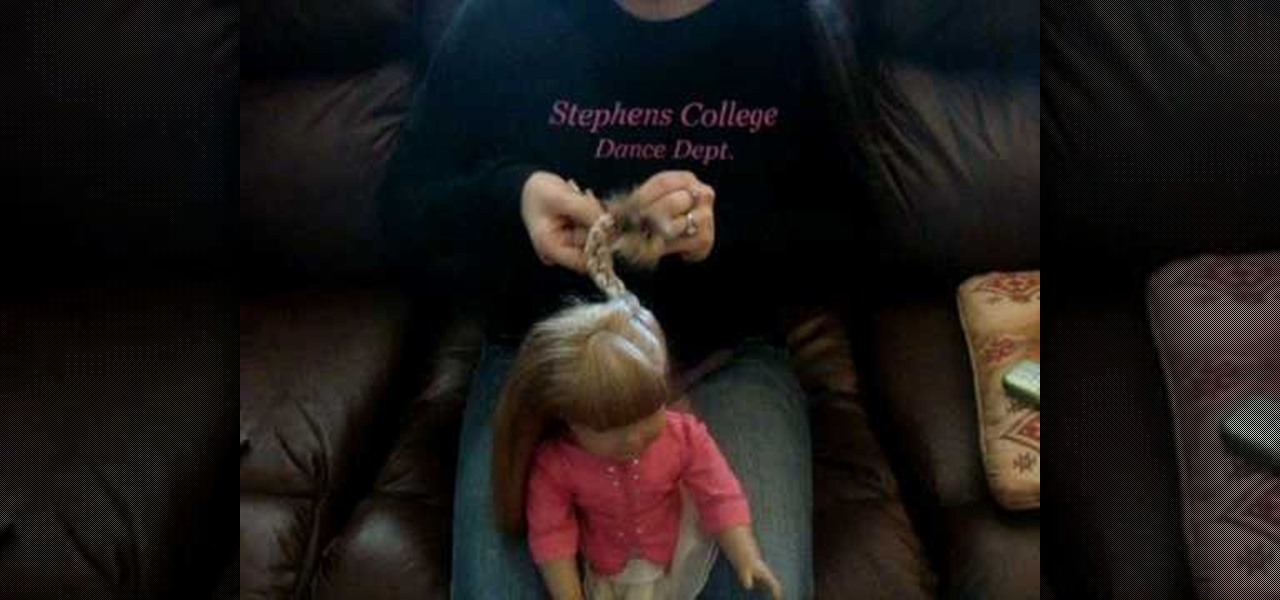
How To: Do a cute downhair style on your American Girl doll
In this tutorial, we learn how to do a cute down hair style on your American Girl doll. First, you will need to braid two braids on the doll's hair on each side. Tie it off at the end with a small rubber band. Do five of these around the head, from the top of the hair to the tip of the bottom! Line these up on the top so it looks even and not random. When you're finished, you will have a cute look that only takes minutes to create. If you want, you can tie this into a ponytail for an up-do!
How To: Redo American Girl doll Mia's braid
In this tutorial, we learn how to redo American Girl doll, Mia's, braid. First, you will need to brush out the hair for the doll. After you do this, you will take a little section of the hair from the front and split it into three. Then, take another little section from underneath this and clip it away. From here, you will start to braid the hair, clipping off the sections underneath separately so they don't get mixed together. Then, you will take the rest of the hair and put it into a ponyta...
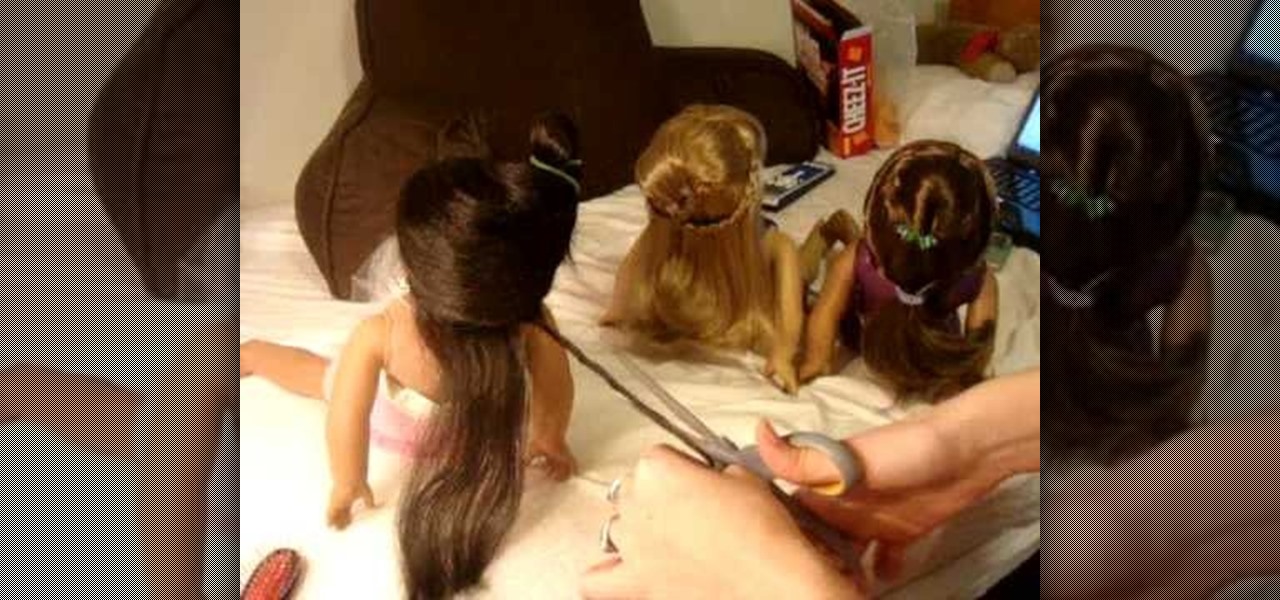
How To: Clean Your American Girl Dolls' Skin
In this tutorial, we learn how to clean your American Girl's dolls' skin. To start, you will need to clean the marks on the face off with a magic eraser or a mixture of baking soda and water. To defrizz the hair, you can cut off the frizz with sharp scissors. To wash the hair, make sure you don't get the base of the head wet, or this will ruin the doll completely. Straighten the braids by pulling the hair down straight. Use these tips to help keep your doll in the best shape and it will last ...
How To: Curl your American Girl doll's hair
In this video, we learn how to curl your American Girl doll's hair. What you will do is leave her hair in curlers for a couple of days and then take them out. To put her hair in curlers, you want to spray water on her hair so it's just damp. After this, you will section the hair off, them place the strands into small curlers. Do this all around the head until you have no strands left. When finished, leave her hair to dry for a couple of days. When you take the curlers out, your doll will have...
How To: Fix your American Girl doll's frizzy hair or split ends
In this video, we learn how to fix your American Girl doll's frizzy hair or split ends. If the ends are frizzy or split, there is a way to fix it. First, you will need to wash the doll's hair the night before and brush it out. After this, take some scissors and start to cut small sections of the hair that have frizz on them. After this, you will cut the bottom of the section to make sure it's completely evened up. To make it easier, you can go section by section until you have it right!

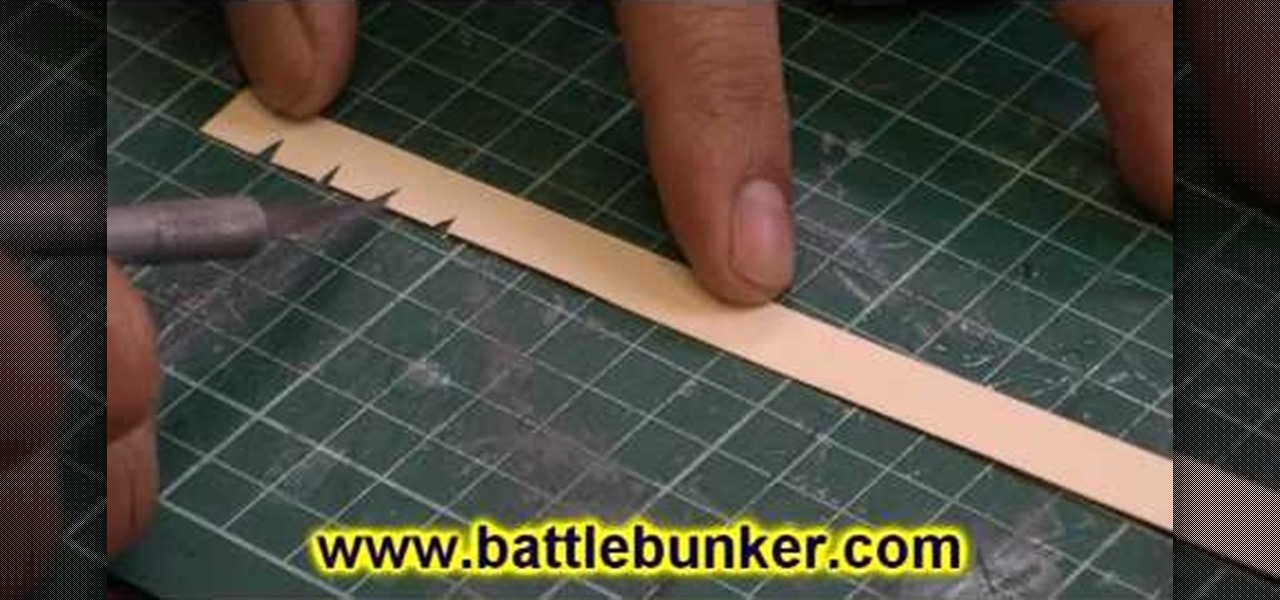
How To: Use foam to make diorama terrain
In this tutorial, we learn how to use foam to make diorama terrain. Foam will make a realistic diorama because it comes in so many different shapes and sizes. You can buy this from hobby shops and even online. To put these together, you will simply use some wood glue. You can easily cut this with a sharp knife, scissors, and anything else that is sharp! You can use a hot wire cutting tool to mold and sculpt the foam as well. You can also use a hot glue gun to connect the pieces of foam togeth...

How To: Do a Y braid on your American Girl doll
In this tutorial, we learn how to do a Y braid on your American Girl doll. First, brush your doll's hair out and then put the hair in pig tails. From here, you will split the tail in half on both sides. Then, you will combine the two middle pieces and start to braid the hair like normal. Do this all the way down until you reach the bottom of the hair. When finished, tie the end with a rubber band to keep in place. This will finish the Y braid look for your American Girl doll, enjoy! Decorate ...
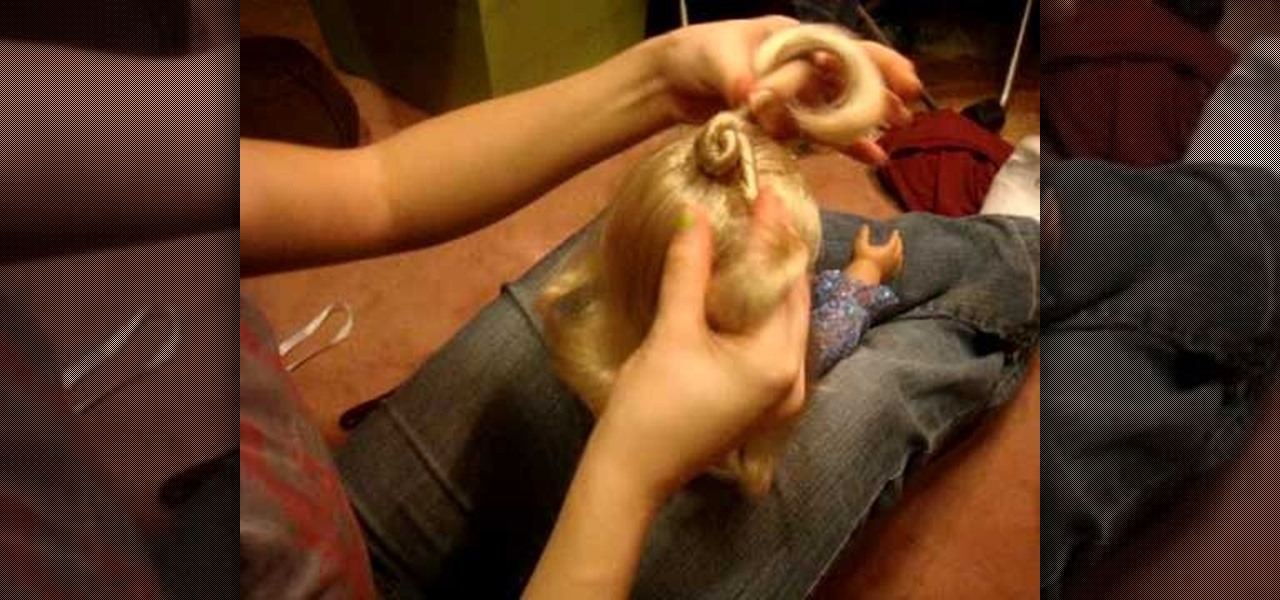
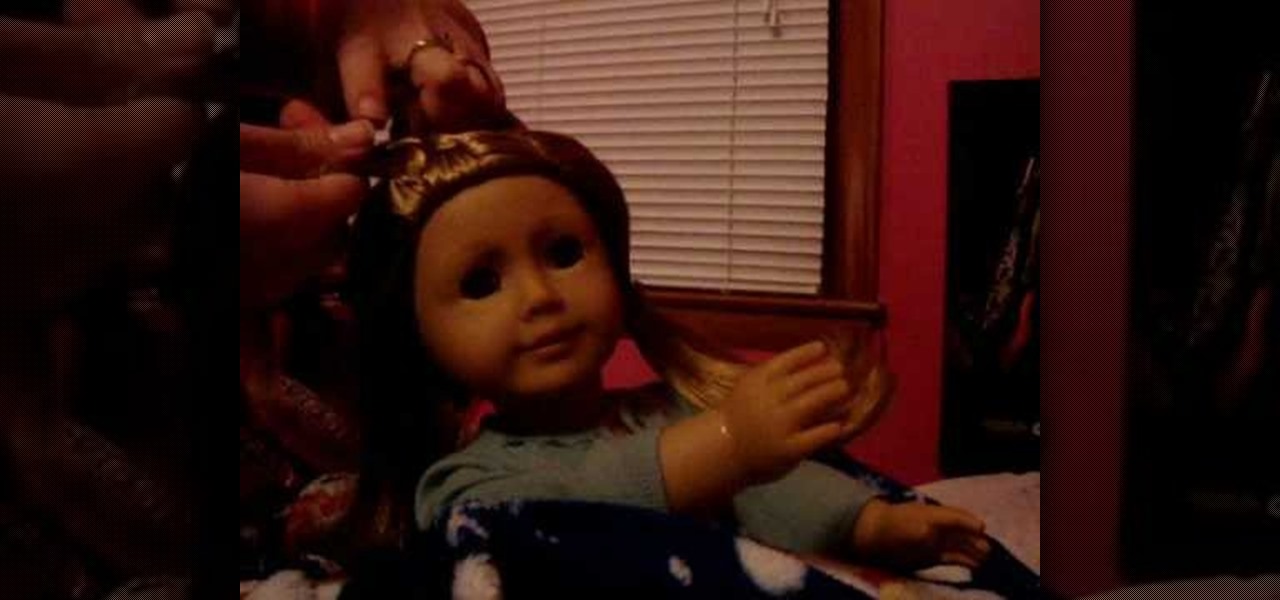
How To: Do the triple nifty knots hairstyle on your AG doll
In this video, we learn how to do the triple nifty knots hairstyle on your AG doll. First, comb the doll's hair back and then take the hair from the crown of the head. Put this into a ponytail and then secure with a rubber band. After this, section the tail off into two parts and twist them individually. Then, bring these around each other and create a bun at the top of the doll's head. Secure this with a rubber band. Do this with two other sections of the hair on the left and the right. When...
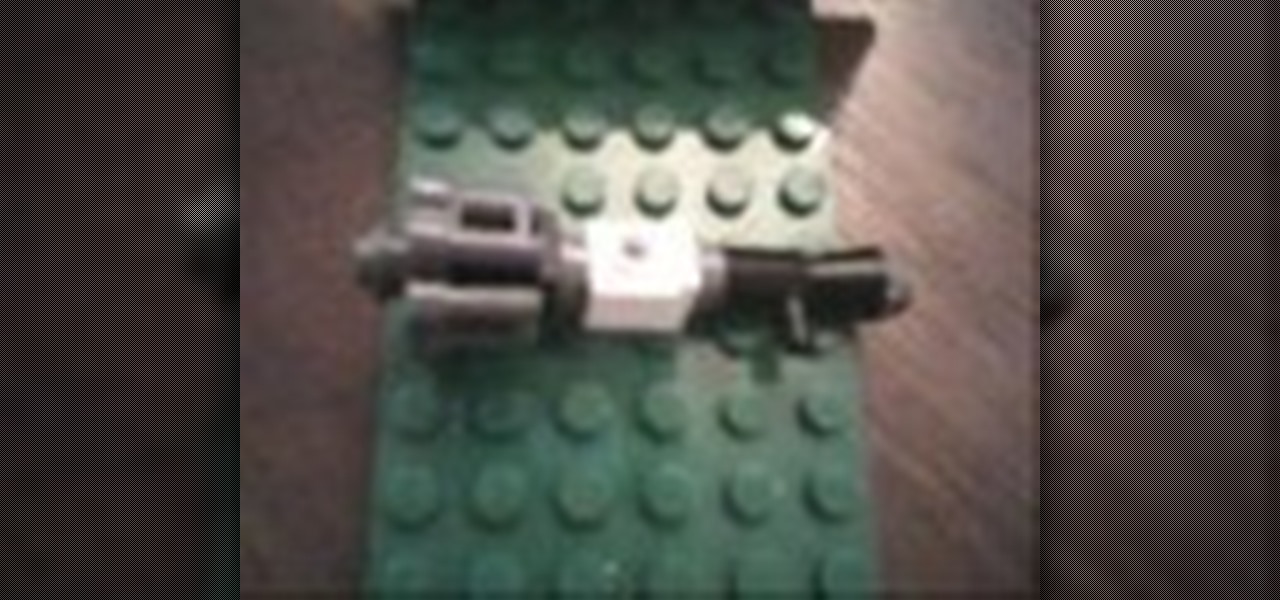
How To: Make a LEGO replica of the Lancer chainsaw / machine gun from Gears of War
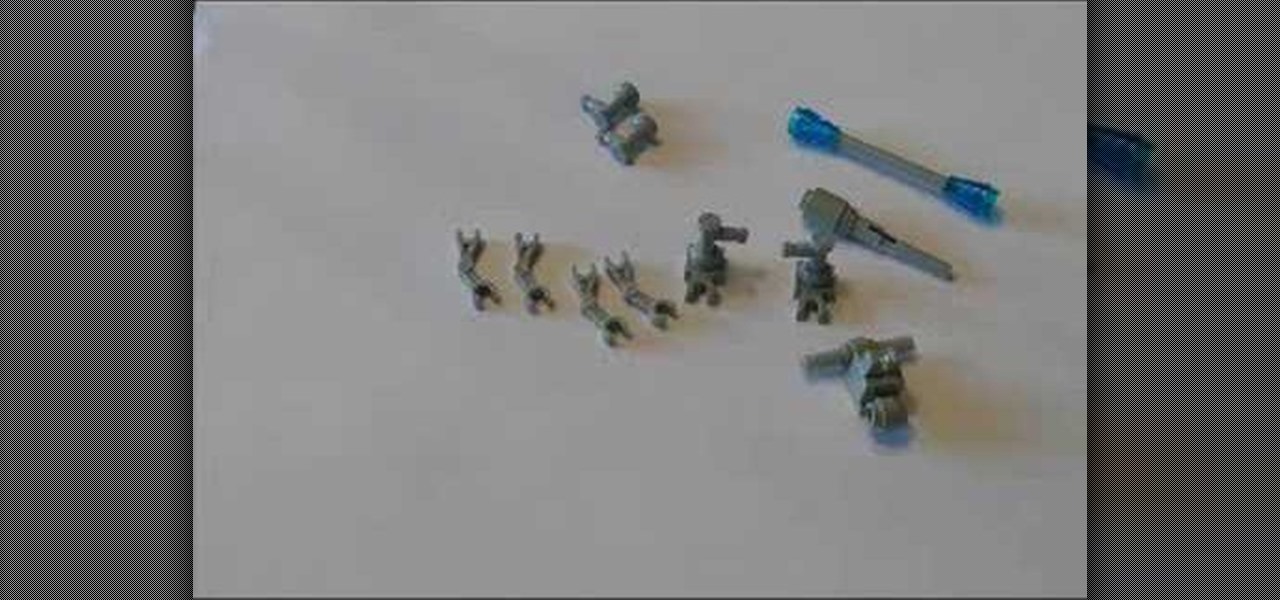
The Lancer chainsaw / machine gun from Gears of War is the weapon that first sold that game, Cliff Bleszinski's twisted brainchild that made the multiplayer so much fun. If you like LEGO and Gears of War, watch this video to learn how to make a replica of the Lancer out of LEGO for your minifigure to dismember each other with.

How To: Make a chainsaw for a LEGO minifigure
If you've been working on a LEGO battle scene and need a gnarly chainsaw to complete the esthetic, watch this video. It will teach you how to make in improbably large but really cool custom chainsaw out of spare LEGO bricks.
How To: Make a chain gun for a LEGO minifigure
Outfitting your LEGO minifigures for battle is one one of the best parts of playing with them, and tiny LEGO parts offer nearly unlimited options for weapon construction. Watch this video to learn how to build a Star Wars chain gun for a Stormtrooper or plucky Rebel Guard
How To: Build a custom LEGO General Grievous Magna Guard from Star Wars
General Grievous was by far the coolest new character introduced in Star Wars Episodes I- III. If you enjoy LEGO and Star Wars, watch this video to learn how to build an awesome custom General Grievous Magna Guard bodyguard out of LEGOs.
How To: Make a mini-honey jar with real honey for a dollhouse
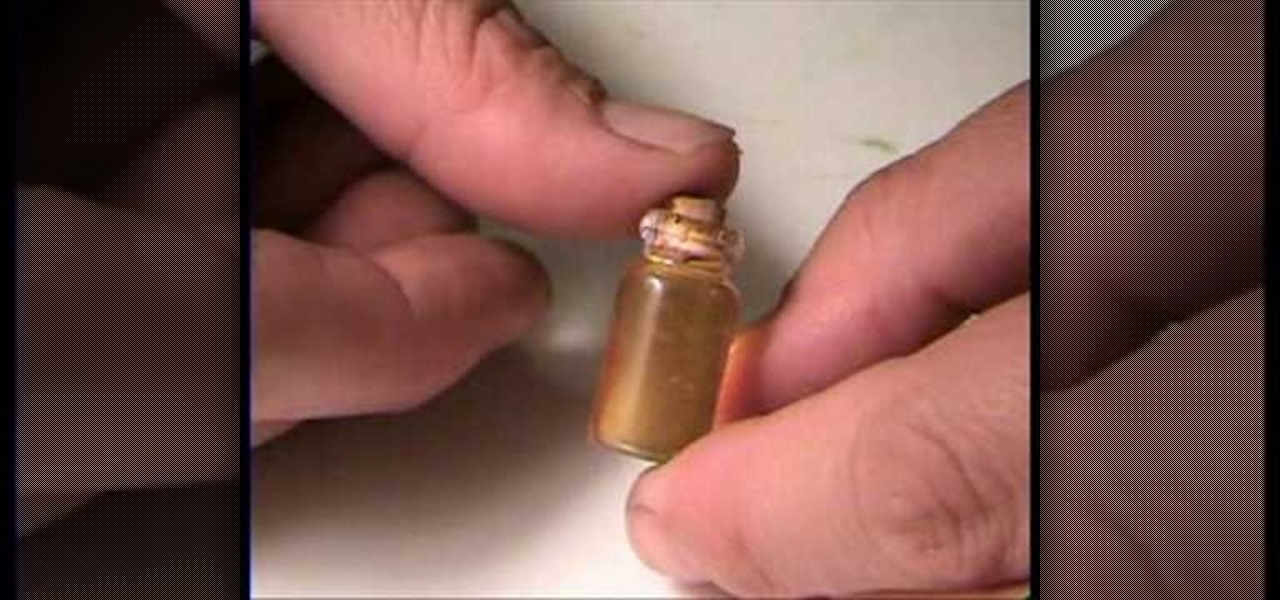
Making a dollhouse is fun especially when you do it with your little one. It can be a great time to bond with your daughter on a deeper level! When making a kitchen, one thing that you can put up on the shelf is a jar of honey. In this video you will get a quick tutorial on how to create your own with real honey!
How To: Clean a pasta machine for polymer clay
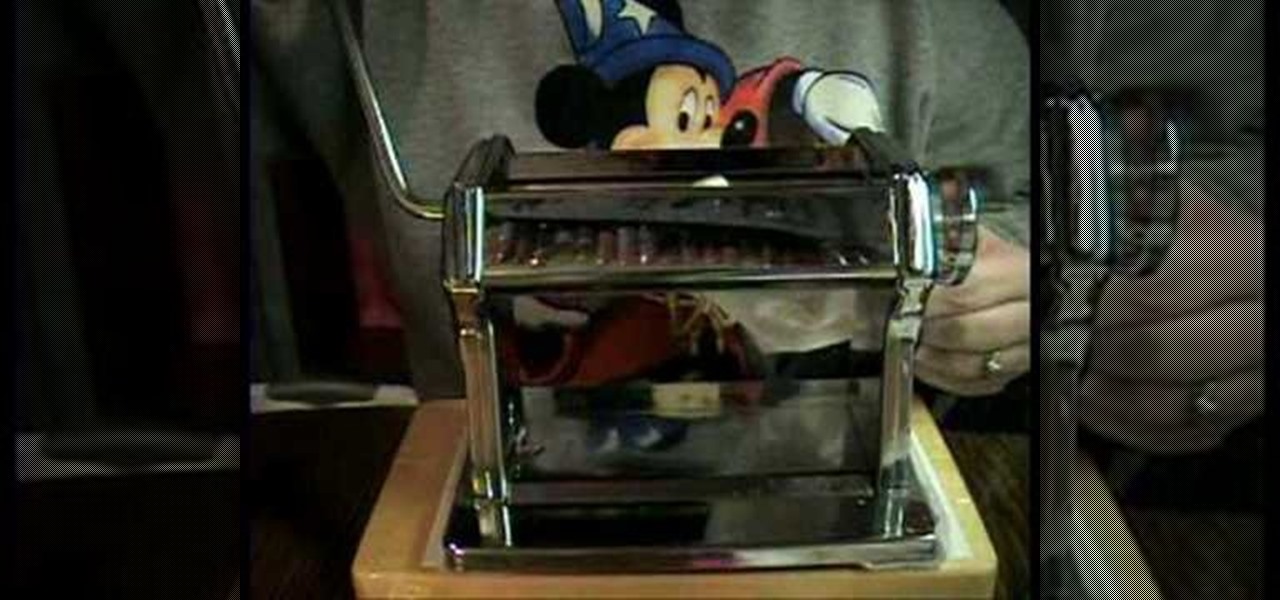
In this video, we learn how to clean a pasta machine for polymer clay. First, take a diaper wipe and scrub the blades. Then, roll the wipe through the blades. Scrub all over the machine and roll your blades several times while scrubbing on the inside. Roll the wipe inside the machine several times or until the machine starts to roll through with clean lines. That way you will not get different colors when you use white clay. Push white clay through the machine to see if other colors show up. ...
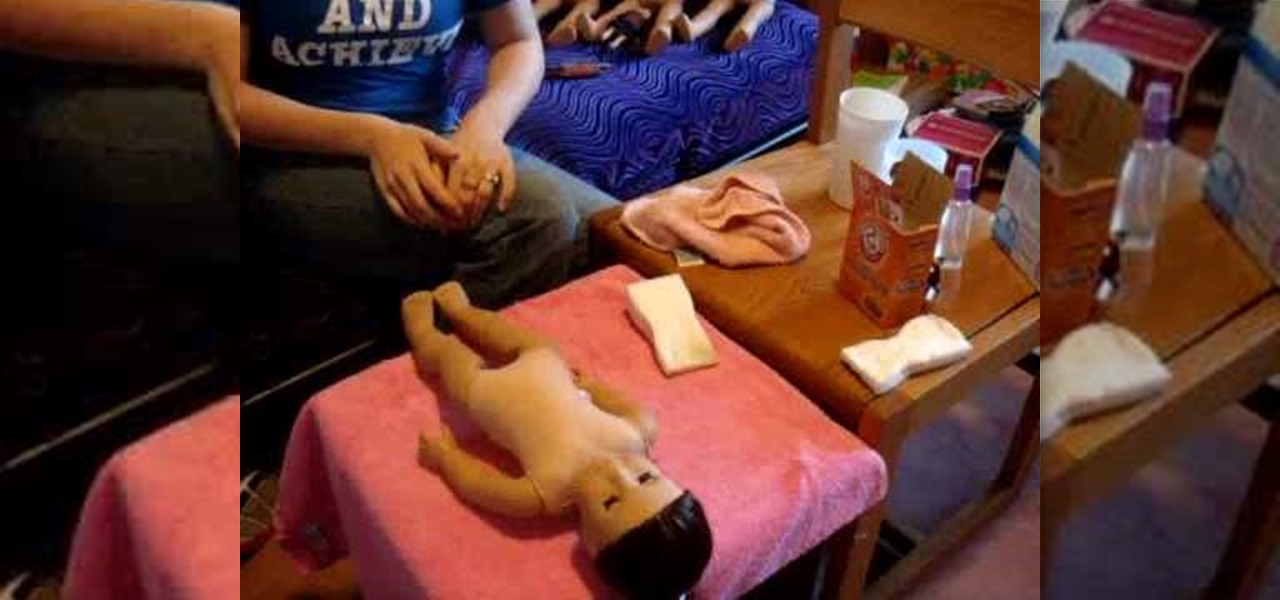
How To: Weigh and attach the head to your reborn baby doll
In this tutorial, we learn how to weigh and attach the head to your reborn baby doll. First, insert the stocking into the head, leaving the remaining out. Then, pour in large glass beads until the head is your desired weight. After this, tie the stocking as close to the beads as possible, then cut off the additional fabric. From here, you will fill the head in with soft filling until it's completely full. After this, you can apply the cap and glue around the base of the head. When this is dri...
How To: Make Spider-Man's Civil War costume on a Lego minifigure with some paint
Legos is a great way of letting your imagination run wild and create anything you can dream of! If you're looking to recreate some of your favorite scenes from the Marvel Civil War series, why not start with Spider-Man's Iron Spider suit? In this video you will learn how to assemble and paint an Iron Spider Lego minifig!
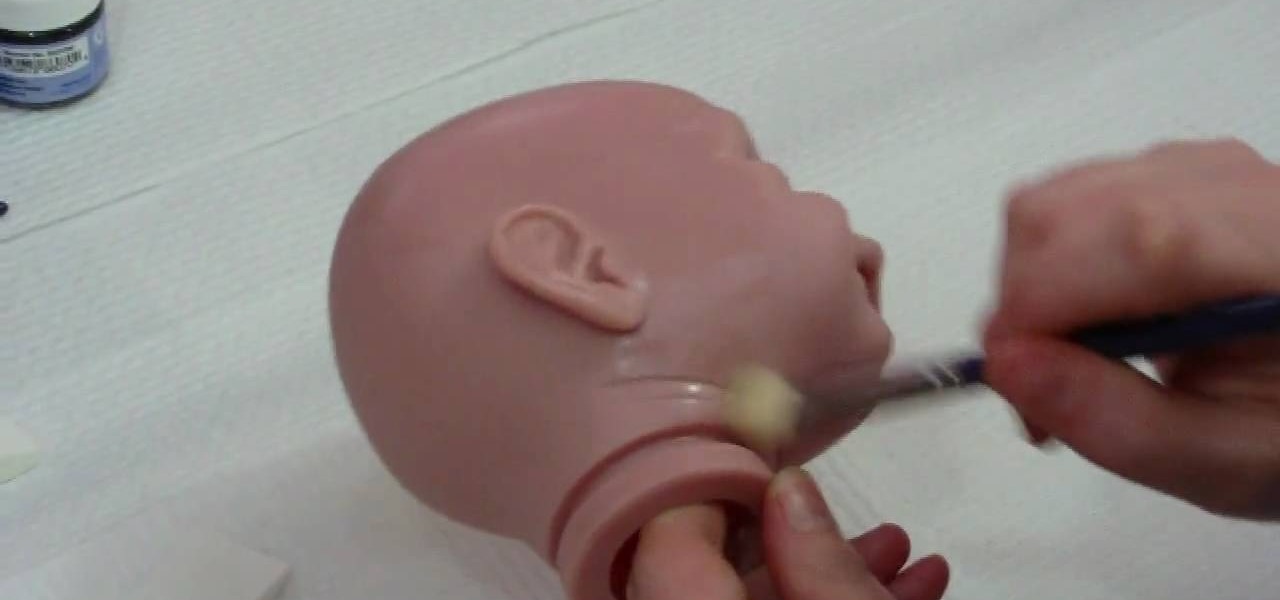
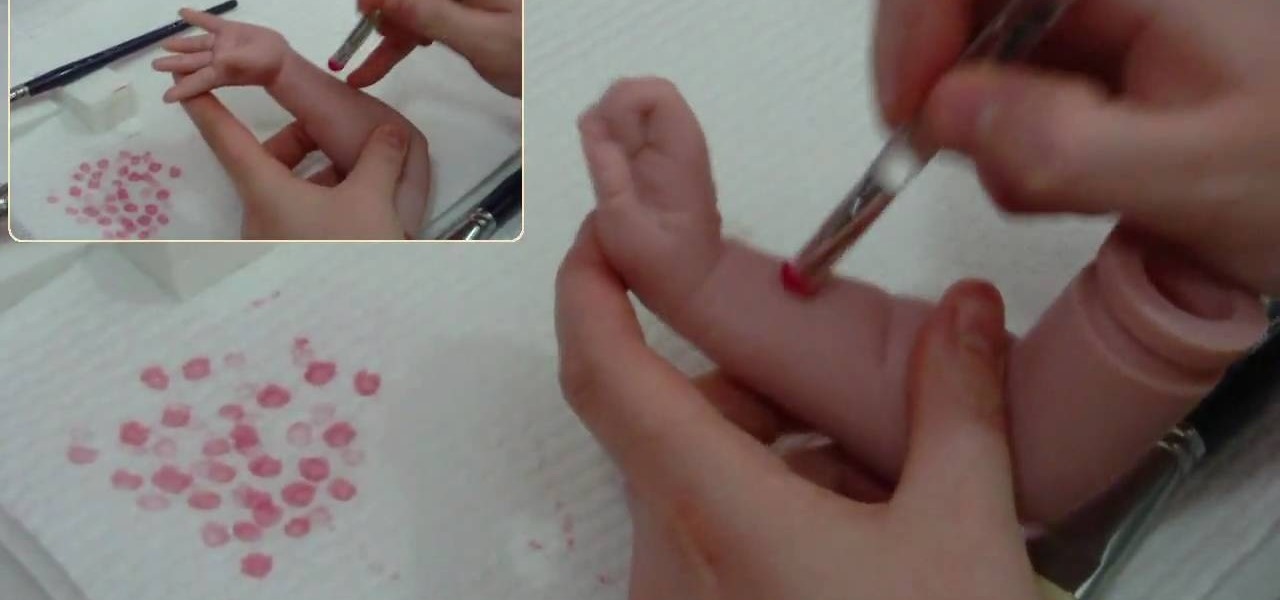
How To: Apply flesh coat number 08 to a reborn baby doll
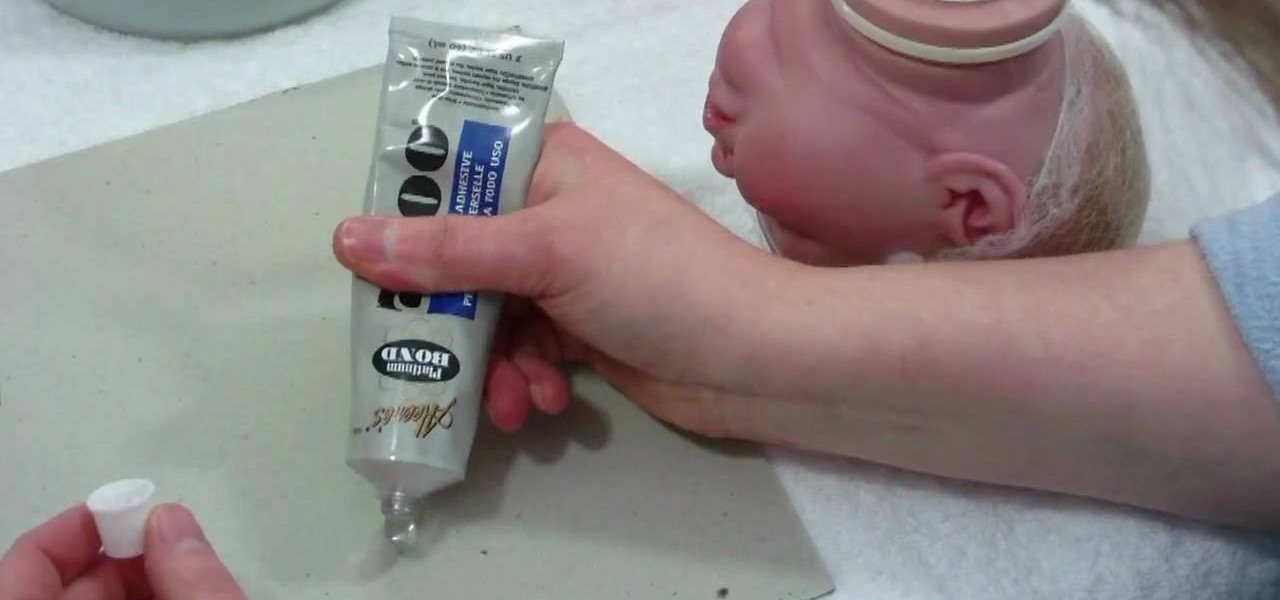
In this tutorial, we learn how to apply flesh coat number 08 to a reborn baby doll. Start out by adding thinners and paint to your mixing tray. Then, grab your small brush and add in the flesh colored paint to the tray. Add in just enough to color the water just completely. Now, brush this color onto a white sponge until you have the right color. Next, brush this flesh color onto the limbs of the baby doll. After this, use your sponge to dab the paint onto the vinyl evenly. Repeat this for al...
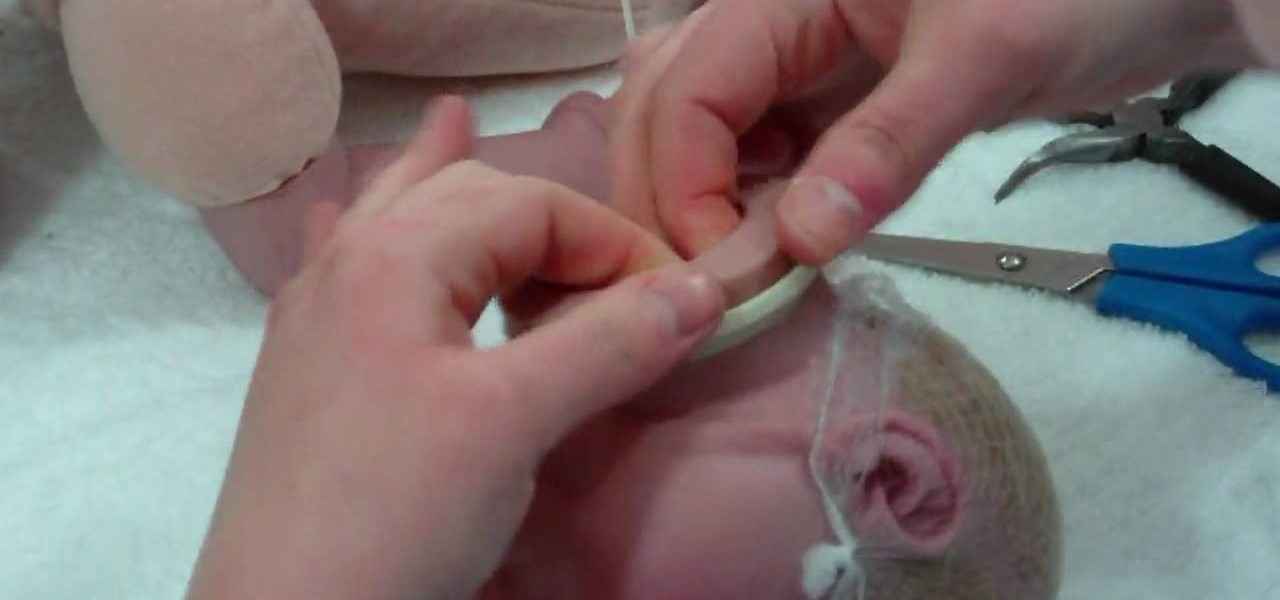
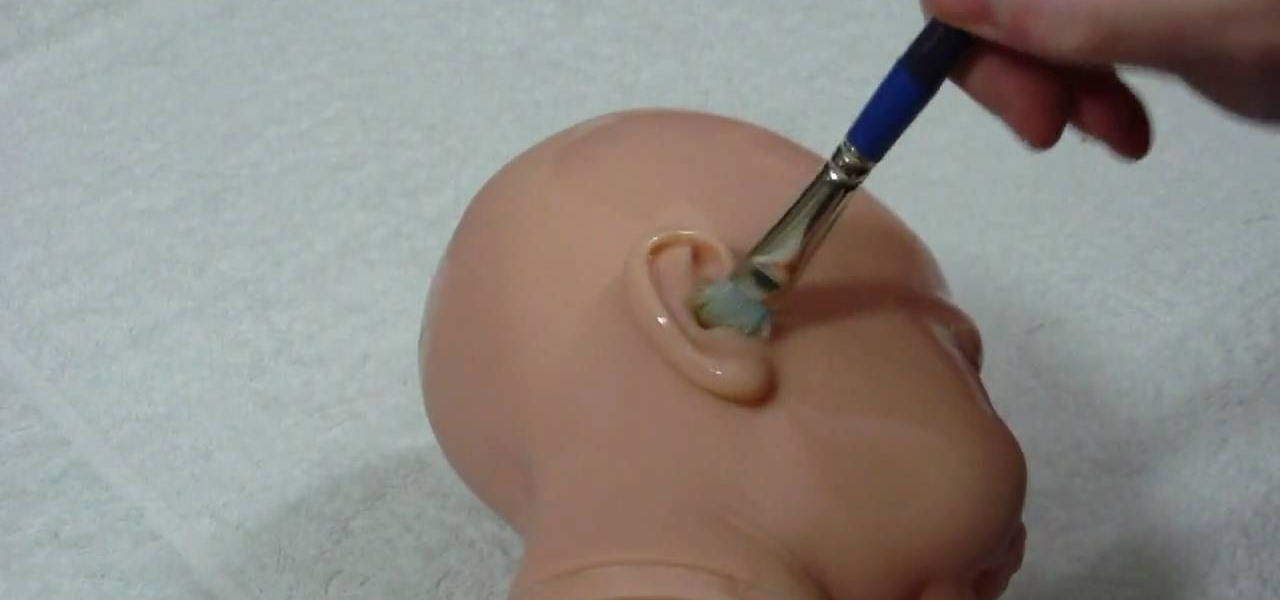
How To: Apply a neck ring and plug on a reborn baby doll
In this tutorial, we learn how to apply a neck ring and plug on a reborn baby doll. First, attack the neck ring to the doll head by pulling the vinyl onto the lip using your fingers. You will need to use your hands to push the inside of the neck through the ring. This will take a lot of pushing and pulling. After this, you will need to attach your plug. First, place it into the neck of the head to make sure it fits. After this, stuff it with cotton and then push it back in. Now you will be ab...
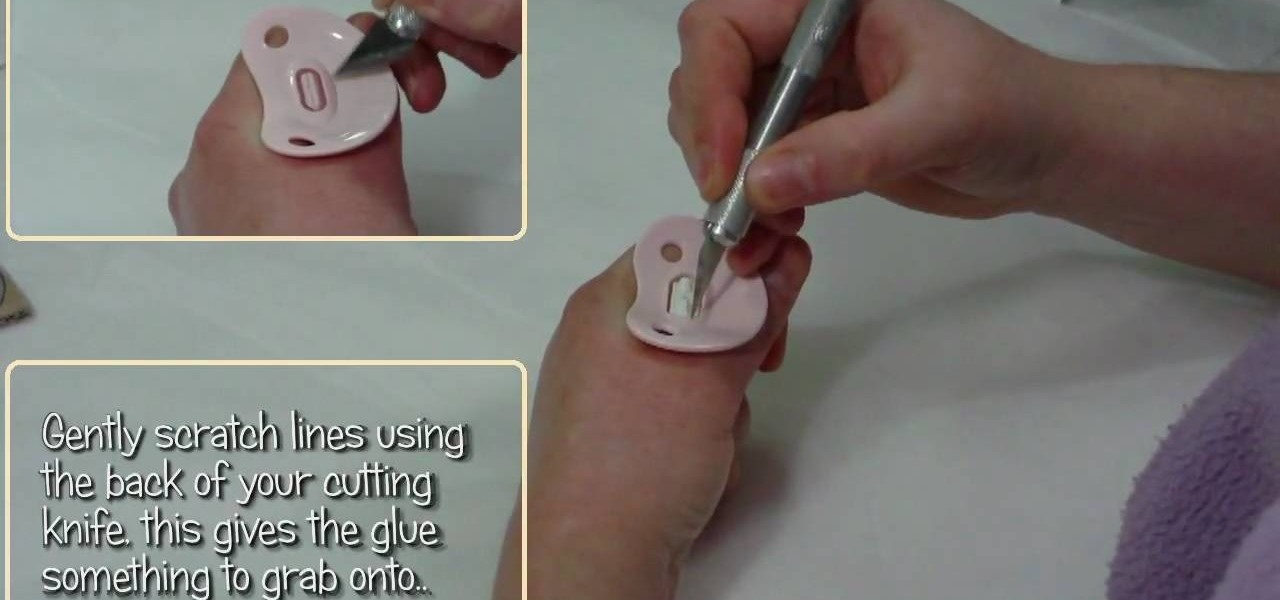
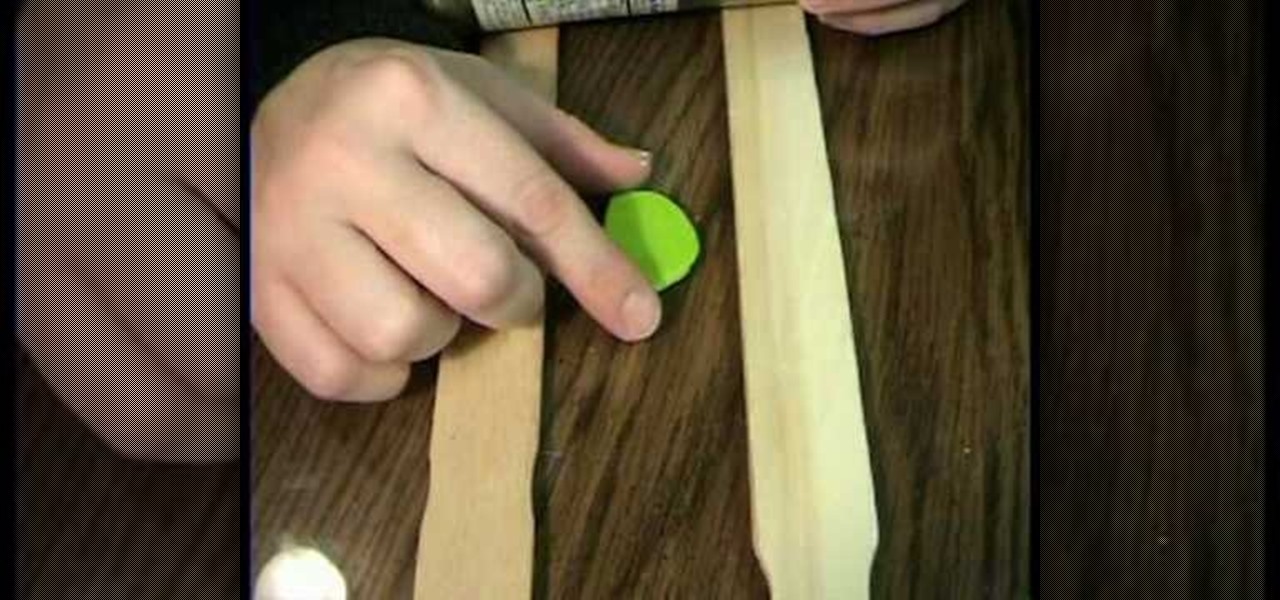
How To: Glue a magnet onto a dummy/pacifier for a reborn doll
In this tutorial, we learn how to glue a magnet onto a dummy/pacifier for a reborn doll. First, gather all the tools you need to do this project. After you have these, remove the teeth from the pacifier. Next, scratch lines using a cutting knife so the glue grabs onto the center better. After this, apply the glue and the magnet, then place it on the dummy and press it there for several seconds until it is firm in the right place. After this, glue the surface of the pacifier onto the baby, the...
How To: Mottle using cosmetic wedges on a reborn baby doll
In this tutorial, we learn how to mottle using cosmetic wedges on a reborn baby doll. After you have gathered all the tools you need, you can mix all the paints together. Now, start to dab the paint onto the chest and stomach of the baby. After you have done this all over, creating a flesh toned color, let this dry then start to apply to the limbs of the baby. Once you have covered all the sections of the limbs, make sure you have covered all the areas by going through them once more. Let the...
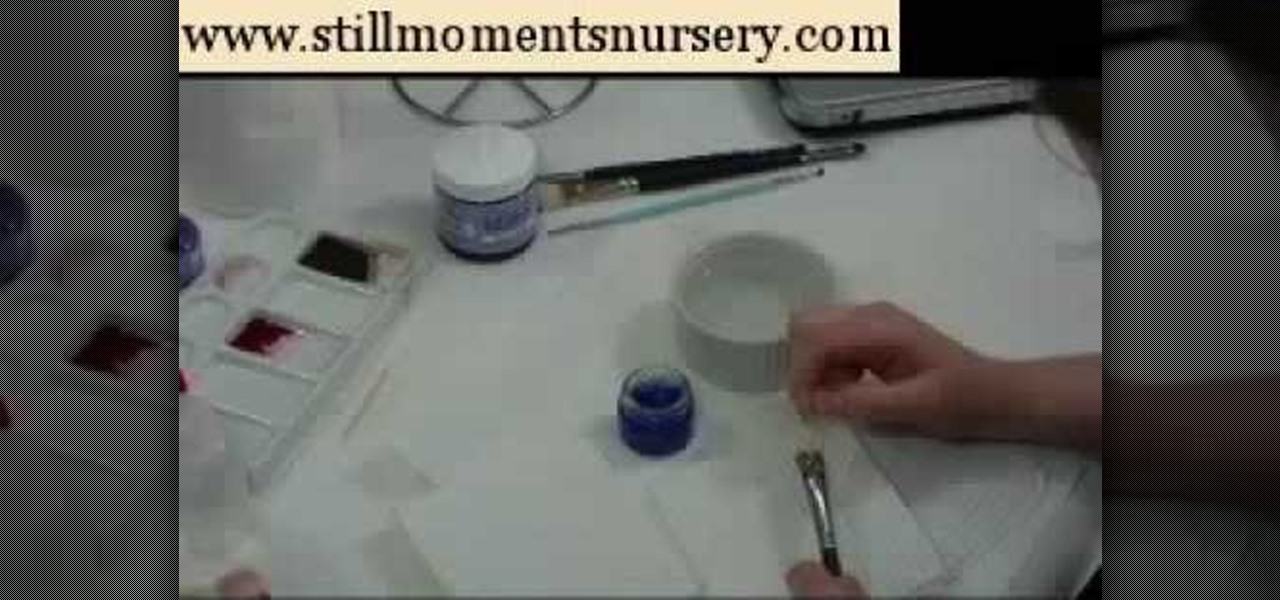
How To: Apply green wash to vinyl when making reborn dolls
In this tutorial, we learn how to apply green wash to vinyl when making reborn dolls. First, you will need to gather all of your tools to create your doll project. After this, mix up your paint and then apply it to a sponge with a brush. Then, start to dab the paint onto the stomach and chest of the doll, then brush over it with the paint brush. When you finish with this, dab on the sponge again, then set aside to let dry. Continue doing this same process for the limbs and the face of the bab...
How To: Soften polymer clay
In this tutorial, we learn how to soften polymer clay. If you have crumbly clay and you want it to be soft, then you can make it softer easily. Now, take the clay and break it up into small pieces. Then mush this together with some translucent clay that is softer. Work this together with a jar or put it through a pasta machine. When you do this, it should be pretty soft and the air pockets should be removed. Continue to work the clay until it is all one color and it is really soft, then you c...
How To: Apply blue wash to neutralize orange on a reborn doll
In this tutorial, we learn how to apply blue wash to neutralize orange on a reborn doll. First, gather all of your materials and mix up your paint. Once it's mixed, dab the paint onto a sponge with the paint brush. Then, use the paint brush to paint on the color to the limbs of the baby. Make sure to take extra time around the feet so you get in between the small areas. Then, use the sponge to dab the paint all over the limbs. after this, continue on to the rest of the limbs of the baby using...
How To: Roll clay without a pasta machine
In this tutorial, we learn how to roll clay without a pasta machine. First, warm up the clay in your hands and put them between two flat sticks. Next, use a glass bottle or cup to roll out the clay. Make sure the bottle is on the paint sticks as you are rolling. This will leave your piece of clay thick but flattened out. You can make this as thick or as thin as you would like to be. You can do this several times and use different types of sticks or side holders to change how the clay looks, e...

How To: Weigh the shoulder and attach the arm on a reborn doll
In this tutorial, we learn how to weigh the shoulder and attach the arm on a reborn doll. First, gather all of your tools and then start to fill the shoulder of the doll. Do this by filling 1/3 of the top of the shoulder joint with poly fill. Next, fill the middle with poly pellets and leave room for more poly fill fiber. Once you have done this, place small amount of poly fiber fill over the pellets. Don't over-fill the arm. Then, attach the arms to the boxy and tighten it up with the fluff ...
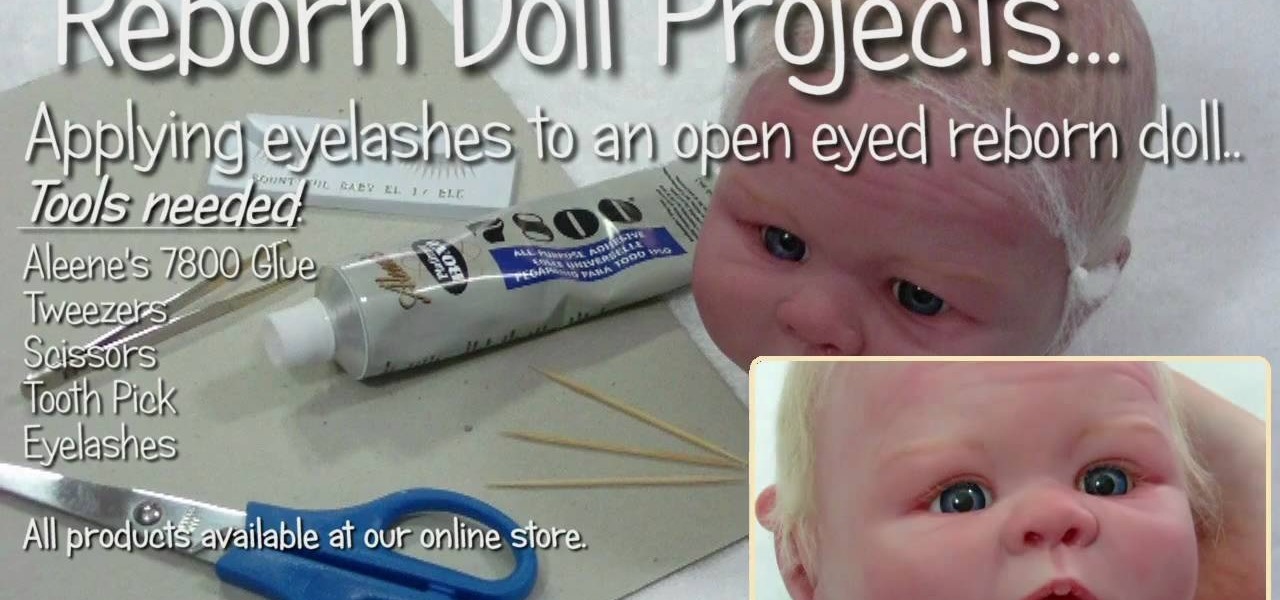
How To: Apply eyelashes to open eyed reborn baby dolls
In this video, we learn how to apply eyelashes to open eyed reborn baby dolls. First, you will need to prepare the glue by placing it on a flat surface and letting sit for a couple minutes. Then, take the new eyelashes and remove the existing glue with tweezers. After you do this, dip the base of the lashes into the glue. Do this slowly and make sure to wipe off any excess glue when you're finished. Place the glue evenly around the entire lash. Now, bring the lash to the eye and insert it int...
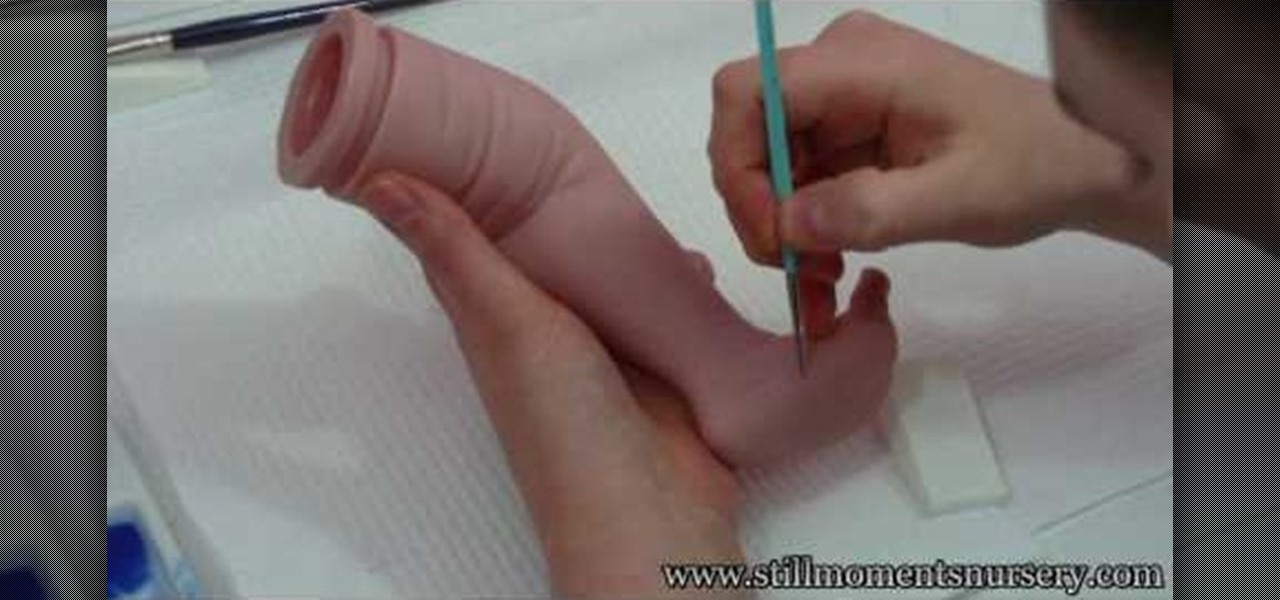
How To: Apply veins to a reborn baby doll
In this tutorial, we learn how to apply veins to a reborn baby doll. Gather up all your materials, then mix the proper paint for the veins. After you're finished mixing, use a very fine tip brush to add the veins onto the baby's chest and stomach. Use a sponge to dab onto the paint after you have painted the veins onto them. When finished with the chest area, start to apply the veins to the limbs of the baby. Continue to do this until you have painted realistic veins on all the appropriate pa...
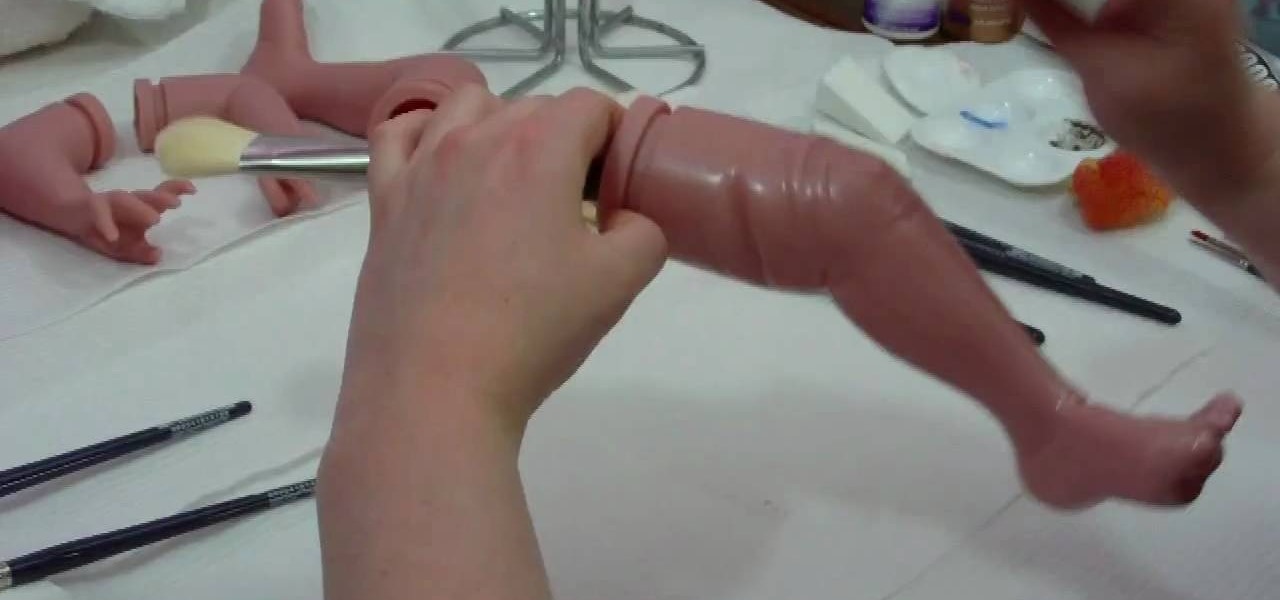
How To: Mottle with a berry maker brush on a reborn baby doll
In this video, we learn how to mottle with a berry maker brush on a reborn baby doll. First you will need to gather all of the materials you need, then mix up your correct paint colors. Next, you will use a small dabbing brush to dab the color onto the stomach of the baby. Once you have finished this, work your way up to the chest. Be sure to dip your brush inside the paint every time you run out of some. Once you're done, do this same process for all of the limbs, avoiding the soles of the f...
How To: Clean brushes using Genesis cleaner for reborn dolls
In this video, we learn how to clean brushes using Genesis cleaner for reborn dolls. First, dip the brush into the cleaning solution and allow the dye to drain off of the brush. After most of the paint is gone from the brush, dip it into water and continue to clean until the water running over it runs clear. Continue to repeat this process for all of the different brushes you have used. When finished, lay the brushes down on a flat and dry surface, then let dry overnight or until they are com...

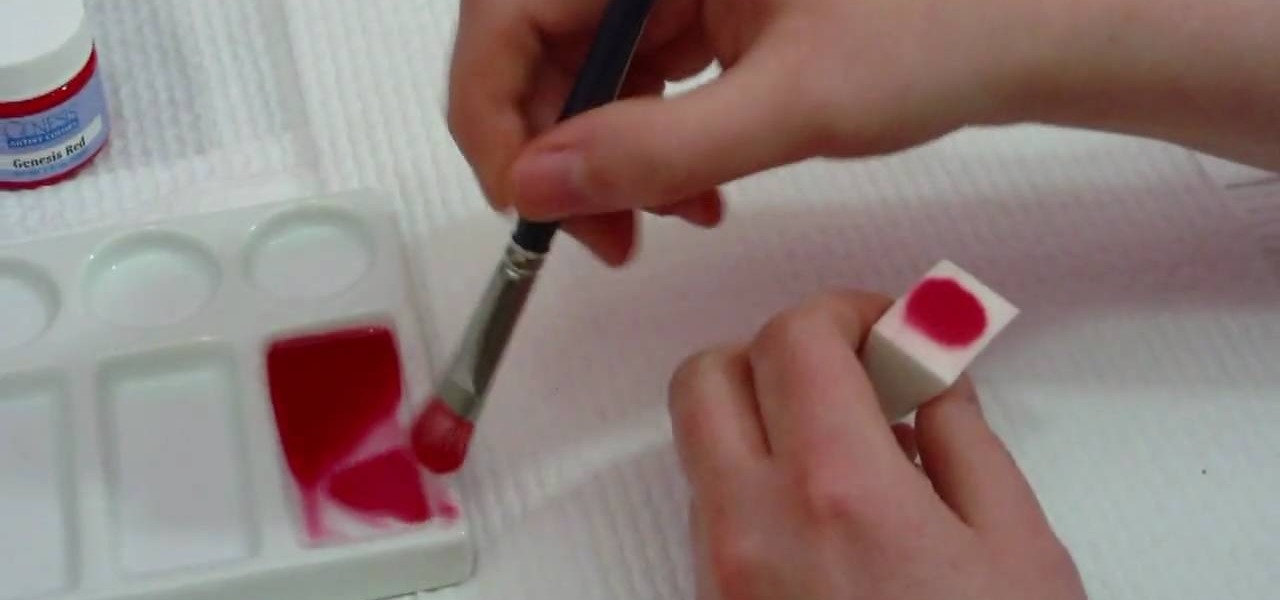
How To: Mottle with a sea sponge on a reborn baby doll
In this video, we learn how to mottle with a sea sponge on a reborn baby doll. Start out with gathering all the tools that you need, then mix up your paint to the correct red tint. After this, apply some of the paint to the sea sponge using a paint brush. After this, grab the limbs of the baby doll and start to push the paint onto them, avoiding the soles of the feet. Continue to do this throughout all of the different limbs, then the chest and stomach of the doll. When finished, you will hav...

How To: Paint a flesh color for chaos marauder miniatures
Warhammer is a fantastic fantasy miniature war game that pits your army against your opponents army in bloody combat. When you buy the figurines for the first time, they will be unpainted, which leaves it up to you, the player, to give your own unique custom paint job to your figures! If you're just getting started, the first type of color that's the hardest is the flesh color. In this video series you will learn how to paint a basic white skin type onto Chaos Marauders.